Managing Dashboards
When you first authenticate into Identity Security Cloud, you see MySailPoint, a landing page where you can track important information about your account and tenant. The Home dashboard is displayed.
The Home dashboard is your default dashboard. All users have access to a personal home dashboard that can be customized.
Refer to Understanding Dashboards in the user documentation for more information about how non-admins can interact with their dashboards.
Administrators can create an additional personal dashboard to track the information most important to you. You might have access to additional personal or shared dashboards based on your license.
What is displayed on each dashboard depends on the user's permissions and the type of dashboard.
| Home | Personal | Managed | |
|---|---|---|---|
| Visible to Users |  Tiles Tiles Widgets Widgets |
N/A | Tiles Widgets, if the dashboard has been shared with them. |
| Visible to Admins | Tiles Widgets |
Tiles Widgets |
Tiles Widgets |
Using Personal Dashboards
You can add and remove widgets from all of your personal dashboards, including the Home dashboard.
You can also edit the tiles that are displayed on your Home dashboard.
Notes
- Tiles can't be added to personal dashboards besides the Home dashboard.
- End users can't see widgets on the Home dashboard or create additional personal dashboards.
You can move the tiles and widgets on all personal dashboards, including the Home dashboard. Drag and drop the widget or tile to where you want it to be on the page.
Managing the Home Dashboard
When you first authenticate into Identity Security Cloud, the Home dashboard is displayed. This is a type of personal dashboard.
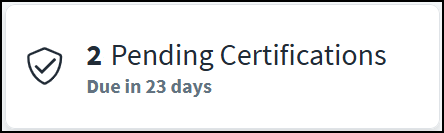
At the top of the dashboard, you can see a set of tiles representing basic information about your work in Identity Security Cloud.
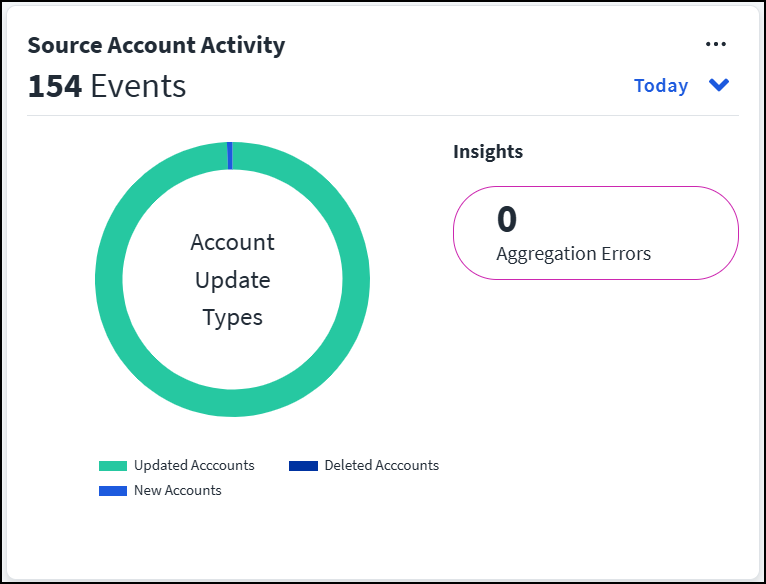
Administrators can also see a set of widgets on your Home dashboard. These widgets contain details about the features you use in Identity Security Cloud. Widgets can contain actions you can take, a history of recent activity, or statistics about your tenant.
Note
End users cannot see widgets on their Home dashboard.
You can add widgets and tiles to your Home dashboard to see the information most relevant to you.
-
From the Home dashboard, select the Edit icon
 .
.The Home dashboard can't be deleted. Its name and description can't be changed.
-
On the Available Tiles tab, choose any additional tiles to add to your Home dashboard.
-
On the Available Widgets tab, choose any additional widgets to add to your Home dashboard.
Select a product name on the left side of the panel to review the widgets available with information related to each product.
Your changes are saved automatically as you edit the dashboard. You can see the widgets and tiles that you have added to the Home dashboard by selecting Current Tiles and Widgets.
When you are finished making changes, you can display this dashboard on MySailPoint by selecting View.
Creating Personal Dashboards
You can create up to 4 custom personal dashboards.
Note
Only the Home dashboard can contain tiles.
To create a new personal dashboard:
-
On the Home dashboard, select Dashboards.
-
On the My Dashboards page, select Create Dashboard.
-
Enter a Name and Description for your dashboard.
-
Select Save.
-
Select Continue.
-
Select the Add button beside the widgets you want to add to this dashboard.
Select a product name on the left side of the panel to review the widgets available with information related to each product.
As you make your selections, your dashboard is saved automatically.
-
When you are finished adding widgets to your dashboard, select View to see the dashboard in its entirety.
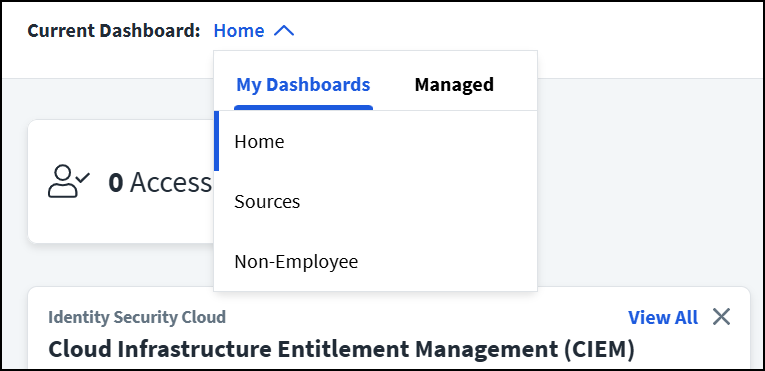
You can change which dashboard you are viewing by selecting a dashboard beside Current Dashboard in MySailPoint.
Viewing and Editing Personal Dashboards
You can view and edit the personal dashboards you've created.
-
From MySailPoint, select Dashboards.
-
Select Edit beside the dashboard you want to edit.
You can also select View to display the dashboard on MySailPoint, or select the Delete dashboard
 to delete any personal dashboard besides the Home dashboard.
 -
Make any necessary changes to the details of the dashboard.
-
Select Save.
-
You can also add new widgets from the Available Widgets tab, or remove widgets on the Current Widgets tab.
Your changes are saved automatically as you edit the dashboard.
When you are finished making changes, you can display this dashboard on MySailPoint by selecting View.
Using Managed Dashboards
You can have up to 20 managed dashboards in your tenant. You can share managed dashboards with end users by assigning them an entitlement associated with the dashboard.
Managed dashboards can be accessed and edited by any administrator.
Creating Managed Dashboards
Managed dashboards can be used to track information that needs to be shared with specific users.
To create a managed dashboard:
-
On the Home dashboard, select Dashboards.
-
Select Managed Dashboards > Create Managed Dashboard.
-
Enter a Name and Description for your dashboard.
-
Select Save.
Identity Security Cloud begins generating an entitlement for this dashboard so that it can be shared. This might take several minutes.
-
Select Continue.
-
On the Available Widgets page, select + Add beside the widgets you want to add to this dashboard.
-
When you are finished adding widgets to your dashboard, select View to see the dashboard in its entirety.
The dashboard has been created and it can be shared with other users once its associated entitlement has been created.
Sharing Managed Dashboards
You can share a managed dashboard with end users by granting them an entitlement that was generated when the dashboard was first created.
Note
All users that are granted the entitlement associated with a dashboard can see all widgets contained in the dashboard, regardless of their user level.
The entitlement is given the same name as the dashboard. This can be edited later. The entitlement can also be accessed from the Managed Dashboards list by selecting View Entitlement beside the dashboard.
Users can be assigned this entitlement in any way that entitlements are granted. For example:
- The entitlement can be added to an access profile that is marked as requestable, and users can request access to it.
- The entitlement can be added to a role that is assigned to users automatically.
- The entitlement can be added to an access profile that is added to a lifecycle state and assigned to users automatically.
Editing Managed Dashboards
You can edit managed dashboards after they've been created.
-
On the Home dashboard, select Dashboards.
-
Select Managed Dashboards.
-
Find the dashboard you want to edit and select Edit.
-
In Details, make the necessary changes to your dashboard's name and description.
-
Select Save.
-
Use the Available Widgets tab to add new widgets to the dashboard. Use the Current Widgets tab to remove widgets from the dashboard.
Note
Your widget changes are saved as you edit and are visible to users the next time they view or refresh the dashboard.
If you want to delete a dashboard, select the Delete icon
from the list of managed dashboards.If you delete a shared dashboard, the entitlement associated with it is also deleted and removed from users.
Documentation Feedback
Feedback is provided as an informational resource only and does not form part of SailPoint’s official product documentation. SailPoint does not warrant or make any guarantees about the feedback (including without limitation as to its accuracy, relevance, or reliability). All feedback is subject to the terms set forth at https://developer.sailpoint.com/discuss/tos.