Managing Password Policies
You can create password policies and associate them with a source to customize the password requirements for that source.
Creating a Password Policy
You can define the requirements for a new policy and apply it to sources configured for Password Management.
-
Go to Admin > Password Mgmt > Policies.
-
Select Create New.
-
Enter a name for your policy in the Policy Name field.
-
In Password Requirements, set the password parameters to meet the security requirements of your organization and the related source so users can change their password from Identity Security Cloud.
If you have a password dictionary, you can enable it here.
-
If the policy is connected to an Active Directory source, you can choose to enable and set a password expiration date, as well as when users should receive reminders to change their passwords.
-
Choose when to enforce multifactor authentication before allowing the user to change their password. This applies the options configured in the user's identity profile for password resets and user unlock methods.
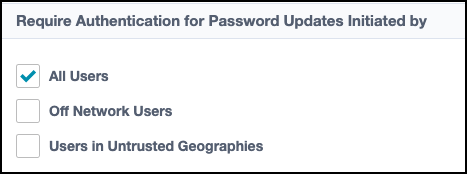
Caution
If this is left empty, users can reset their passwords without going through an extra form of authentication.
Note
Authentication restrictions apply to:
-
Access applications associated with a password sync group using this policy.
-
Access applications using a source with this policy as their account source.
-
All users with accounts on these sources.
-
Select Save to create your password policy.
After creating a password policy, you must associate it with a source to enforce the policy.
Associating Password Policies with Sources
All sources configured for Password Management will use the default policy unless you explicitly associate the source with a different policy. You can edit the default policy or create new policies and associate them with sources. Flat file sources are not compatible with Password Management.
Caution
The policy you define must not conflict with the password requirements on the source itself for users to be able to change their password in Identity Security Cloud.
After you edit the default policy or create policies, you must associate them with direct connect sources to enforce the password policy.
Associating a Password Policy with a Source
- Go to Admin > Connections > Sources.
- Select or edit the source you want to associate with a password policy.
-
In the Additional Settings section, select Password Settings.

Note
This option is only available for certain direct connect sources that support Password Management. View the list of supported connectors to determine if your source supports Password Management.
-
In the Select Password Policy dropdown list, select a password policy. If the selected policy has an expiration period or a reminder starting date, they will display.
- To edit the password policy, select Edit Password Policy, complete the policy configurations, and return to the source.
- To add a password policy, select Add Password Policy, complete the policy configurations, and return to the source.
Notes
- This field is not editable if the source belongs to a password sync group.
- Refer to Adding Exceptions and Filtering for guidance on creating exceptions to the source's password policy.
-
Select Save.
Note
To allow users to reset their password on a source from Identity Security Cloud, you must create an access application for the source.
Associating Multiple Password Policies to a Source
You might need to have different password policies for different types of users of a single system. For example, you might want HR and Accounting users to have different password policies on the same source. To associate multiple password policies with a source, you can use exceptions and filtering.
Important
-
You must create and predefine the policies before they can be used as a primary or exception policy.
-
Sources defined in password sync groups do not support multiple password policies.
Adding Exceptions and Filtering to a Source
You can configure exceptions to the primary password policy and use filters to determine the group of users the exceptions apply to.
You might need different password policies for different types of users of a single system. You can configure exceptions to the primary password policy and use filters to determine the group of users the exceptions apply to.
Important
You cannot use exceptions with password sync groups. Putting a source in a sync group overrides individual password policy configurations, so exception policies specified for those sources are ignored.
To add an exception to a policy:
- Go to Admin > Connections > Sources.
- Select or edit the source you want to add an exception to.
- In the Additional Settings section, select Password Settings.
- Choose the password policy in the Select Password Policy dropdown list.
-
Set Enable Policy Exceptions to on.

-
In the Password Policy dropdown list, select the password policy you want to use as an exception.
- Use the Identity Attribute dropdown list to select from all Identity Security Cloud identity attributes.
- In the Value field, enter the value to match with the identity attribute for the password policy.
- To add multiple exception conditions to a policy, select Add Condition. An identity only needs to match one of the conditions to have the exception policy applied.
- To add multiple policy exceptions to a source, select Add Exception.
-
You can drag and drop the exceptions to reorder them.
Identity Security Cloud looks at each policy exception in the order they are listed in the UI to determine which policy parameters to apply to each user. The first policy the identity matches is applied.
Best Practice
List the strictest exception policy first. For example, if you have a policy for the Accounting department and a policy for Director-level job codes, list the stricter one first to impose the strongest password requirements for a Director in Accounting.
-
Select Save to save your settings.
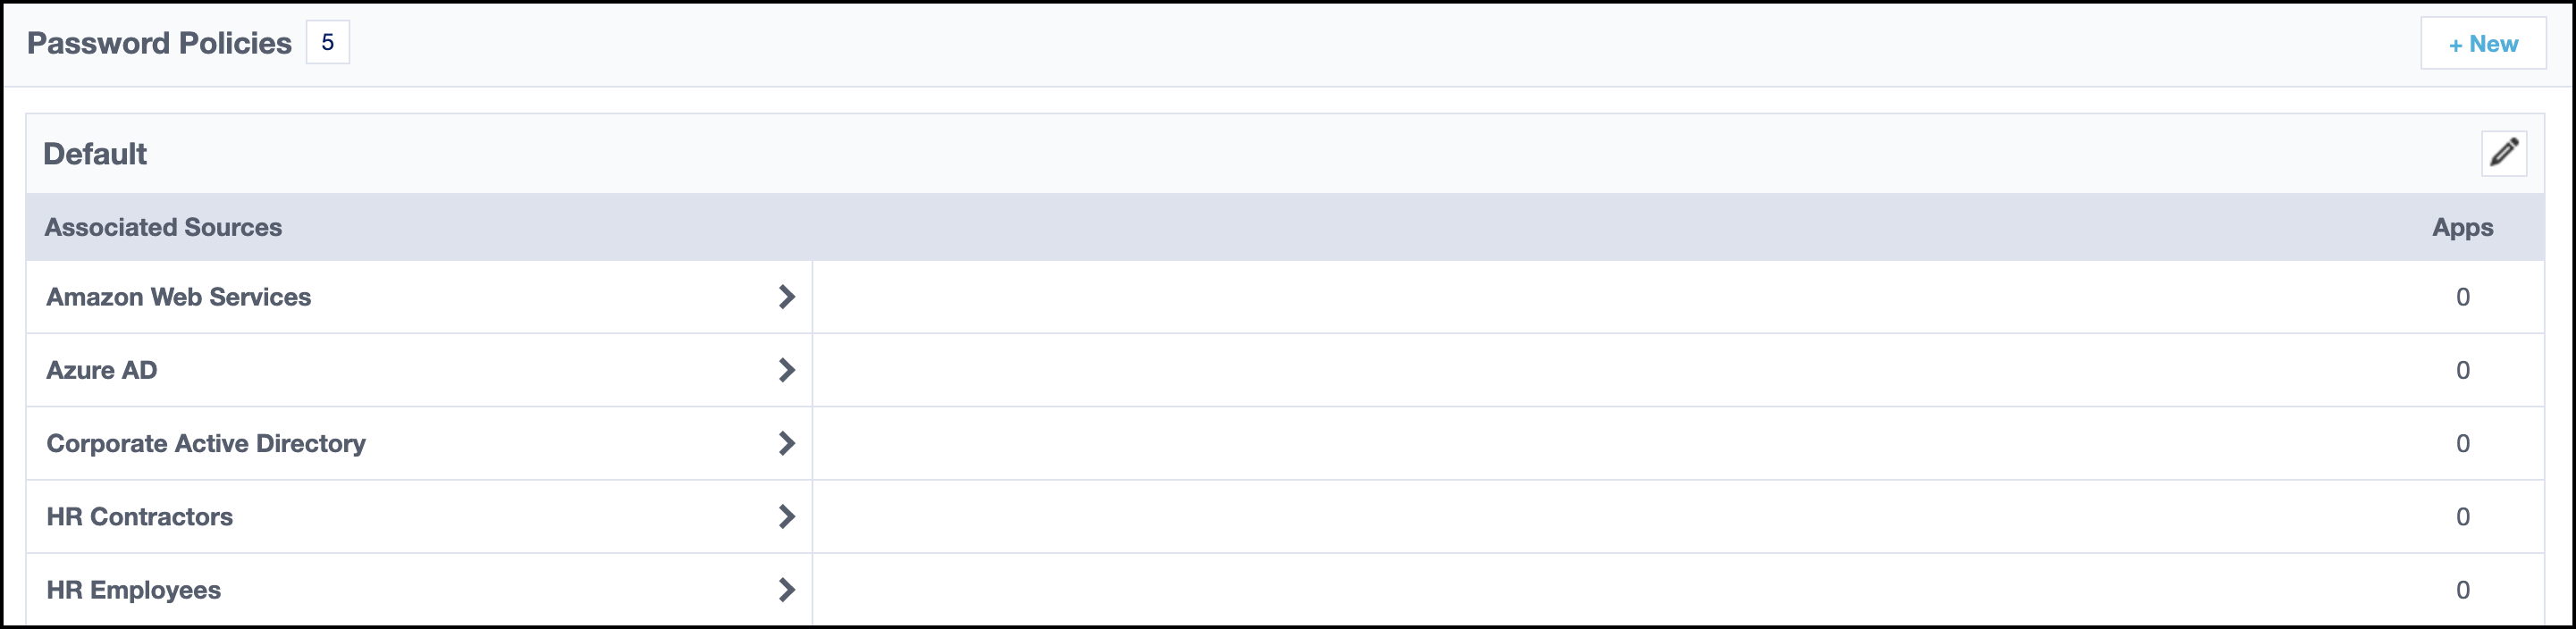
Reviewing Password Policies
You can review, edit, and delete password policies by going to Admin > Password Mgmt > Policies.
Select the Actions icon ![]() > View Details to open the password policy settings.
> View Details to open the password policy settings.
Select Associated Sources to view the sources using the password policy. Select the source name or View in the Actions column to to be redirected to the Password Settings options of the source. You can change the source's associated policy and synchronize sources so that both the policies and the passwords are shared.
Editing and Deleting Password Policies
You can edit a password policy by selecting the Actions icon ![]() > Edit or by selecting Edit when viewing the policy details. When you are finished changing the configurations, select Save.
> Edit or by selecting Edit when viewing the policy details. When you are finished changing the configurations, select Save.
To delete a policy, select the Actions icon ![]() > Delete. Sources associated with the policy will be reassigned to the default policy.
> Delete. Sources associated with the policy will be reassigned to the default policy.
Note
You cannot delete the default policy, nor can you edit its name.
Reviewing Password Policies on an Access Application
To view which password policy and password source an application is using, go to Admin > Access Model > Applications and select the app you want to check. The Configuration tab will display the policy and source for that access application. Refer to Adding Access Applications to Password Management for more information.
Defining Password Expiration Settings
If users need to reset their Active Directory passwords at regular intervals, you can set expiration settings and reminders from within Identity Security Cloud using a password policy (default or custom) connected to an AD direct connection source.
While a password policy can have multiple exceptions with multiple conditions, expiration periods are inherited from the primary policy and other expiration settings are ignored.
The expiration settings only determine the reminder messages, but if you have configured pass-through authentication for any identity profiles, you can prevent those users from signing in when their passwords have expired. This is because having an expired password in AD automatically prevents authentication to Identity Security Cloud.
Setting a Password Expiration for a Policy
If the policy is connected to an Active Directory source, you can choose how long a password is usable before it expires, as well as when users will receive reminders to change their password.
-
Go to Admin > Password Mgmt > Policies.
-
Choose a policy associated with an Active Directory source and select the Actions icon
 > Edit.
 -
In the Password Expiration section, select Enable.
-
Set the Expiration Period for the number of days the password will be valid in Active Directory before it expires.
-
Set the Reminder Starting to the number of days prior to expiration to begin sending an email/SMS to users impacted by the policy. A reminder is sent each day within that time until the user resets their password.
Important
To send a notification to users when their password expires, the user must be registered as an active user in Identity Security Cloud. Identity Security Cloud checks the last time the password was changed in Active Directory to determine when to send a reminder.
To find this value:
1. Go to Admin > Identity Management > Identities.
2. Select the identity to view its details.
3. Select Accounts and choose the Active Directory account.
The Password Last Changed timestamp is displayed at the top of the page.
-
Select Save.
You can customize the contents of the email message that users receive using the Password Expiration email template.
Troubleshooting Password Changes
Users receiving expired password notifications after changing passwords
If users are still receiving expired password notifications after they have changed their password outside of Identity Security Cloud, aggregate to your password source.
Best Practice
Schedule daily aggregations to your password source to keep password data current.
Password change for an app is retrying or has failed
If a user changes their password for an app that is configured for Password Management, the change might not succeed on the first attempt.
Some resolutions include:
-
If there are connectivity problems with the source that return a retryable error, Identity Security Cloud automatically retries the password change up to 3 times, at intervals of 5 seconds, 1 minute, and 3 minutes.
-
If the app is connected to a source that requires IQService, verify that the related instance of IQService is running.
-
Ensure that the related source is running as expected.
Documentation Feedback
Feedback is provided as an informational resource only and does not form part of SailPoint’s official product documentation. SailPoint does not warrant or make any guarantees about the feedback (including without limitation as to its accuracy, relevance, or reliability). All feedback is subject to the terms set forth at https://developer.sailpoint.com/discuss/tos.