Customizing the UI
You can replace the SailPoint branding throughout the site to match your company's style by customizing colors, brands, logos, and more.
Changing the Product Name
The product name should reflect the name your organization uses to refer to your Identity Security Cloud implementation or your identity security program. It is displayed as the browser tab title and in various user interface pages, and it can be referenced in email messages to your users.
To change the product name:
-
Go to Admin > Global > System Settings > Product Branding.
-
Under Product Name, enter the name of the product that users are going to see.
-
Select Save. The changes are displayed immediately.
Note
To change your product name back to SailPoint, delete the value in the field and select Save.
Changing the Product Logo
You can replace the SailPoint logo with your corporate logo by uploading a logo image file.
Image Requirements
- Image must be a PNG file and less than 150KB.
- The logo image should have a transparent background and use colors other than white so it will be visible on the white background.
- The logo image can be a maximum of an 8:1 width-to-height ratio.
-
Go to Admin > Global > System Settings > Product Branding.
-
Within the Logo and Colors section, under Import New Logo, upload a .png file either by:
- Selecting the Upload icon
 , choose an image file and select Open.
 - Dragging the file onto the page.
The image preview is displayed.
- Selecting the Upload icon
-
Select Save to save your settings. You may need to refresh the page for the logo image to appear in the page header.
To return the logo to the original image, you can download and upload the SailPoint logo.
Caution
This is the only approved use of the SailPoint logo. This file cannot be copied or published for any other purposes.
Customizing Colors
You can change the color scheme of your Identity Security Cloud site to match your company's brand.
-
Go to Admin > Global > System Settings > Product Branding.
-
Under Navigation Bar Color, enter the hexadecimal code for the color you want the navigation bar to be.
-
Under Action Button Color, enter the hexadecimal code for the color you want to use for all active buttons and sub-menus.
-
Under Link Color, choose the color you want to use for hyperlinks in the user interface:
- Select Use Default Color to match the default color.
- Select Navigation Bar Color to match the navigation bar color.
- Select Action Button Color to match the action button color.
-
Verify that the colors you see in the preview are correct and select Save. Your color choices are applied immediately.
To reset the colors to their default values, delete the hexadecimal values and select Save.
Note
- The colors you choose must work with white text.
Customizing for Multiple Brands
You can customize the interface for separate brands within your company, displaying different user interface customizations to users based on the brand they are associated with.
Defining and Mapping the Brand Attribute
Before you can create multiple brand interfaces, you must define a brand attribute and configure the mappings to set its value for your identity profiles. This attribute will be used to associate each identity to a brand.
To add a brand attribute:
-
Go to Admin > Identity Management > Identity Profiles.
-
Select an identity profile, then select Mappings.
-
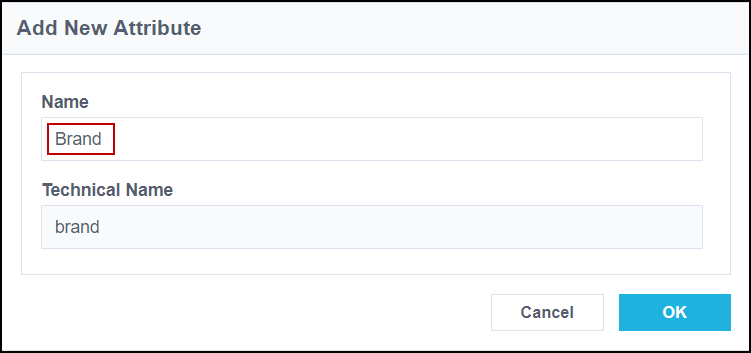
At the top of the page, select Add New Attribute to create a brand attribute.
-
In the Add New Attribute overlay, type Brand in the Name field.
-
Choose a Source and Attribute containing the data that specifies the brand for users in this identity profile.

Notes
- You can apply a transform to this field if it requires data manipulation to set the value consistently for your users.
- If your brand attribute requires more complex calculations, you can choose Complex Data Source and, in the Transform field, select the rule created by your implementers for this purpose.
-
If prompted to update identity data, select Apply Changes at the top of the page.
Repeat this brand mapping for your other identity profiles. You only have to add the brand attribute once. For any subsequent identity profiles, just specify its mapping.
Identities in any identity profile without a mapped brand attribute will automatically see the default brand.
Optional
While you complete the rest of the brand setup, you can suspend automatic invitations to ensure your users don't receive unbranded email invitations. In the Settings tab of the identity profile, select Manually under Invitation Options.
Configuring Product Branding
Define the customized name, colors, and logo to display for users who are part of each brand.
-
Go to Admin > Global > System Settings > Product Branding.
-
Select Create Brand.
-
In the Brand Identity Attribute field, enter the value that identifies users in this brand. This value must exactly match the users' brand attribute value. This is case-sensitive.
-
In the Product Name field, enter the product name.
-
Select Create Brand.
-
Set the logo, navigation bar color, action button color, and link color that should be used for this brand.
-
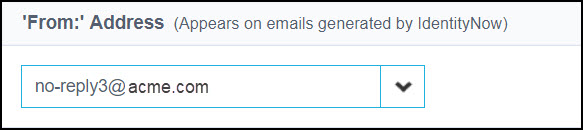
Set the 'From:' Address to be used for emails sent by Identity Security Cloud to users in this brand. Choose an email address you have validated as described in Setting the From Address.
-
Select Save.
-
Repeat these steps to add and customize each brand you need to manage.
Tip
Any email template that includes the product name variable will automatically use the product name configured for the recipient's brand. You can optionally edit your email templates with any other brand-specific messaging.
Sharing Branded URLs
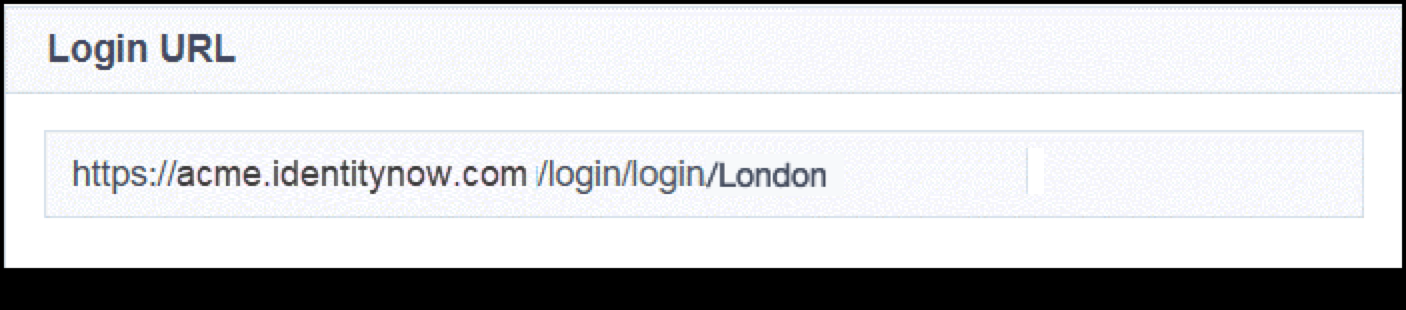
A separate login URL is generated for each brand, rendered with the brand's colors and logo. The default login URL for your site can be used by all users, across brands, but that page always shows the default branding. After sign-in, the user interface will adjust to match the user's brand configuration.
To direct users to the branded sign-in pages, provide them the unique login URL for the brand they are assigned to.
-
Go to Admin > Global > System Settings > Product Branding.
-
From the left panel, select the brand you need a custom URL for.
-
Under Login URL, copy the URL for your selected brand.
-
Provide that custom URL to the brand's users.
Other Available Customizations
In addition to customizing the look and feel of your site, you can make updates to emails and URLs.
Customizing Emails
For email customization and configuration options, refer to Customizing Email Templates.
Creating a Vanity URL
Contact SailPoint Support to create a vanity URL for your site.
Note
Vanity URLs are set up during tenant creation only.
Using Slack or Teams as a Front End
You can set up Identity Security Cloud to use Slack or Teams as the front end for most users.
Documentation Feedback
Feedback is provided as an informational resource only and does not form part of SailPoint’s official product documentation. SailPoint does not warrant or make any guarantees about the feedback (including without limitation as to its accuracy, relevance, or reliability). All feedback is subject to the terms set forth at https://developer.sailpoint.com/discuss/tos.