Using Email Templates
Email notifications are sent to users by Identity Security Cloud to inform them of system or process status changes, to alert them to assigned work, and more. You can customize notification messages using variable values provided by the system through a fixed set of variables specific to the notification and global variables available across multiple email templates.
SailPoint's email templates are defined using the Apache Velocity templating syntax. This allows the emails to support variable substitutions as well as simple logic like conditional contents.
Email Settings
By default, email templates are set to send all emails to the intended recipients. When testing email templates, redirect emails to a test address.
- Go to Admin > Global > Email Templates.
- Select Settings.
-
Choose the desired setting:
- Intended Recipients – email notification sent to system users defined in your email template.
- Test Address – all email notifications redirected to the test address. Defaults to the email address of the logged-in user. An audit event is created when the test address is changed.
-
Select Save.
Editing the Email Contents
You can customize the subject and body of your email notifications by editing the templates.
- Go to Admin > Global > Email Templates.
- Select Edit on the email template you want to edit.
-
Edit the Subject and Body text to meet the needs of your organization.
- Emails are HTML-enabled. You can edit text in the WYSIWYG editor or select the Source Edit icon
 to edit the HTML and scripting tags.
 - You can select the Hyperlink icon
 to insert or edit a link.
 - Review the variables available to each template and reference them as needed in the message contents using the appropriate Velocity variable syntax.
Note
The <head> tag cannot be used when modifying the source code of email templates. This tag is reserved in HTML email templates embedded within the application code and is removed before the template is applied to outgoing emails.
- Emails are HTML-enabled. You can edit text in the WYSIWYG editor or select the Source Edit icon
-
Select Save and then test the email to verify that your content appears as expected.
Important
Once you customize an email template, it is not updated when SailPoint makes changes to the default template text, even if you manually restore the template contents to the default text. To reset a customized template to the default settings so that any future template updates will be auto-applied, you must contact SailPoint Support.
Specifying Variables
Many variables passed to email templates are simple text variables. To include their values in the email message, use the syntax: ${<variableName>}, such as ${approverName}.
Some variables are objects containing multiple properties or fields. To reference those properties in an email template, use the syntax: ${<objectVariable>.<property>}. For example, if you want to reference the user's work phone number in an email, you would enter ${user.workPhone}.
Refer to the Apache Velocity guide for more syntax details.
Note
If all available attributes need to be viewed, enter ${ in the email template to open an overlay allowing you to view all global variables available for the template, as well as some template-specific variables.
You can also enter $__contentJson in the email template to print all available variables in the email output.
Permitted HTML Contents
Email template are validated by an HTML5 sanitizer that enforces a list of allowed HTML elements and attributes.
- Allowed elements:
- Basic elements: img, a
- Block elements: p, div, h1, h2, h3, h4, h5, h6, ul, ol, li, blockquote
- Formatting elements: strong, strike, tt, code, pre, big, small, br, span, em, s, u, sup, sub, ins, del
- Table elements: table, tr, td, th
- Allowed attributes within elements:
- All elements support the style attribute.
- All basic, block, and table elements support the id attribute.
- The img element also allows src, alt, height, and width attributes.
- The a element also supports the href attribute.
Comments, including conditional comments, are not supported.
Using Images in Email Templates
To insert an image into an email template:
-
Find the section(s) of the email where you want the image to appear.
If the Velocity scripting in the email includes conditional content based on system and user data, you might need to add the image to multiple sections of the template body.
-
Identify the URL of a hosted image reference.
Best Practice
When adding logos to email templates, you may use any external internet-accessible image, but SailPoint recommends using the logo image you used when customizing your UI.
To use this image, right-click the logo in the upper-left corner of your Identity Security Cloud site and choose Copy image address to copy the URL. Note the exact menu label, such as Copy image address/link/location, depends on your browser.
-
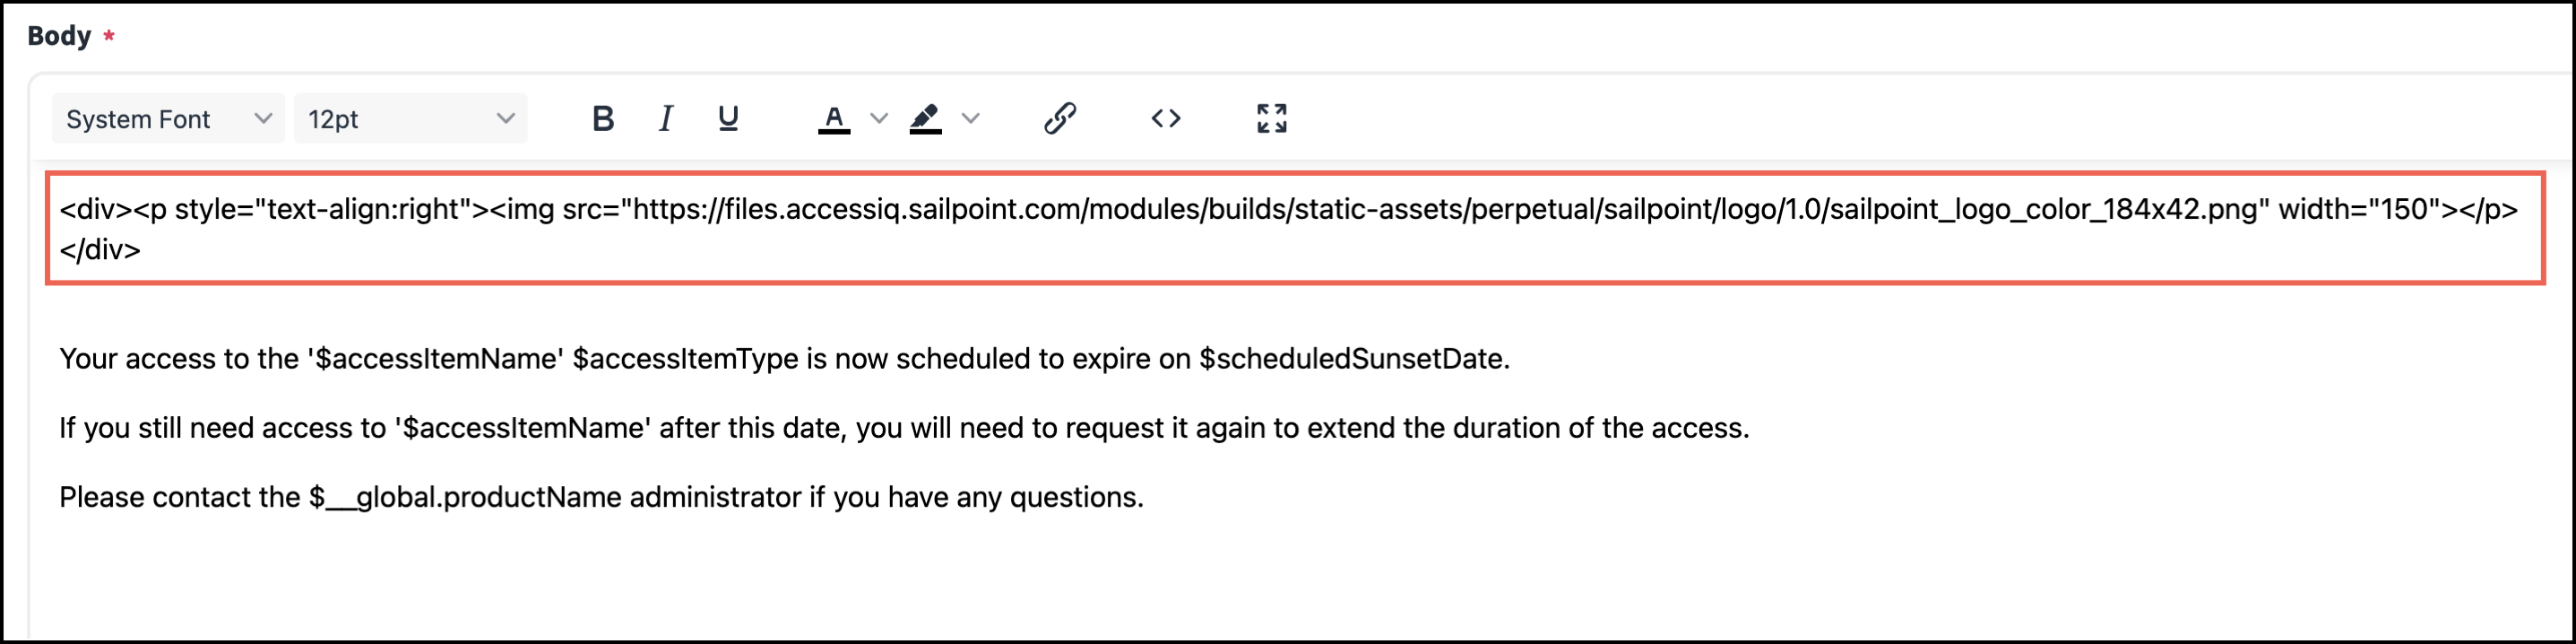
In the email template, paste the image or use tagging like:
<div><p style="text-align:right"><img src="[URL]" width="150"></p></div>where [URL] is the URL from step 2 above.
This example, specified as the first line of the email template body, adds the image at the top right of the message above the text.
Notes
- You can add the HTML for an image directly in the WYSIWYG editor or through the HTML source editor.
- Unless you are certain of your image’s dimensions, it is best to specify only a width or a height and allow the image to auto-scale accordingly.
- It is not possible to attach an image file.
-
Select Save and then test the email to verify that your content appears as expected.
Embedding Base 64 Encoded Files
You can also embed a base-64 encoded file for the image src instead of referencing a URL. Encoded image formats must be one of the following content/types:
data:image/jpegdata:image/jpgdata:image/pngdata:image/pdfdata:image/gif
Use caution when embedding base-64 encoded files:
- Some browsers do not support embedded images that use the
dataURI scheme. - Some email clients default to filtering out encoded images.
- Embedding an image increases the size of your email message. Many email servers block email messages larger than a particular size. To avoid bounced emails, resize the image to your desired height and width before base-64 encoding.
Setting a 'Reply To:' Address
By default, replies to emails sent from Identity Security Cloud are directed to the globally configured 'From:' address.
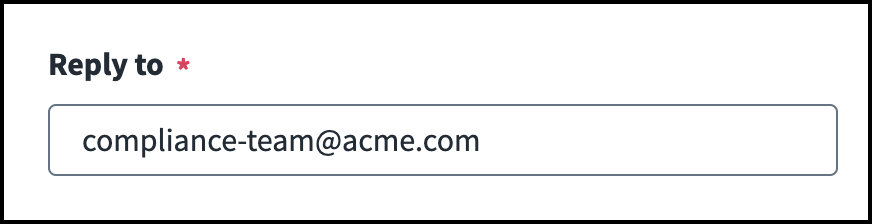
You can change the email address that displays in the 'To:' field of notification replies by editing the Reply to field on a templates configuration page.

Note
In the Reply To field, if and else conditions can be used.
Setting the 'From:' Address
'From:' addresses are set globally for all emails sent from Identity Security Cloud, for the whole tenant or per brand, rather than as a per-template configuration.
Testing Email Templates
Test email templates you have changed to verify that the content will display as intended when they are sent to your system users. You can do this per email template after you save changes.
- Go to Admin > Global > Email Templates.
- Select Settings.
- Choose Test Address, enter the email address you want to use. Defaults to the email address of the logged-in user. An audit event is created when the test address is changed.
- Select Save.
- Choose the desired email template, edit as needed, and select Save.
- Select Test Email. The email message is sent to the test address.
- When you’ve finished testing, set the Email Settings to send all emails to the Intended Recipients.
Notes
- Only global variables render within the generated test email. The other variables are populated by the process that triggers the email and are null in the email test.
- Conditional sections of the message are not included in the test emails.
- Recipient variables are also included. This comes in the form of
$__recipientand$uservariables.$useris only valid for version 1 templates.
Redirecting Emails
In non-production tenants, admins commonly redirect all emails to a test address rather than allowing them to be sent to business users. To configure this redirection:
-
Go to Admin > Global > Email Templates.
-
Select Settings.
-
Choose Test Address, enter the email address you want to use, and select Save.
An audit event is created when the test address is changed.
Caution
Use this option with care in a production environment. All emails will be redirected until you return to this page and choose Intended Recipients.
Disabling Email Notifications
By default, all email notifications are enabled, with the exception of the Pending Task Daily Digest, which must be manually enabled.
Some system notifications can be enabled or disabled through process configurations. For example, you can choose to send or suppress emails related to:
Note
Currently, it is not possible to customize email notifications on a user-level basis.
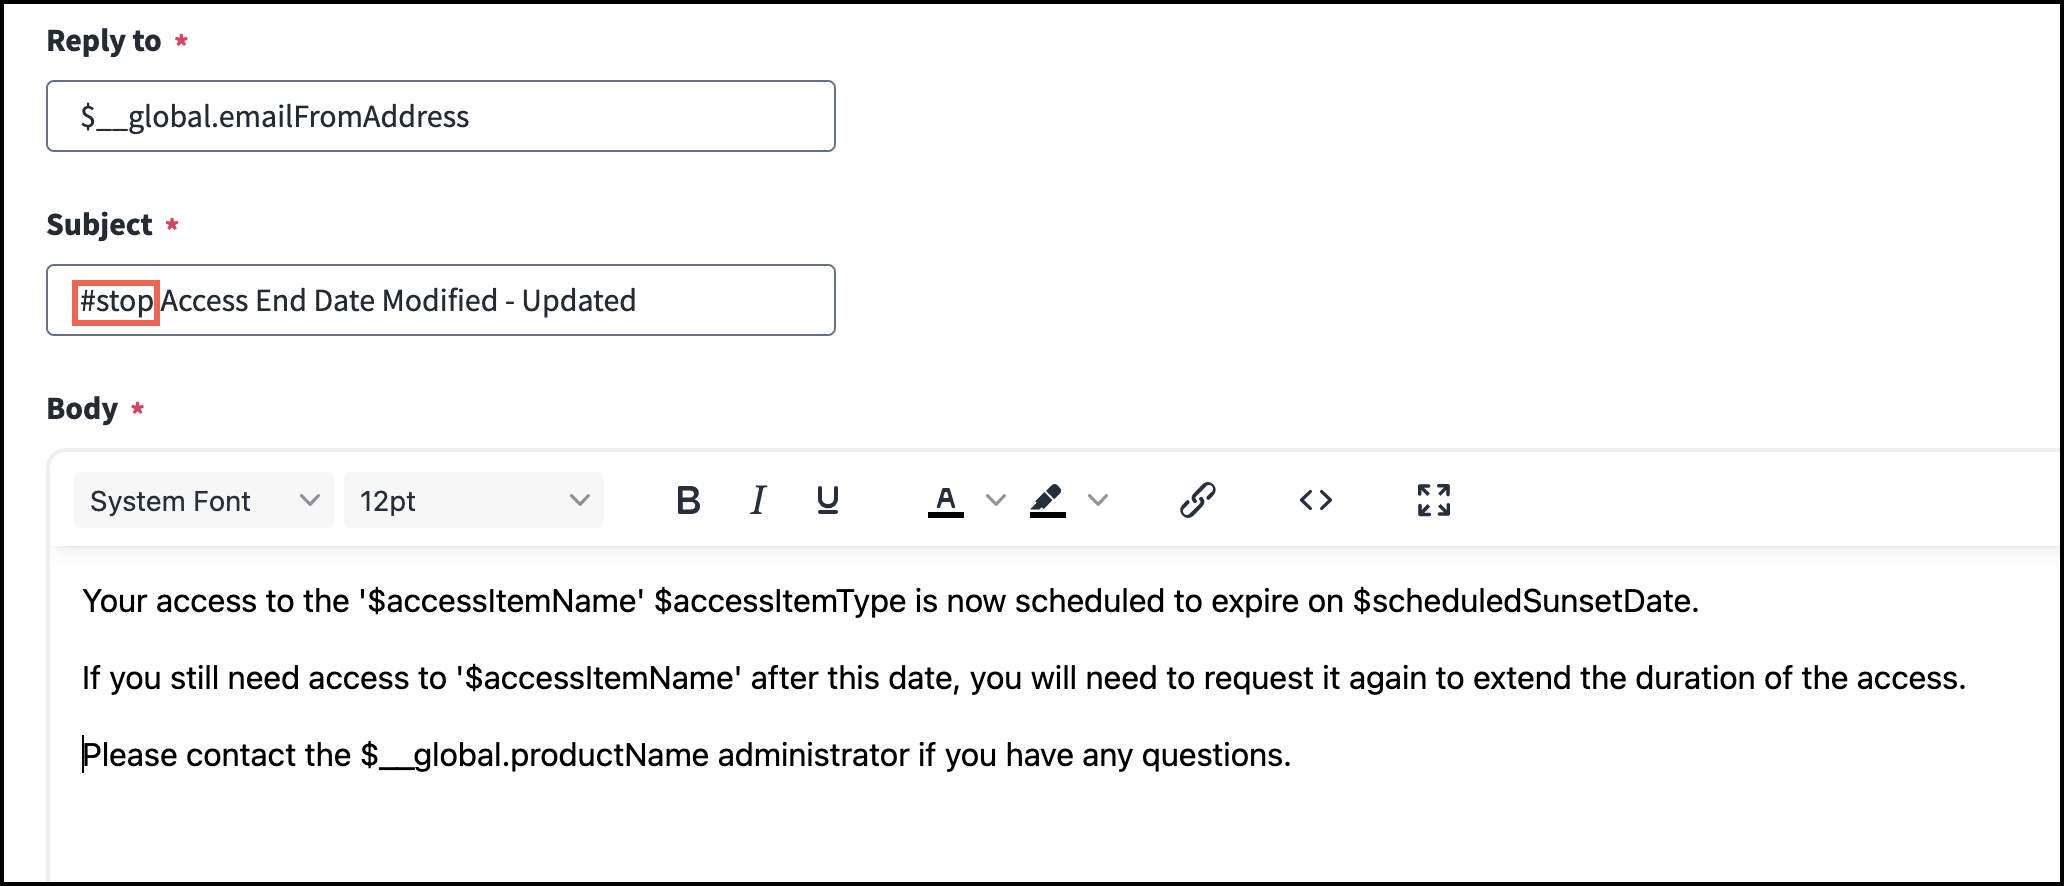
You can also prevent Identity Security Cloud from sending emails on a per-email-template basis by specifying any of the following keywords as the first word in the template’s Subject field:
Note
The following keywords are not case sensitive.
- no_send
- Stop
Caution
Disabling an email notification through an email template will override notification settings made through process configurations. Ensure that disabling an email notification globally does not affect password reset methods, certification campaigns, non-employee requests, or other processes.
Best Practice
Leave the rest of the subject text intact to simplify future reinstatement of the template.
Documentation Feedback
Feedback is provided as an informational resource only and does not form part of SailPoint’s official product documentation. SailPoint does not warrant or make any guarantees about the feedback (including without limitation as to its accuracy, relevance, or reliability). All feedback is subject to the terms set forth at https://developer.sailpoint.com/discuss/tos.