Creating and Managing Governance Groups
A governance group is a group of users that can make governance decisions about access. If your organization has the Access Request or Certifications service, you can configure governance groups to review access requests or certifications. A governance group can determine whether specific access is appropriate for a user.
Before reviewing access, a governance group must be configured and have members. Governance groups provide control over who will review requests and the flexibility for multiple reviewers. When it's a group's turn to review an access request or certification, every user in the governance group will receive a notification. Any member of the group may take the requested action on behalf of the group.
Creating a Governance Group
You'll need to create a governance group before you can use the group to manage access.
-
Go to Admin > Identities > Governance Groups.
-
Select Create Group.
-
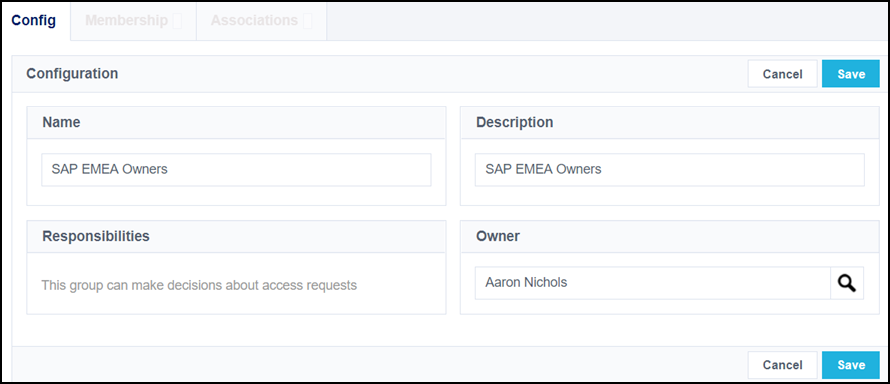
In the Configuration section, enter a Name, Description, and Owner for the group.
-
Select Save.
Your governance group is created and appears in the list of governance groups.
-
Select the Membership section in the left navigation.
-
Select Add Members.
-
Select identities to add to this governance group. Use the search bar to search for specific identities.
You can remove members from this governance group by selecting the checkbox beside the identities' names and selecting Remove Members.
-
Select Add.
Your governance group has been created and it can be added to the list of reviewers for an access request. It can also be assigned as a source owner, or to a separation of duties policy.To use the source sub-admin user level based on this governance group, refer to Associating a Governance Group with a Source.
When a governance group is assigned to one or more of these items, that item appears in the Associations section of the governance group.
To delete governance groups you've created, from the list of governance groups, select the checkbox next to each group you want to delete and select Delete Groups.
Notes
-
Governance groups don't update automatically when the lifecycle state for an identity changes from active to inactive, or when an identity is disabled. You will need to keep track of the identities in your groups to make sure the right members are governing the right access.
-
If only one active identity remains in the governance group, they become the approver and will receive all requests and notifications for that group.
-
If a governance group is empty, any work assigned to that group will be routed to the Org Admin.
Associating a Governance Group with a Source
To take advantage of Identity Security Cloud's scoped access, you can associate a source with a governance group and grant select users a sub-admin user level. Sub-admins can perform some actions only on the sources associated with the governance groups they are members of. The source and the user receiving the sub-admin user level must both be associated with the governance group.
To associate a source with a governance group:
-
Go to Admin > Connections > Sources.
-
Select the source you would like to associate with a governance group.
-
In the Source Setup > Base Configuration section, go to the Governance Group for Source Management (Optional) section. Select the governance group you want to associate with the source.
-
Select Save to associate the governance group with the source.
The users in this governance group are granted access to parts of this source or its access based on their user levels, assigned separately.
If the users in the governance group have the source sub-admin user level, they can make changes to the source and accounts on that source.
If the users in the governance group have the role sub-admin user level, they can make changes to roles that grant only access from the source they're assigned to.
Users in the governance group that do not have either of these user levels are not granted any access.
For more information about the access granted by user levels, refer to the User Level Access Matrix.
Documentation Feedback
Feedback is provided as an informational resource only and does not form part of SailPoint’s official product documentation. SailPoint does not warrant or make any guarantees about the feedback (including without limitation as to its accuracy, relevance, or reliability). All feedback is subject to the terms set forth at https://developer.sailpoint.com/discuss/tos.