Managing Access Request Segments
You can use segments to limit specific access items to a targeted set of users. Segments represent a set of identities that have been grouped based on identity attributes. Admins can add access items to segments to make this access visible only to users included in these segments.
When access requests are allowed in a tenant and a user in a segment visits the Request Center, they are presented with access items defined in their segment as well as access items that are not included in any segment and are therefore requestable by anyone.
When access items are part of a segment, users must also be in that segment in order to view and request those items. If the requester can see access items, they can request them for anyone they are authorized to request on behalf of.
Creating an Access Request Segment
- Go to Admin > Access Model > Segments.
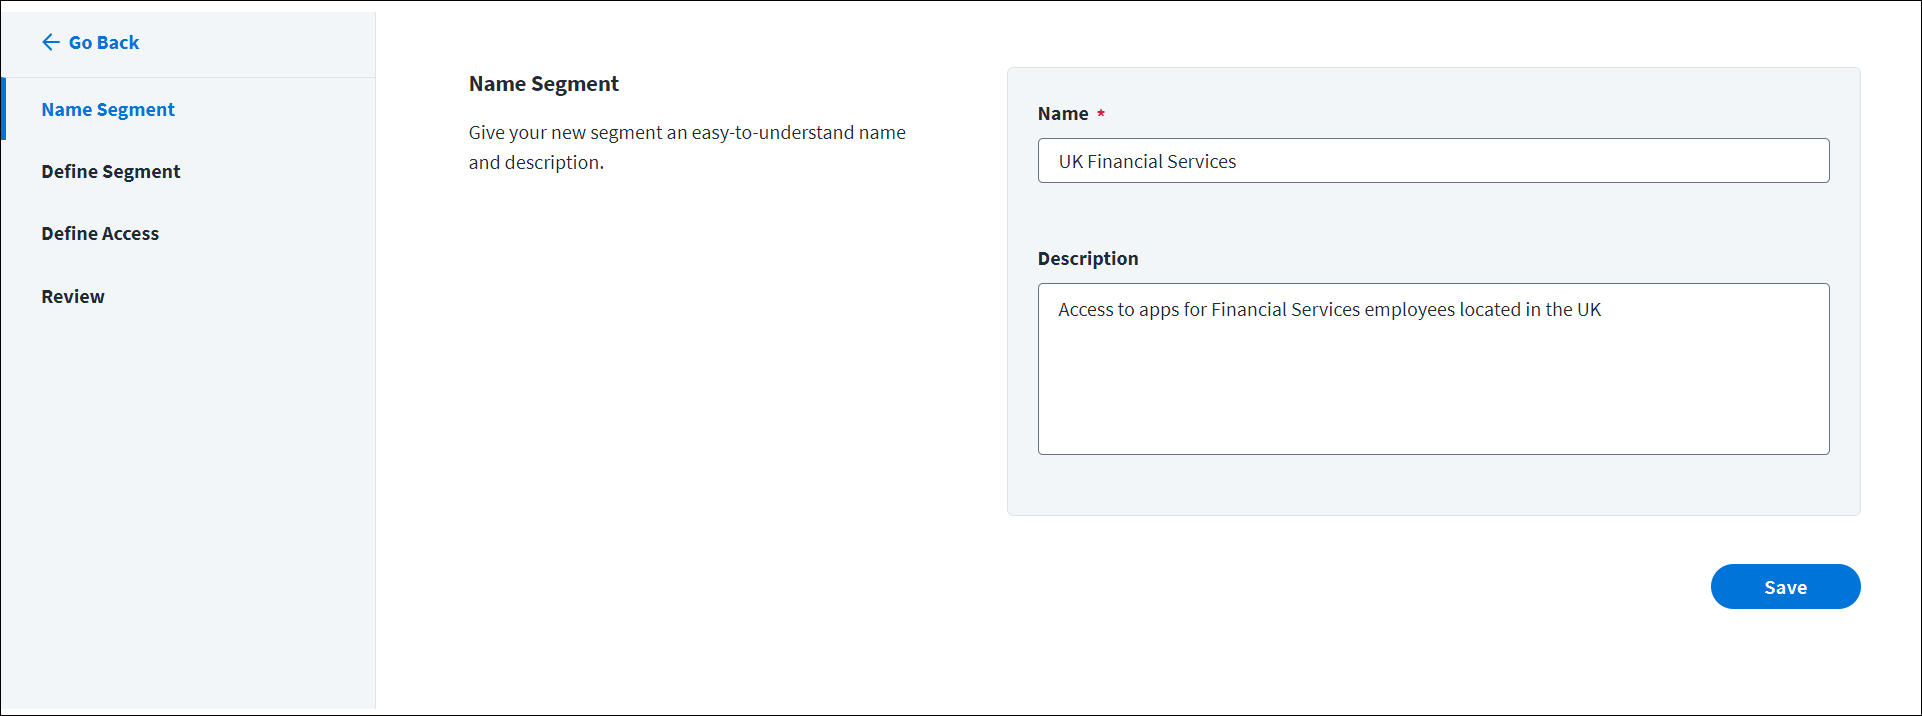
- Select New to display the Name Segment page.
-
Enter a unique name and description to differentiate the segment from others and select Save.
The segment is now saved in the Segments list on the Access Request Segments page. You can select a segment from this list to define the segment identities and the access that's appropriate for those identities.
To edit an existing segment, select the segment name from the list on the Access Request Segments page and select Edit Segment in the details window.
Note
After a segment is created or edited, it may take about 20 minutes for changes to appear or go into effect for users, depending on other system processes. This includes, but is not limited to, the number of segments edited and identities impacted as well the type of access items included in the segment. For instance, entitlements may take longer to sync than access profiles or roles.
Defining Segment Identities
Select identity attribute types and values for identities you want to include in the segment. A given identity can be added to up to 100 segments.
- Go to Admin > Access Model > Segments and select the segment you want to define identities for.
- In the details window, select Edit Segment.
- Select Define Segment from the left pane.
-
Select attributes and values from the dropdown lists.
Note
When defining a segment, you can use values for mapped identity attributes named in identityProfiles. To leverage other existing identity data, you can create an identity attribute mapped to the value you want to use for segmentation, then use that attribute and value in your segment definition.
-
Select Add Criteria
 for each identity attribute and value combination you want to add to the segment. As you do this, the table lists identities that meet the membership criteria.
Tip
You can add one value per identity attribute. To compare attributes using an OR comparison, create two separate segments.
-
When you are done adding identity attributes to the segment, select Save.
Note
Regardless of their segmentation, org administrators can view and submit requests for all access items and applications in the Request Center.
Defining Segment Access
Add access profiles, entitlements, and roles to the segment. These will be used to determine the access that users in the segment can request. A given access item can be added to up to 100 segments.
- Go to Admin > Access Model > Segments and select the segment you want to define access for.
- Select Edit Segment.
- Select Define Access in the left pane.
- Search for the access profiles, entitlements, and roles you want to add to the segment.
-
Add access items to the segment:
-
Select the checkboxes next to the access items you want to include and select + Add to Segment.
Caution
For Entitlements, the Direct Privilege column indicates those that require privileged credentials to access. This column gives you the visibility to appropriately govern privileged entitlements in a segment. Values may be High, Medium, Low, or None. Refer to Working with Entitlements on Sources.
-
In the Actions column, select Add to Segment
for the access items you want to include.Note
You can add as many items to a segment as you need, though only up to 50 can be added at a time. To include more than 50 items in your segment, you need to repeat these steps to add and save them to your segment in batches of 50 or fewer.
-
-
To remove access items from the segment, select Remove from Segment
 in the Actions column for the items you want to remove.
 - When you are done adding access items to the segment, select Save.
Reviewing the Segment
Review the identity attributes and access items in the segment. After you have reviewed the segment and determined that it is ready to use, you'll need to enable the segment to use it with access requests.
- Go to Admin > Access Model > Segments and select the segment you want to review.
- Select Edit Segment.
- Select Review in the left pane to display the identity attributes, access profiles, entitlements, and roles in the segment.
-
To edit the segment, select the related item in the left pane.
Important
Select Save on each page you make changes to.
-
When you are done reviewing, select Save to save the segment.
Enabling and Disabling Segments
After you have created and defined a segment, you must enable it to start using it with access requests. To stop using a segment, you’ll need to disable it. After you disable a segment, the access items in that segment will be visible to all requesters unless you've defined another segment to include those items.
To enable and disable segments, use the Yes/No toggle controls from the:
- Enabled column of the Segments list
- Window launched after selecting a segment name from the Segments list
Documentation Feedback
Feedback is provided as an informational resource only and does not form part of SailPoint’s official product documentation. SailPoint does not warrant or make any guarantees about the feedback (including without limitation as to its accuracy, relevance, or reliability). All feedback is subject to the terms set forth at https://developer.sailpoint.com/discuss/tos.