Connector Encrypted Secrets
Purpose
For organizations that require all secrets stay within their data boundaries thus requiring SailPoint Entro to never store the actual secret value when onboarding customer's integrations.
Overview
-
Generate a new 2048-bit RSA key pair on the SailPoint Entro Outpost Connector.
-
Set the
SECRET_PRIVATE_KEY=value in the.env-connectorfile for the SailPoint Entro Outpost Connector container. -
Encrypt Service Account secret/credentials that will be used by SailPoint Entro to connect to integration service with new RSA key.
-
Configure integration(s) in SailPoint Entro UI (Accounts & Integrations page) using newly encrypted secret/credential.
Note
Treat private keys and decrypted secrets as highly sensitive.
Note
Rotate keys per your security policy and coordinate rotations with SailPoint Entro. Customers are advised to back up generated RSA key pair using their sanctioned backup solution.
Steps to Use Connector Encrypted Secrets Feature
Public/Private key pair generation
On the SailPoint Entro Outpost Connector perform the following steps with the openssl tools to create the RSA key pair.
-
Verify the openssl tools are installed. If not installed, use the appropriate tools to install on the Connector.
-
Generate the Private Key
-
Generate the Public key
Setting up the Connector container
-
Ensure that the SailPoint Entro Outpost Connector container has been stopped
-
Encode the private key
-
Add encoded value from
private.keyto the Connector's environment variables file,.env-connector -
Restart the SailPoint Entro Outpost Connector container
Secrets Encryption
In order for SailPoint Entro to use the encrypted secrets you will need to encrypt them with the public key and then encode them with base64. The following steps will need to be performed for all integrations configured in the Accounts & Integrations page of the SailPoint Entro UI.
-
Create the service account and associated secret/token/API key in the desired integration service.
-
Store the plaintext secret/token/API key in a file on SailPoint Entro Outpost Connector named
creds.txt -
Encrypt using the generated public key from earlier
-
Encode with base64
-
Copy the now encrypted and encoded secret/token/API key value from the
creds.encrypted.b64.txtfile. -
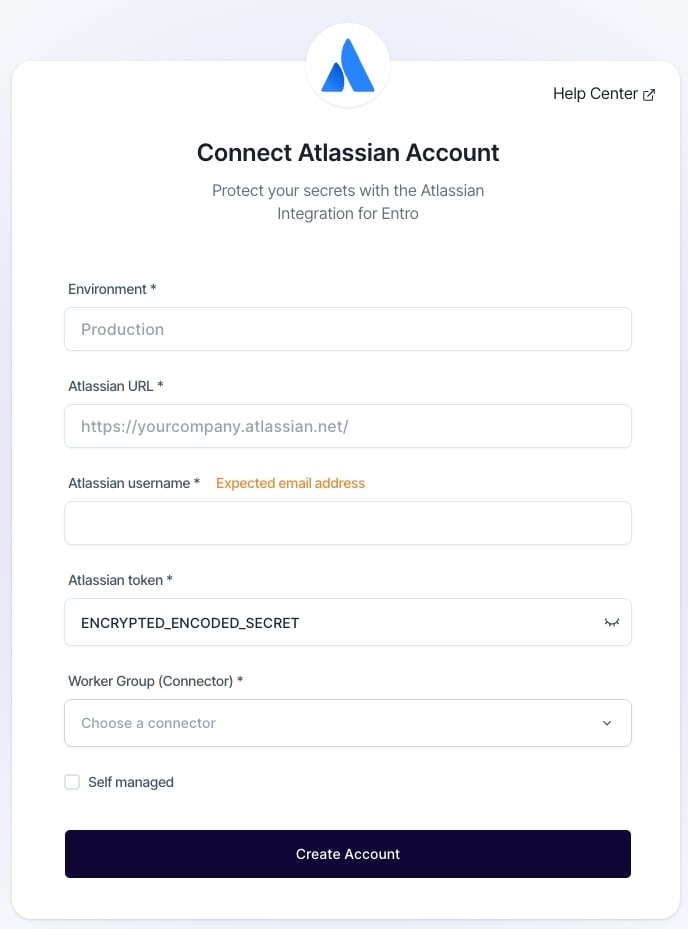
Navigate to SailPoint Entro Portal UI then Management > Accounts & Integrations. Click "+ Add new account" button and choose the desired integration's tile. Paste the encrypted & encoded value from Step 5 into the relevant secret/token field. For example, for Atlassian integration paste into the "Atlassian token" field: