SCIM Configuration (SSO)
By default, SailPoint Entro supports Just In Time (JIT) provisioning of administrators of the SailPoint Entro platform when using Single Sign On (SSO). If desired, SailPoint Entro also supports SCIM 2.0 (System for Cross-domain Identity Management), enabling identity providers (IdPs) such as Okta, Azure, Ping Identity, and others to automatically provision, update, and deprovision users and groups in your SailPoint Entro portal.
Once SCIM provisioning is configured, updates made in the IdP—such as user creation, profile edits, group assignments, or deactivation—are automatically pushed to your SailPoint Entro tenant. These updates are applied to user sessions the next time the user logs in or refreshes their session token (JWT).
SCIM enables centralized identity lifecycle management and is designed to ensure that Descope remains consistent with your IdP's directory.
You can disable JIT provisioning if you would rather rely on just SCIM for user management. However, you can still use JIT provisioning to create users as they log in simultaneously with SCIM, which can be useful for certain use cases.
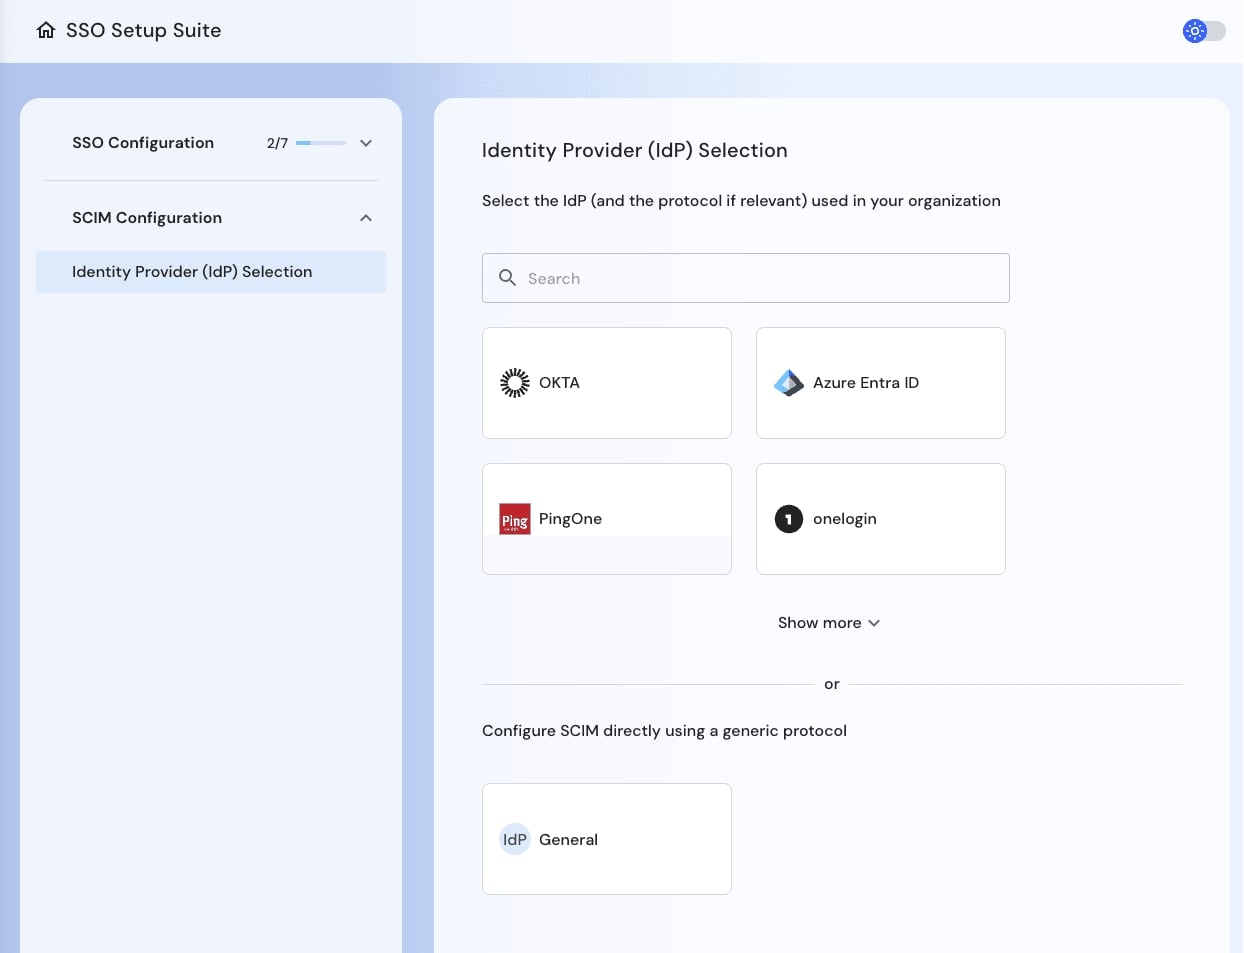
Identity Provider (IdP) Selection
Once you have entered the SCIM configuration section, you'll be prompted to select your IdP; note that the list of supported providers can be expanded by selecting Show More. You can also generically configure SCIM by selecting the General icon. Note that user/group mapping is taken from the above SSO configuration, and any IdP custom attribute is supported.
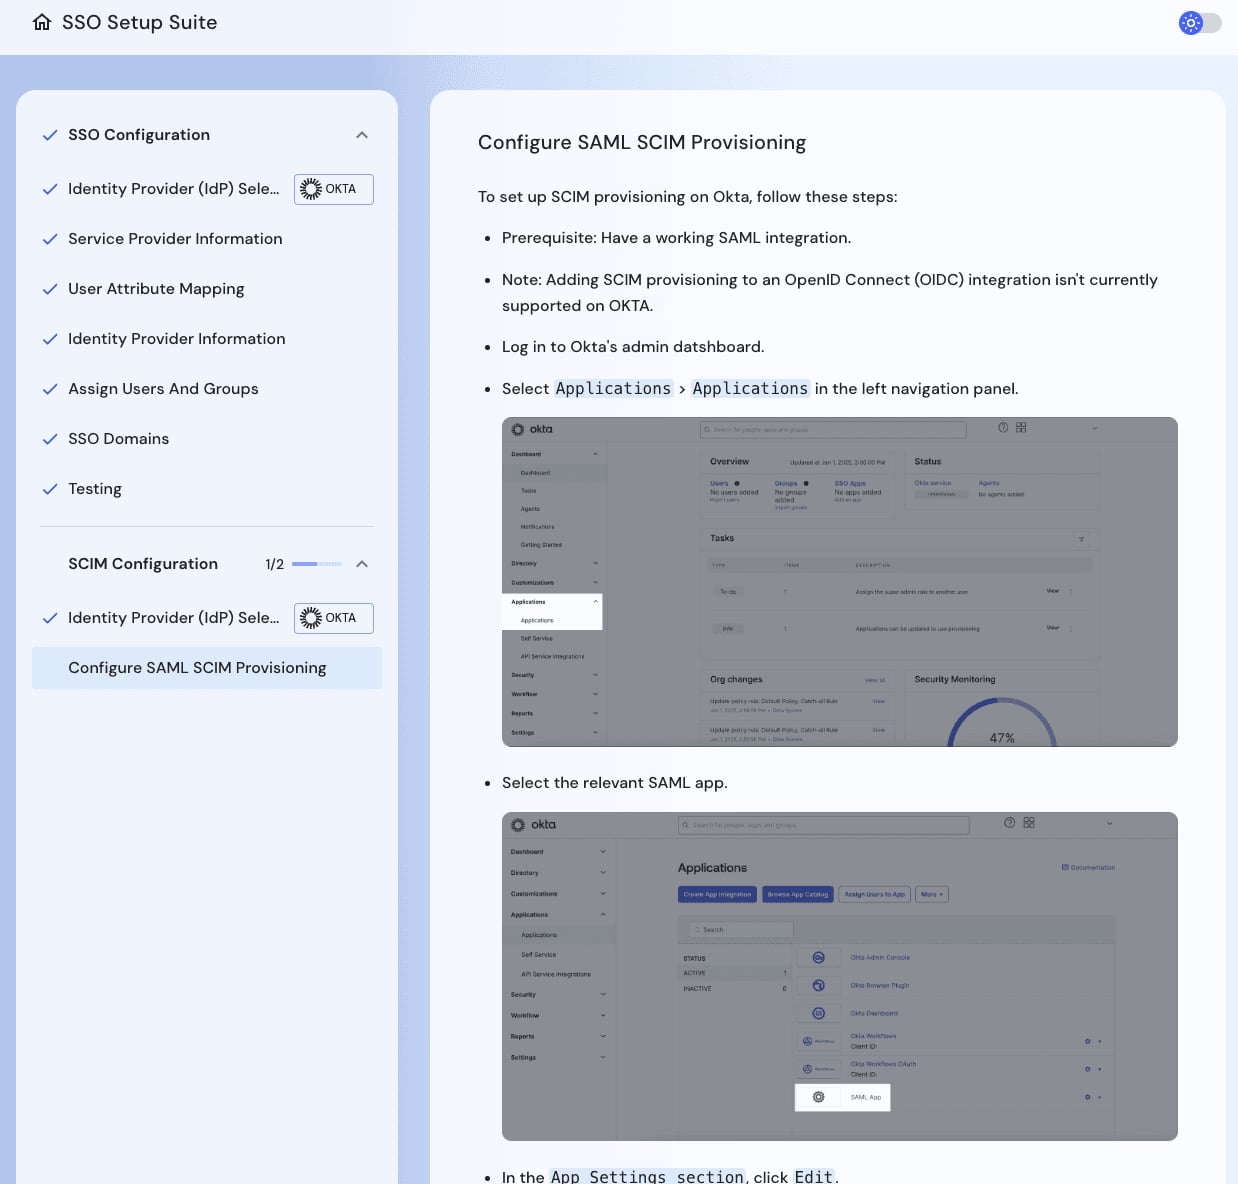
Configure SAML SCIM Provisioning
Once the user has selected a provider, the guide will populate and walk the user through configuring SCIM within the provider application.
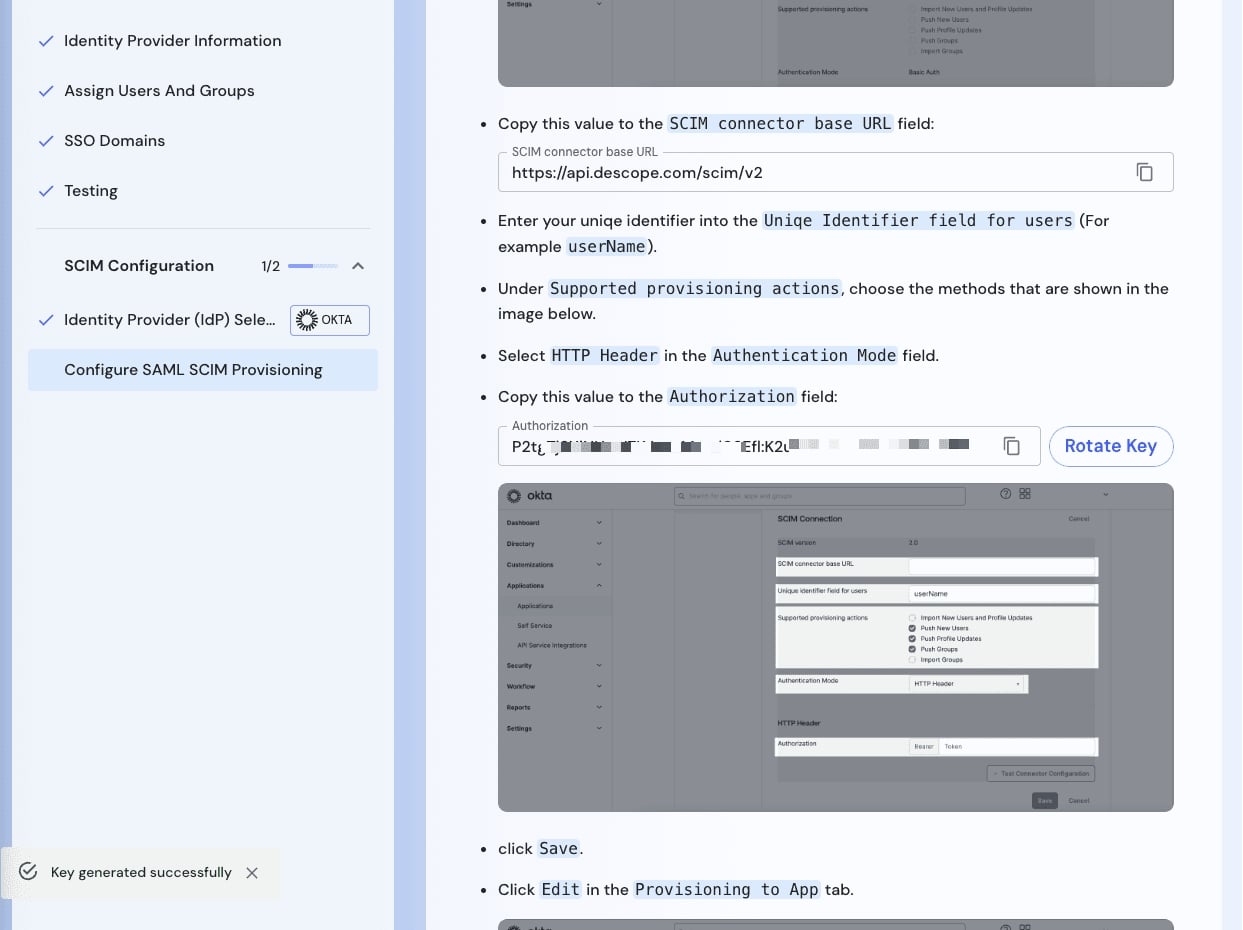
URL and Access Key Generation
While working through the SCIM configuration, you will be given the base URL for provisioning, which, if you have a custom domain configured, this URL will automatically be updated with your custom domain like auth.example.com. The configuration wizard will prompt you to generate the key to authenticate the SCIM actions. This will create a formatted access key with the correct permissions.
Finishing the SCIM Configuration
Once you have finished configuring SCIM, you can click the finish button, which will return you to the start of the wizard if you need to make any additional changes.