Inactivity Report
The Inactivity report shows users who have been inactive in an application for a set period of time. You can use this data to improve your license utilization and identify possible compliance issues.
Creating Inactivity Reports
- From the navigation menu, select Usage.
- Under Usage by Vendor, select Direct.
-
Select the application you want to review inactive users for.
Note
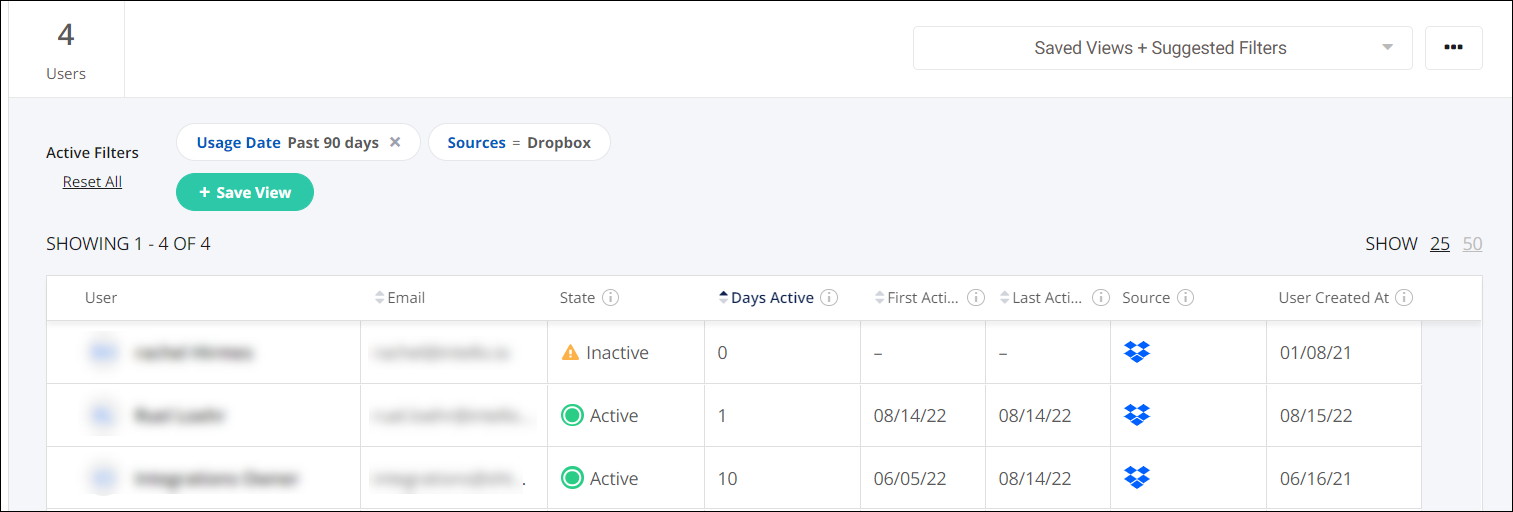
For Zoom integrations, you can access inactivity reports by selecting an option from the Saved Views + Suggested Filters dropdown list. For example, you can select Zoom Pro users live in the last 90 days.
-
Select the Usage Date tile.
-
Select the time period you want to review. You can choose one of the default time durations or select Fixed dates to set a specific time period.
-
Select Apply Date Filter to apply the filter.
-
Select the Days Active column to sort inactive users to the top of the column.
After you’ve created this report, you can:
- Save the report for future viewing by selecting + Save View. The report will appear in the Saved Views + Suggested Filters dropdown list.
- Create a scheduled report by selecting Options > Launch Report.
- Export the data to a .csv file by selecting Options > Export to CSV. The .csv file will list and display the number of inactive users.
Documentation Feedback
Feedback is provided as an informational resource only and does not form part of SailPoint’s official product documentation. SailPoint does not warrant or make any guarantees about the feedback (including without limitation as to its accuracy, relevance, or reliability). All feedback is subject to the terms set forth at https://developer.sailpoint.com/discuss/tos.