Workday Financials
SaaS Management integrates directly with Workday Financials to uncover your organization's software subscriptions. After you complete the integration, you can use this data to make informed decisions on upcoming renewals and redundant applications to help you reduce your SaaS spend.
Important
This documentation describes the steps to integrate and pull spend data from Workday Financials. If you want SaaS Management to pull usage data, you must integrate Workday.
Integrating with Workday Financials
You must have admin access in Workday to authenticate the application with SaaS Management.
Note
Before you integrate the applications, make sure you have signed out of your individual account within your organization and are signed in to the appropriate service account with the required permissions.
Enabling OAuth 2.0 Clients in Workday
Before you can integrate Workday Financials with SaaS Management, you must enable OAuth 2.0 in your Workday instance.
-
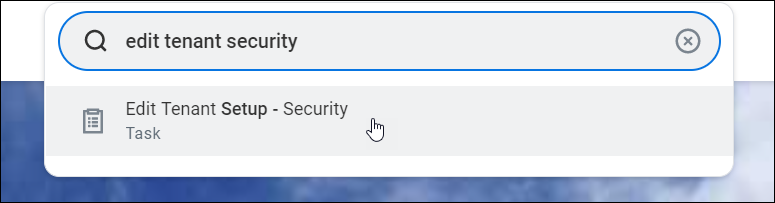
On the Workday home page, enter "Edit Tenant Setup - Security" in the search bar and select the related task.
-
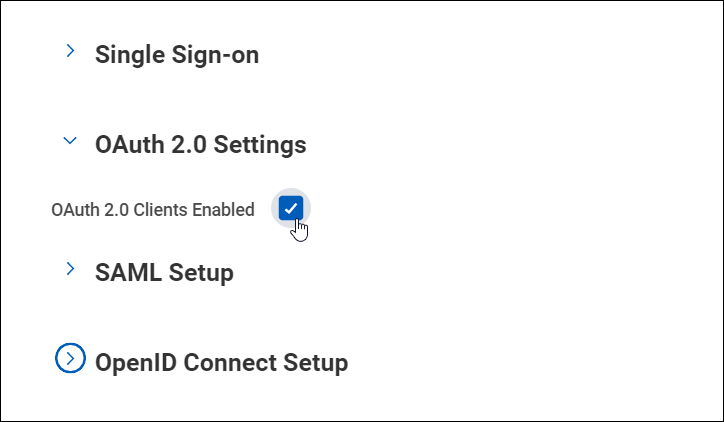
In the OAuth 2.0 Settings section, select the OAuth 2.0 Clients Enabled checkbox to enable OAuth 2.0.
-
Select OK to save your changes.
You can now register an API Client in Workday to generate a Client ID and Client Secret that you'll use to connect Workday and SaaS Management.
Registering API Clients in Workday
-
On the Workday home page, enter "Register API Client" in the search bar and select the related task.

-
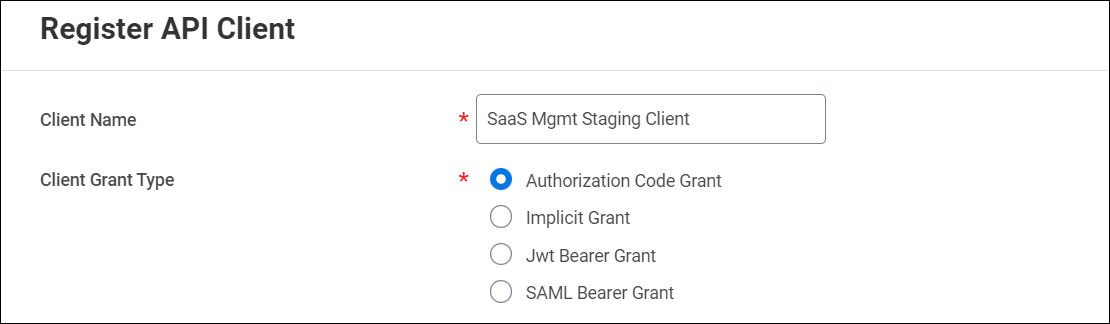
Enter a descriptive name for the API client to differentiate it from others. For example, you can name the API client "SaaS Management Staging Client".
-
For Client Grant Type, select Authorization Code Grant.
-
For Access Token Type, select Bearer.
-
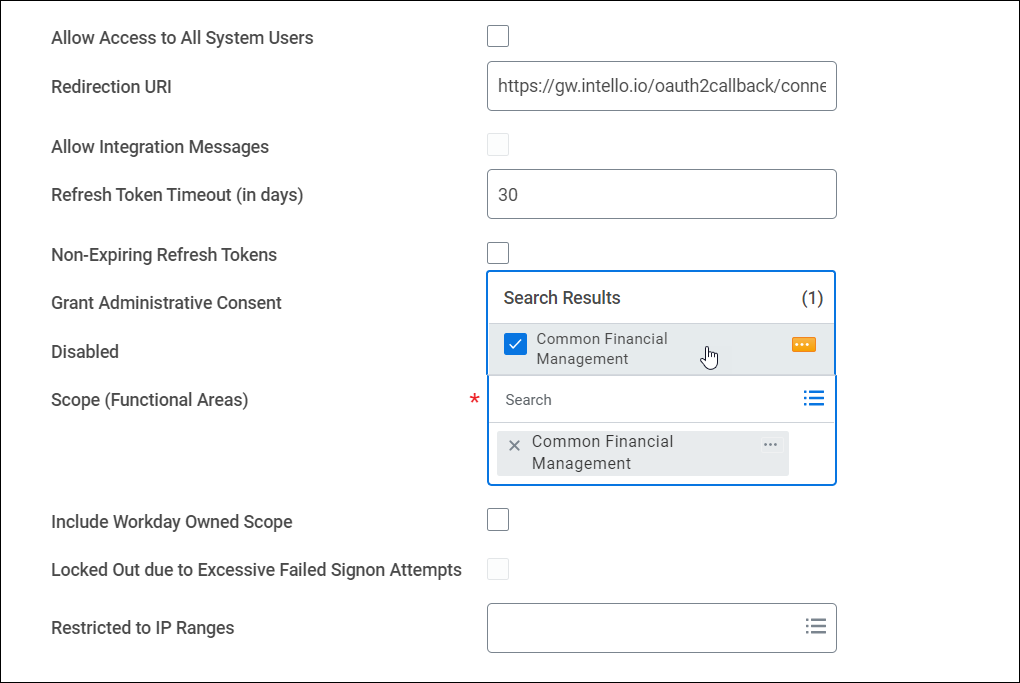
In the Redirection URI field, enter
https://gw.intello.io/oauth2callback/connect/workday-financials. -
For Refresh Token Timeout (in days), use the default 30 days.
-
In the Scope (Functional Areas) field, search for and add Common Financial Management. This functional area is required to integrate Workday Financials with SaaS Management.
-
To enable SaaS Management to report on all payments in your dashboard, search for and add the Banking and Settlement functional area to the Scope (Functional Areas) field.
If you want SaaS Management to report only on specific payment types, add the functional areas for the domain security policies listed in the table in the Security section of the Workday help documentation.
For example, say you want SaaS Management to only report on supplier invoice payments. In this case, the user would search for and add the Supplier Accounts functional area to the Scope (Functional Areas) field since the Supplier Invoice Payment/Settlement domain policy is included in the Supplier Accounts functional area.
-
After you’ve added the functional areas, select OK to generate a Client ID and a Client Secret.
-
Copy and store the Client ID and Client Secret in a safe place. You'll need these credentials to connect Workday Financials to SaaS Management.
Caution
Do not close this page without copying your Client Secret. You won't be able to access it again.
Updating Domain Security Policies in Workday
To complete the integration, you must create or add an existing user to a new security group with the appropriate permissions.
Creating an Integration System User
You can use an existing user or create a new user dedicated to this integration. We recommend you create a new user specifically for the integration. You can assign the role to an existing user, but if that user leaves, the integration will no longer function.
-
On the Workday home page, enter "Create Integration System User" in the search bar and select the related task.

-
Enter a descriptive name for the user to differentiate it from others. For example, you can use "SailPoint SaaS Management User".
-
Enter a password that meets the listed requirements.
-
Verify your password.
-
Select OK to create the user.
Creating an Integration Security Group
-
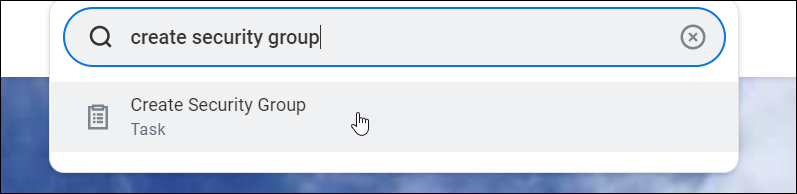
Enter "Create Security Group" in the search bar and select the related task.
-
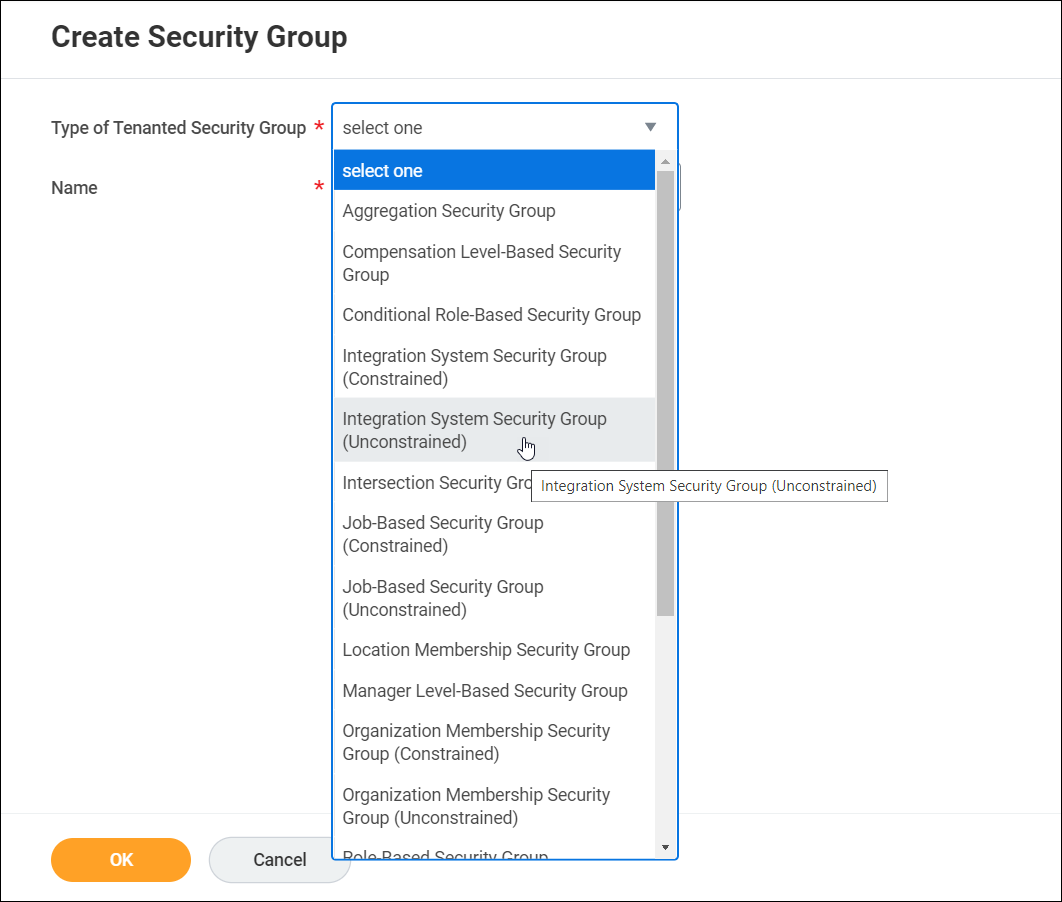
Select Integration System Security Group (Unconstrained) from the Type of Tenanted Security Group dropdown menu.
-
Enter a name for the new security group and select OK. For example, you can name the security group "ISG_GetPayments".
-
Add the integration system user you created to this security group.
-
Select OK to create the security group.
Setting Permissions for the Security Group
To receive reporting on all payment types, the Security Group for the service account user must have Get access to the following domain security policy:
| Domain Security Policy | Functional Area | Description |
|---|---|---|
| Process: Settlement | Banking and Settlement | Enables users to report on all payment types. |
If you want SaaS Management to report on specific payment types, select Get permission for one or more of the domain security policies listed in table in the Security section of the Workday help documentation.
Important
Selecting a subset of the payment types means that you are explicitly missing certain payment types, and those payments will not be reflected in the SaaS Management dashboard.
-
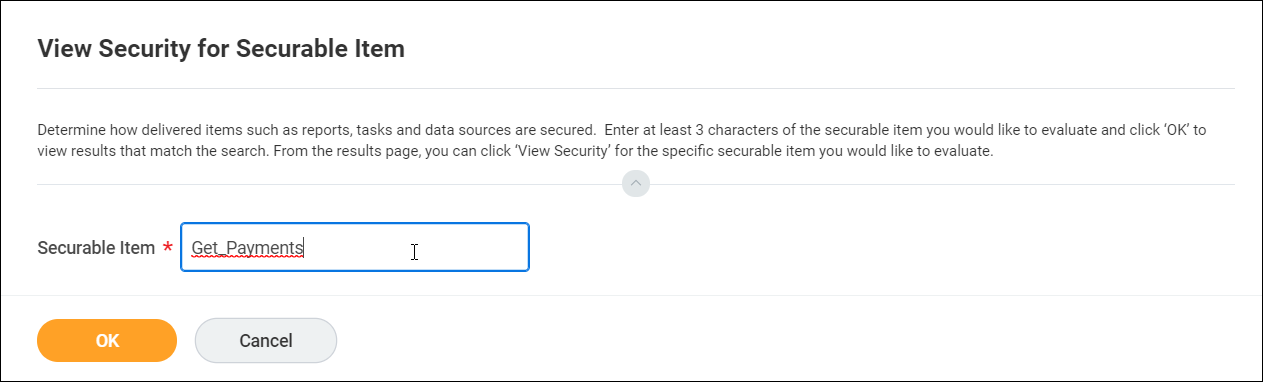
Enter "View Security for Securable Item" in the search bar and select the related report.

-
Enter
Get_Paymentsin the Securable Item field and select OK.
-
Select View Security for the Get Payments (Web Service) (WebService Task) task.
-
Complete the following steps for the security policies you want to add:
- Select the security policy.
- Select Edit Permissions in the lower-left corner of the page.
- In the Integration Permissions section, select the Options menu and search for the security group you created. Add this group to the table.
- Select the checkbox in the Get column to provide this security group with Get access.
- Select OK to save these permissions.
You can now apply these permissions to the security group you created.
Setting Default Currency in Workday
If payments are missing currency reference, SaaS Management pulls the company’s default currency from Workday Financials.
The user must be assigned to a security group with Get permission to the following:
| Domain Security Policy | Functional Area | Description |
|---|---|---|
| Set Up: Company General | Common Financial Management | Users can view individual company reporting. |
Important
The Set Up: Company General policy is required to integrate Workday Financials with SaaS Management.
To set up default currency:
- Select the security policy.
- Select Edit Permissions in the lower-left corner of the page.
-
In the Integration Permissions section, select the Options menu and search for the security group you created. Add this group to the table.
-
Select the checkbox in the Get column to provide this security group with Get access.
-
Select OK to save these permissions.
You can now apply these permissions to the security group you created.
Applying Permissions to the Security Group
-
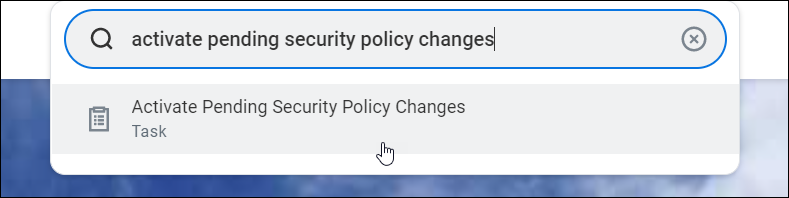
Enter Activate Pending Security Policy Change in the search bar and select the related task.
-
Include a comment that explains why you’re making these changes. For example, you may add "Updated permissions to enable the SaaS Management integration" as a comment. Select OK to continue.
-
Verify the listed permissions and select the Confirm checkbox.
-
Select OK to apply these permissions to the security group.
You now use your Client ID and Client secret to connect Workday to SaaS Management.
Connecting Workday Financials to SaaS Management
-
Go to SaaS Management and select Integrations from the navigation menu.
-
Select the Workday Financials tile.
-
Select Add Integration to open the Authenticate with Workday Financials window.
-
Enter the following information in the appropriate fields:
-
Your Workday Token Endpoint - Your organization's token endpoint in Workday. To view your token endpoint, enter "View API Clients" in the search bar and select the related task.
-
Your Workday Authorization Endpoint - Your organization's authorization endpoint in Workday. To view your authorization endpoint, enter "View API Clients" in the search bar and select the related task.
- The registered API Client ID - The Client ID from Workday.
- The registered API Client Secret - The Client Secret from Workday.
-
-
Select Submit to connect Workday Financials to SaaS Management. You'll be taken to the Workday login page to complete the integration.
-
Enter your Workday credentials and select Sign In.
SaaS Management will begin syncing your Workday Financials data to your dashboard.
Documentation Feedback
Feedback is provided as an informational resource only and does not form part of SailPoint’s official product documentation. SailPoint does not warrant or make any guarantees about the feedback (including without limitation as to its accuracy, relevance, or reliability). All feedback is subject to the terms set forth at https://developer.sailpoint.com/discuss/tos.