Scheduled Reports
Scheduled Reports provide reports for any event, action, or user activity related to SaaS. You can create custom reports, views, or fields and push that data through Slack to users within your organization.
For example, you can create and receive reports when:
- A terminated employee still has a live SaaS license.
- An employee has added a high-risk or unauthorized application.
- A contract needs to be renewed.
Creating Scheduled Reports
- Select Reports from the navigation menu.
- On the Scheduled Reports page, select + New Scheduled Report.
- In the Select Data to Query window, select the data type for your query.
- Select an output for your selection and then select Advance to Build Query.
-
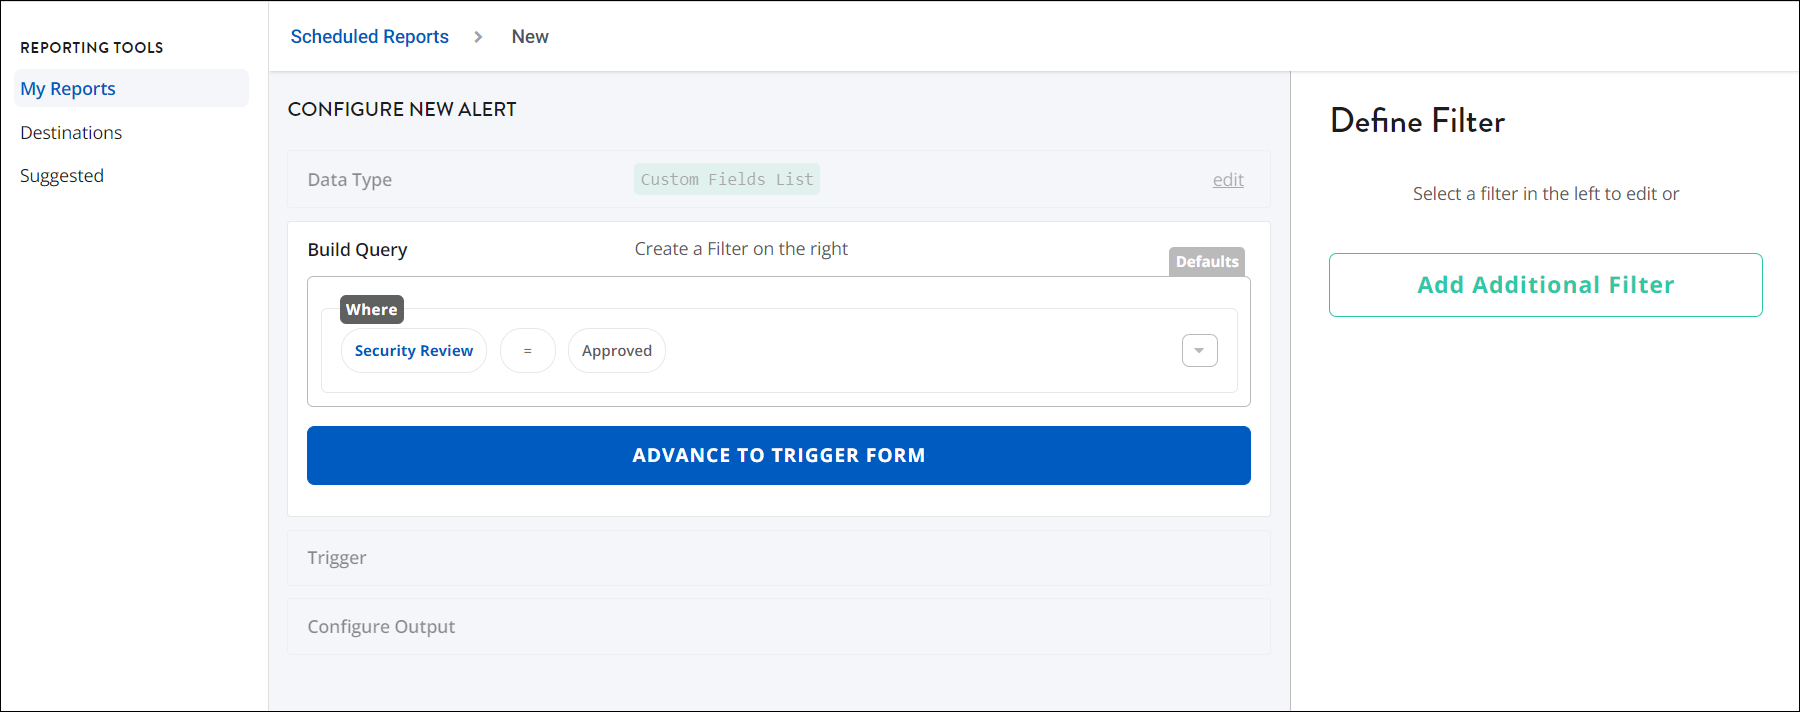
In the Define Filter window, add any filters you want to include in the query. The filters you have selected will appear in the Build Query section.
After you've added your filters, select Advance to Trigger Form. -
In the Select A Time/Date window, select the occurrence, date, and time for the trigger. Select Advance to Output Form to continue.
-
In the Configure Output window, select an output method from the following options:
- Slack - Send reports to users through Slack. You must integrate Slack with SaaS Management to send scheduled reports.
- Microsoft Teams - Send reports to users through Microsoft Teams. You must integrate Microsoft Teams with SaaS Management to send reports.
- Email - Send reports to email addresses. You can send notifications to one or more recipients or to a distribution list.
-
Webhook - Send reports to a specified URL. Reports will be sent in JSON format. You must create a webhook in the Settings menu to use this option.
Tip
You can use a webhook to send a scheduled report and trigger a workflow.
-
Select whether report's results will appear in ascending or descending order.
-
Select the recipients of the report.
Note
Select the Enter key to add multiple email addresses. No comma or semicolon is required.
-
Choose what happens when a report has no results. For example, you can choose whether users will still receive the report.
- Enter the name of your new report in the Name field.
- Select Save Report to create the scheduled report.
Creating Suggested Scheduled Reports
SaaS Management provides suggested filters to use when you create reports.
- Select Reports from the navigation menu.
- From the Reporting Tools list, select Suggested.
- Select a filter to apply.
- (Optional) Add additional filters to the query.
- Select Advance to Trigger Form.
- In the Select A Time/Date window, select the occurrence, date, and time for the trigger. Select Advance to Output Form to continue.
-
In the Configure Output window, select an output method from the following options:
- Slack - Send reports to users through Slack. You must integrate Slack with SaaS Management to send reports.
- Microsoft Teams - Send reports to users through Microsoft Teams. You must integrate Microsoft Teams with SaaS Management to send reports.
- Email - Send reports to email addresses. You can send reports to recipients or to a distribution list.
-
Webhook - Send reports to a specified URL. Reports will be sent in JSON format. You must create a webhook in the Settings menu to use this option.
Tip
You can use a webhook to send a scheduled report and trigger a workflow.
-
Select whether the report's results will appear in ascending or descending order.
-
Select the recipients of the report.
Note
Select the Enter key to add multiple email addresses. No comma or semicolon is required.
-
Choose what happens when a report has no results. For example, you can choose whether users will still receive the report.
- Enter the name of your new report in the Name field.
- Select Save Report to create the scheduled report.
Documentation Feedback
Feedback is provided as an informational resource only and does not form part of SailPoint’s official product documentation. SailPoint does not warrant or make any guarantees about the feedback (including without limitation as to its accuracy, relevance, or reliability). All feedback is subject to the terms set forth at https://developer.sailpoint.com/discuss/tos.
