OneLogin SSO
Adding SaaS Management to your OneLogin SSO
If your organization uses OneLogin SSO to access applications, you can use it to sign in to SaaS Management as well. To use OneLogin SSO to access SaaS Management, you’ll need to add it as a new SAML application within OneLogin, add the required attributes, and add the connection information for OneLogin to SaaS Management.
Important
You must an admin of your OneLogin account to perform these actions.
Creating a new SAML application for SaaS Management
Important
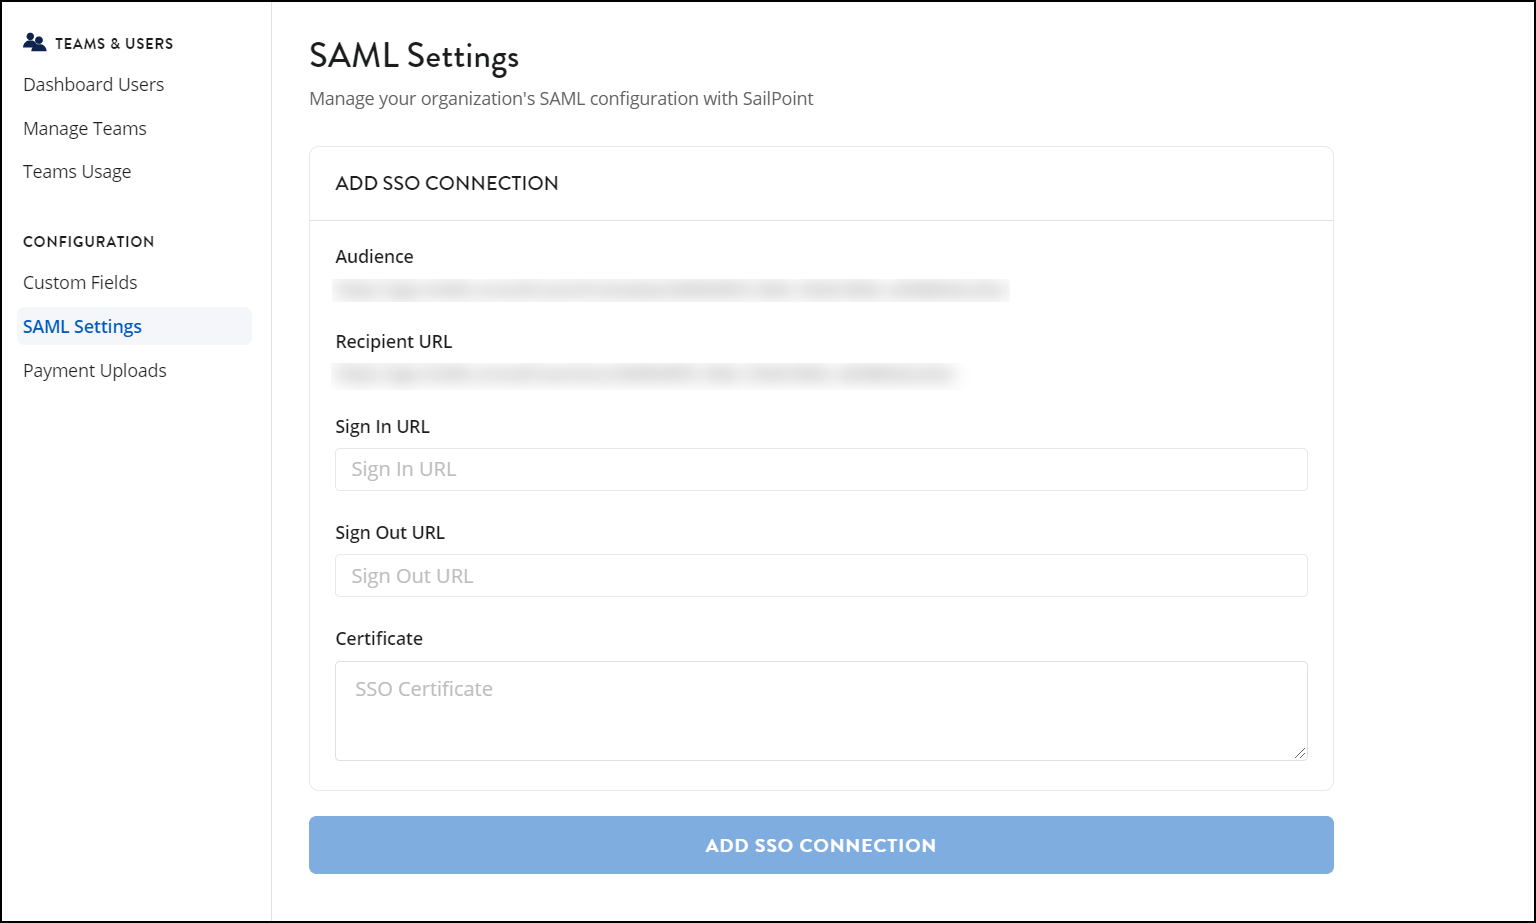
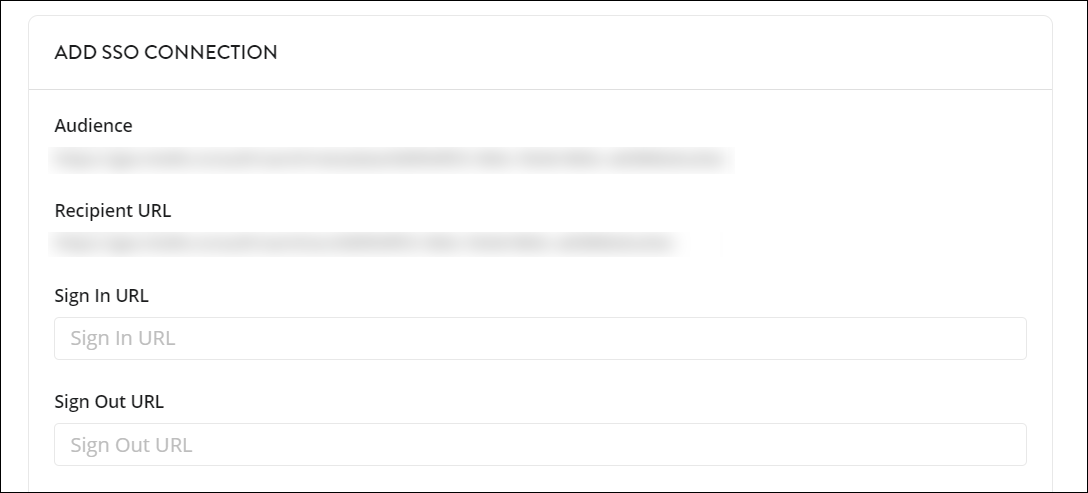
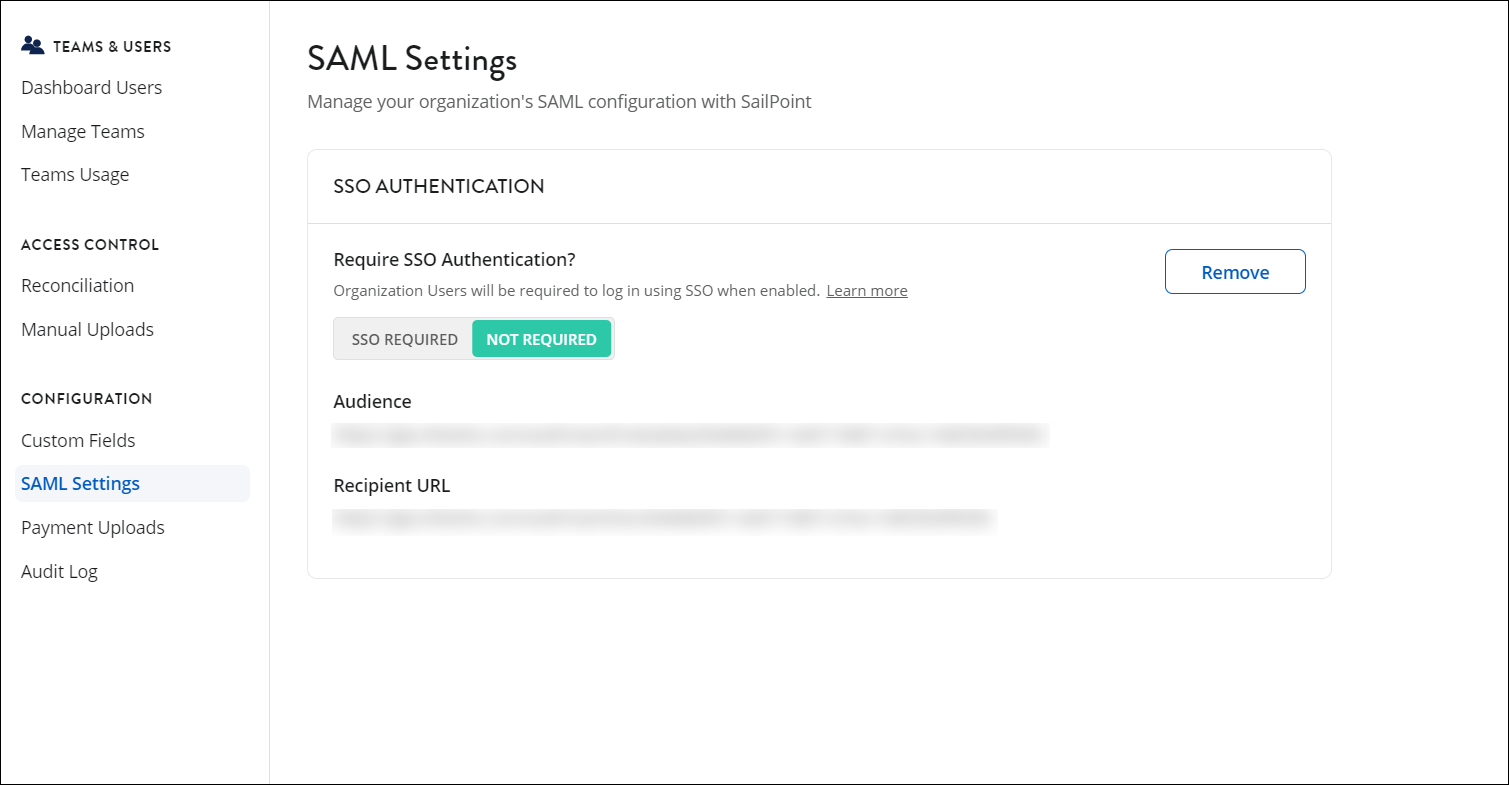
Before you create a new SAML application in OneLogin, go to Settings > SAML Settings in SaaS Management and copy the Audience and Recipient URL values. You'll need these values when you configure the SAML settings for your new application.
To create a new SAML application:
- Log in to your OneLogin admin account.
-
From the OneLogin Admin Console, select Applications > Applications.

-
Select Add App to create a new application.
-
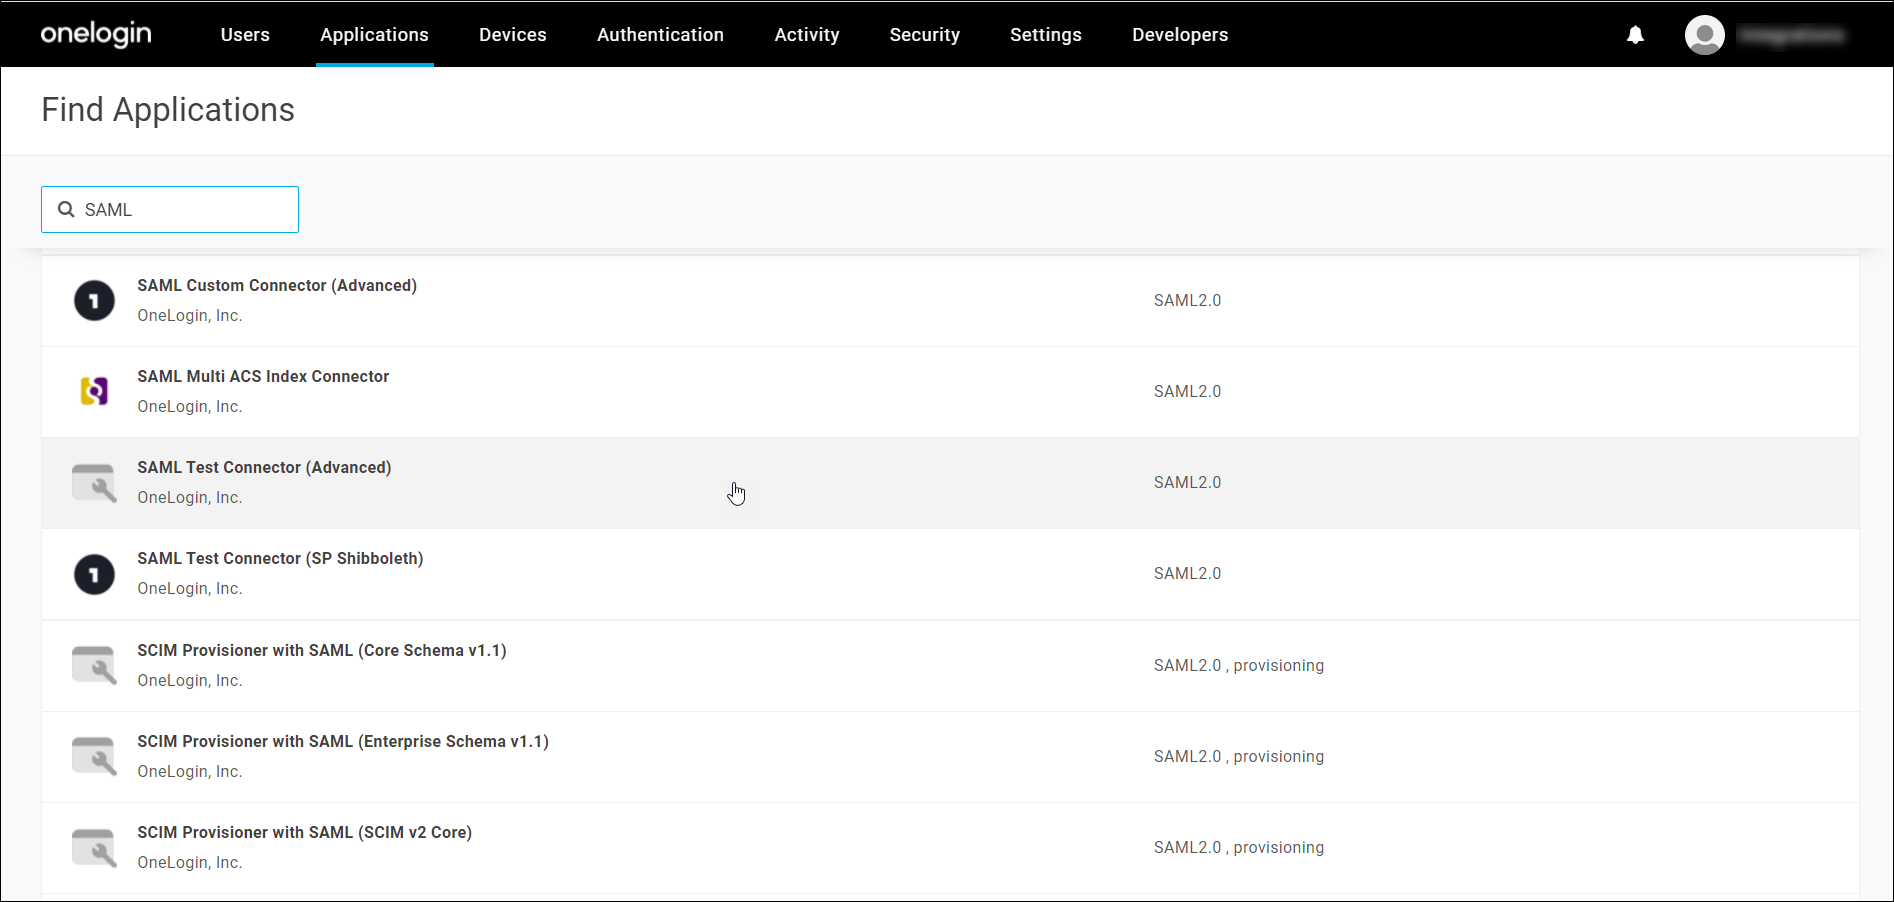
Enter
SAMLin the search bar and select SAML Test Connector (Advanced).
-
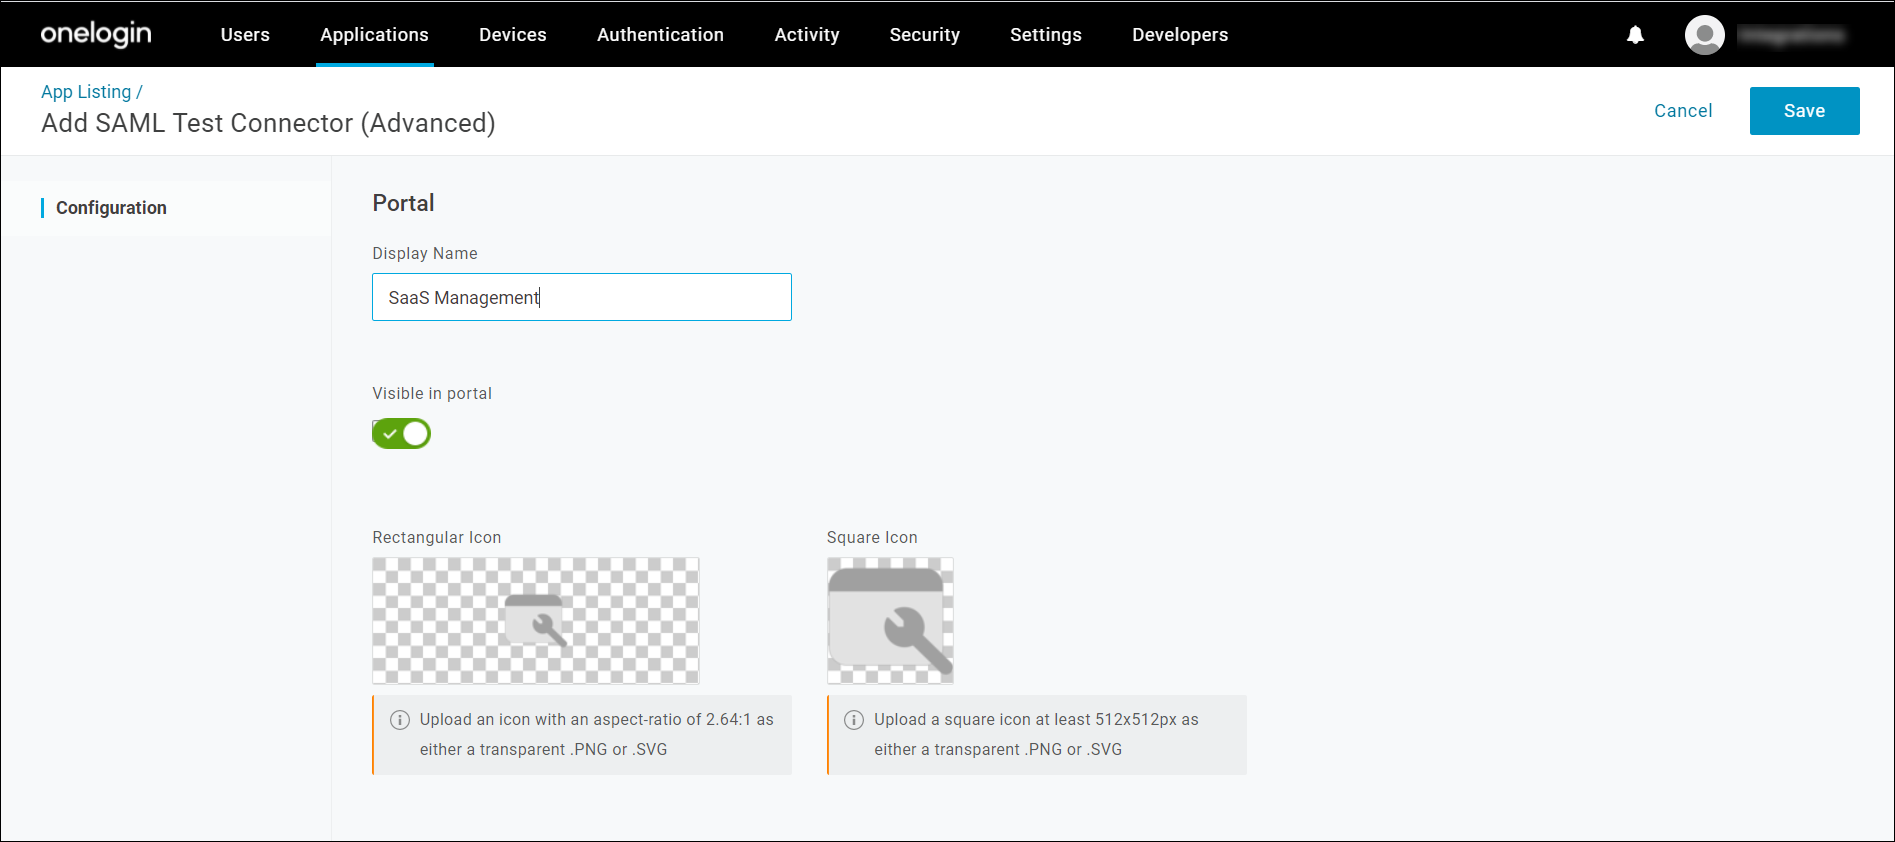
Enter
SaaS Managementin the Display Name field and select Save.
-
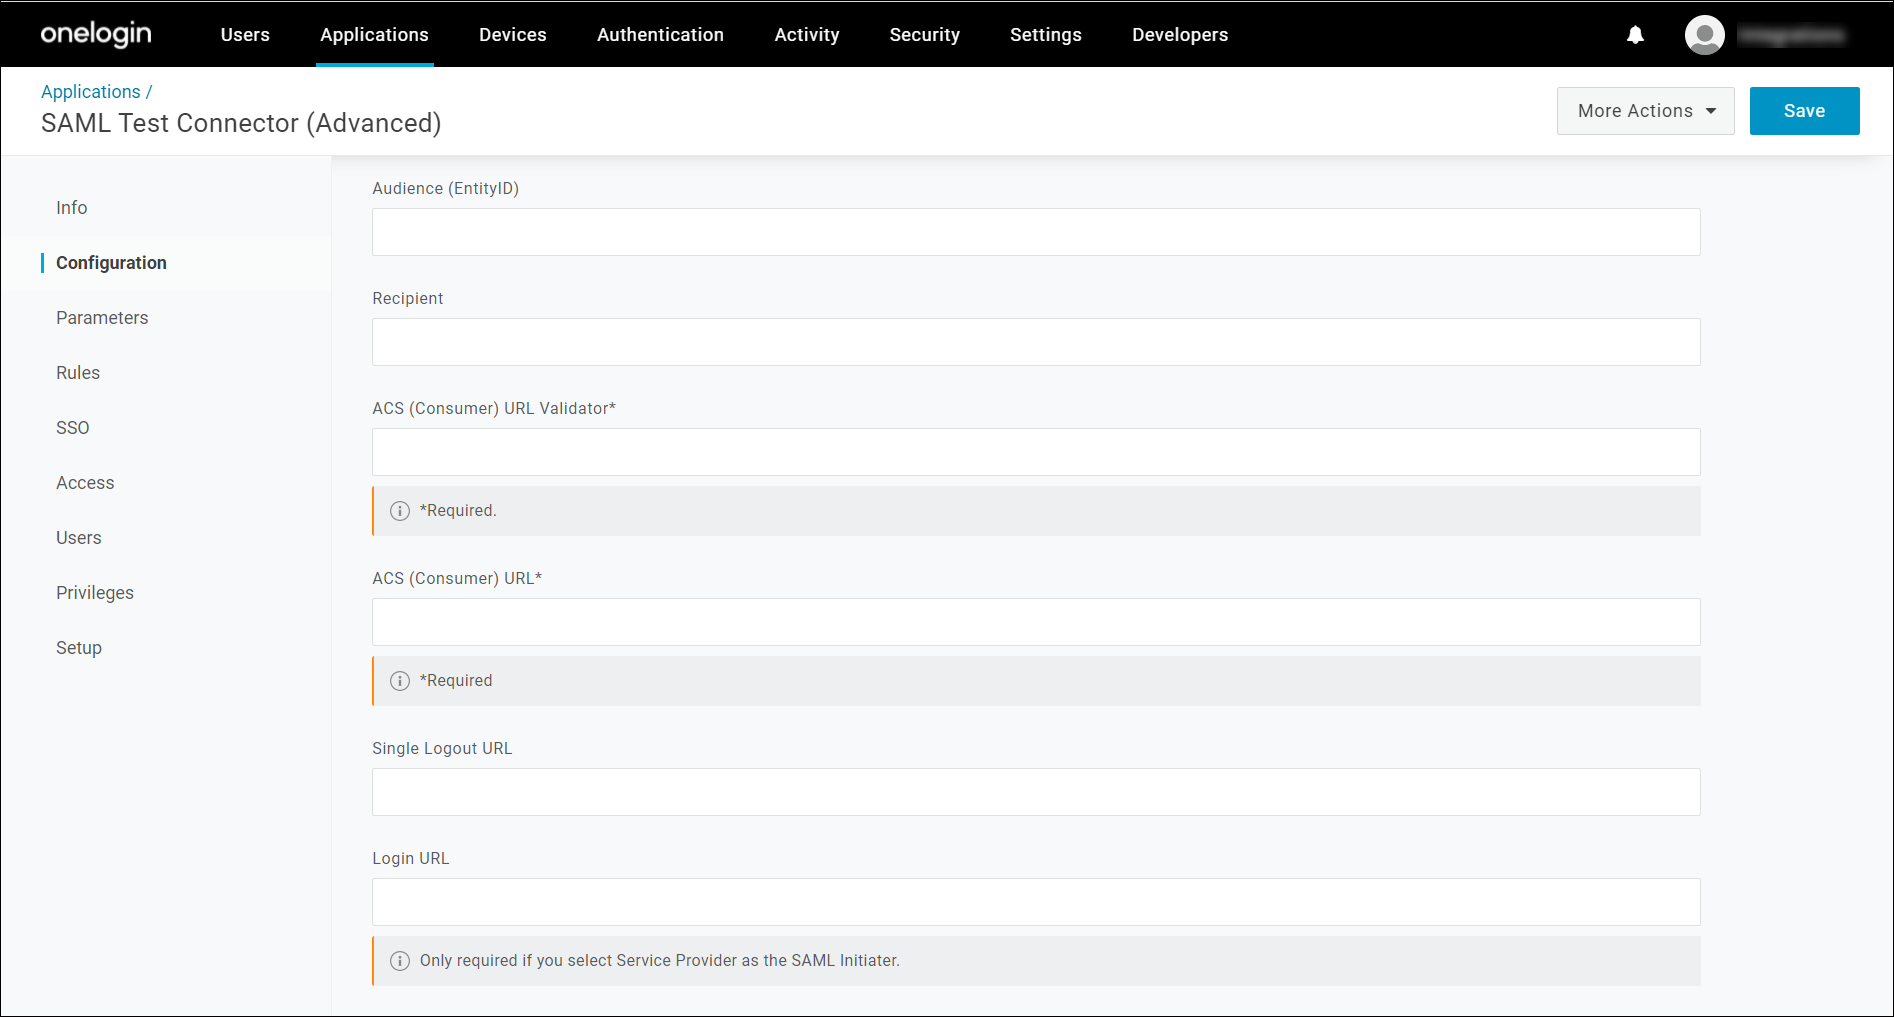
Select the Configuration option from the left menu to open the Application details page.
-
Enter the following values into the appropriate fields:
- In the Audience (EntityID) field, enter the Audience value that you previously copied from SaaS Management.
- In the Recipient field, enter the Recipient URL from SaaS Management.
- In the ACS (Consumer) URL Validator field, enter
[-a-zA-Z0-9@:%._\+~#=]{2,256}\.[a-z]{2,6}\b([-a-zA-Z0-9@:%_\+.~#?&//=]*). This is a regular expression that validates whether the URL property is properly formed. - In the ACS (Consumer) URL field, enter the Recipient URL from SaaS Management.
- In the Login URL field, enter the Recipient URL from SaaS Management.
-
Select Save to save these settings.
Now you can finish setting up your new SAML app by adding OneLogin attributes to the corresponding SAML attributes that SaaS Management will use.
Adding custom attributes
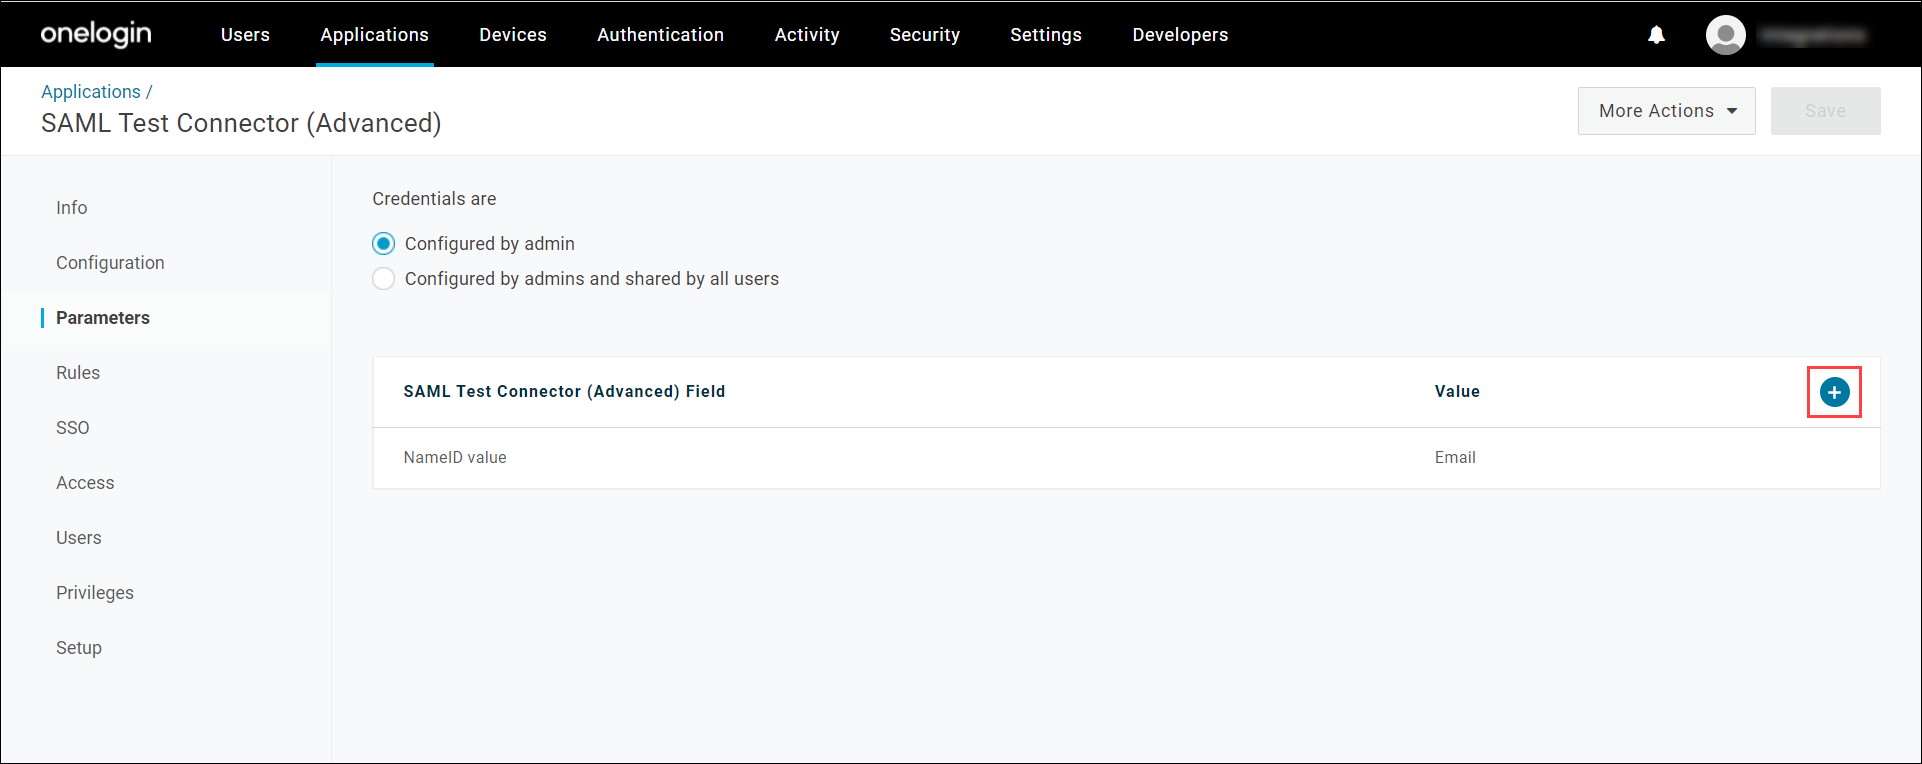
- From the SAML Test Connector (Advanced) page, select the Parameters option from the left menu.
-
Select Add parameter (
 ) to add a new attribute.
-
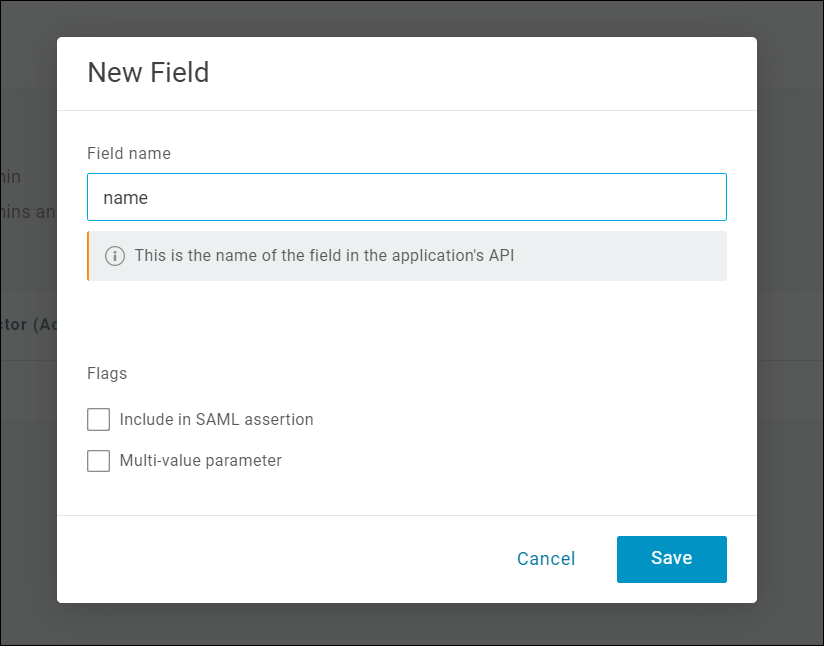
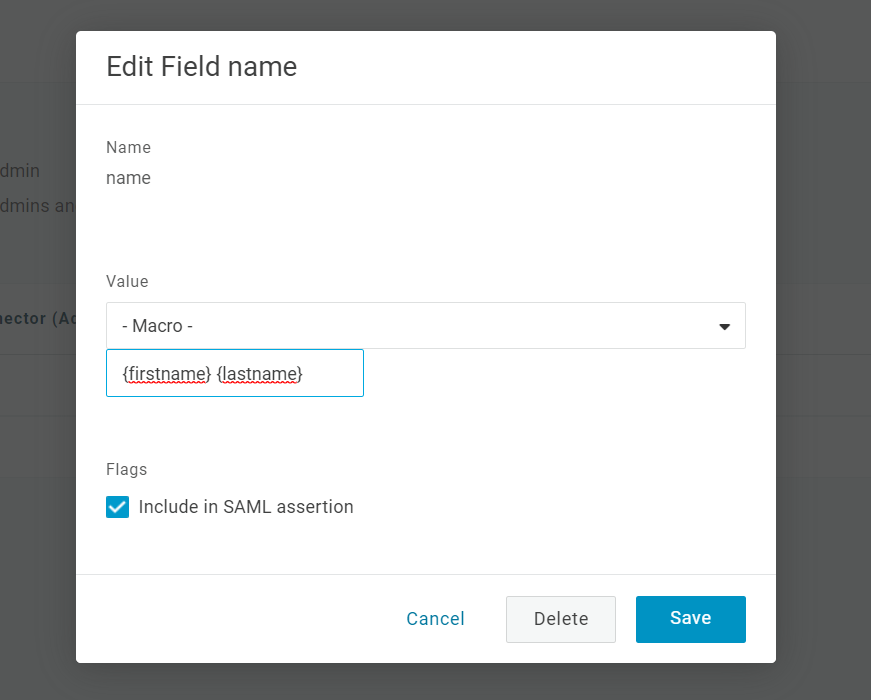
Enter
namefor the Field name.
-
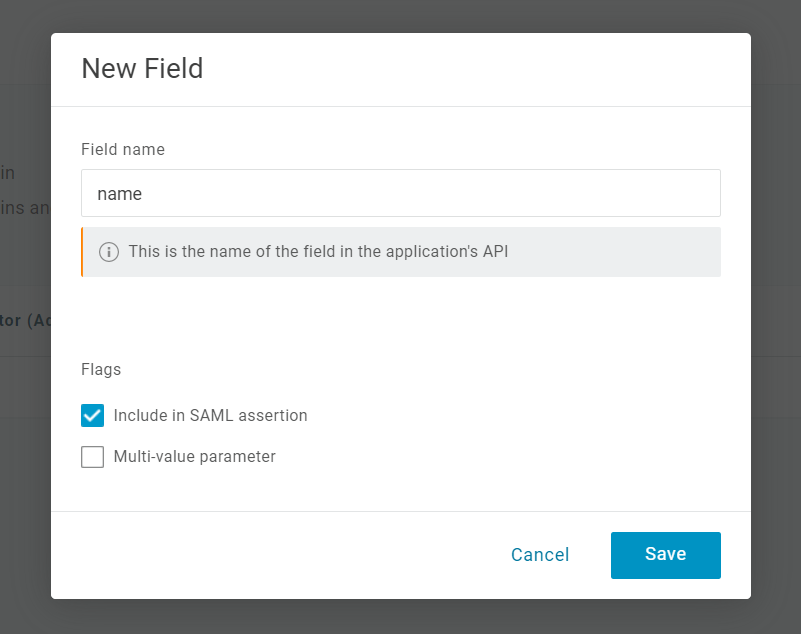
Under Flags, select the Include in SAML assertion check box and select Save.
-
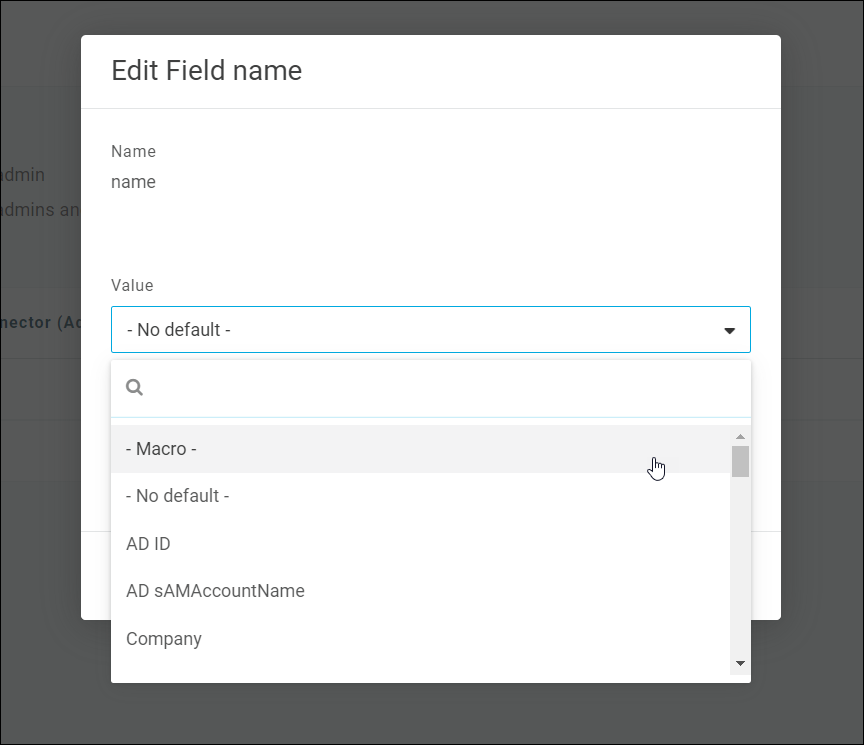
Select - Macro - from the Value dropdown menu.
-
In the text box, enter
{firstname} {lastname}and select Save.
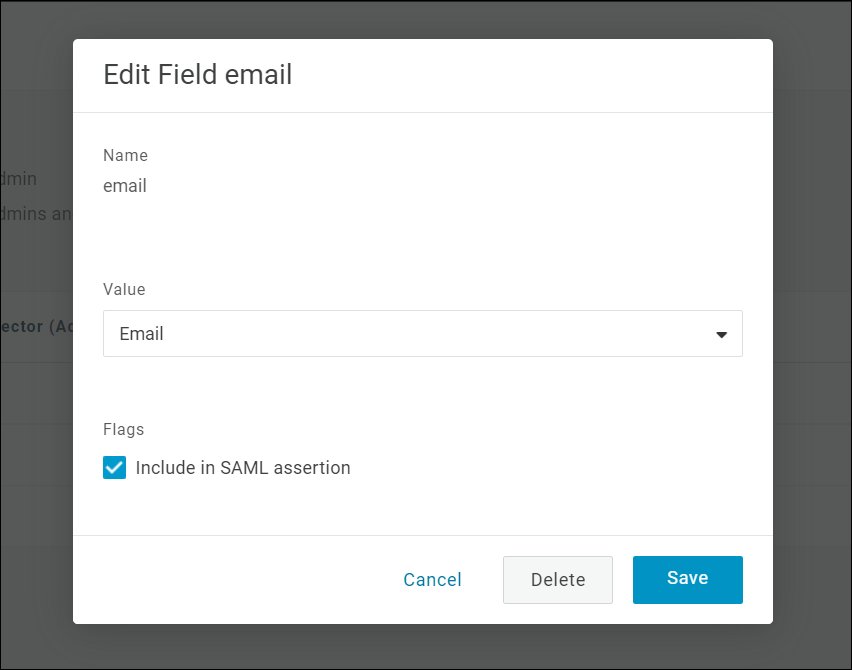
-
Repeat the above steps to add an attribute named
email. Select Email as its value.
Now you need to add the OneLogin connection information to SaaS Management.
Configuring SaaS Management to use your OneLogin SSO
- Go to SaaS Management and select Settings from the navigation menu.
-
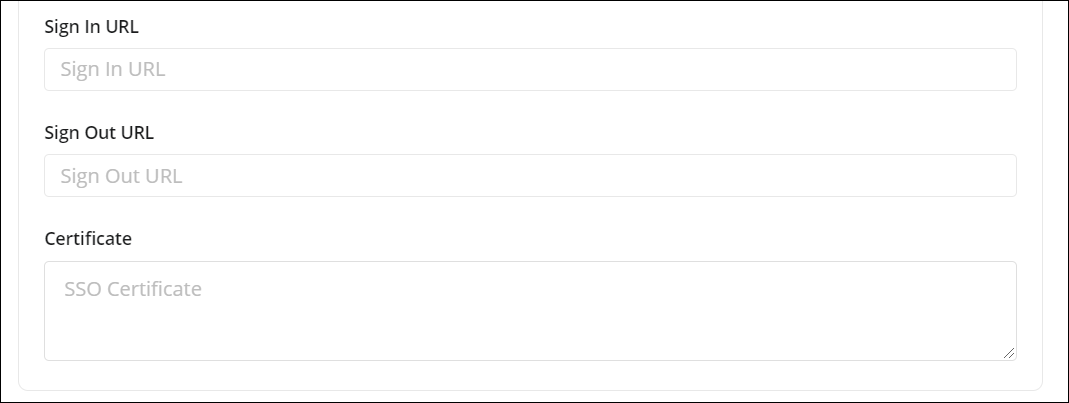
Select SAML Settings to display the connection fields. In the next step, you'll copy the required information from OneLogin into the appropriate fields.
-
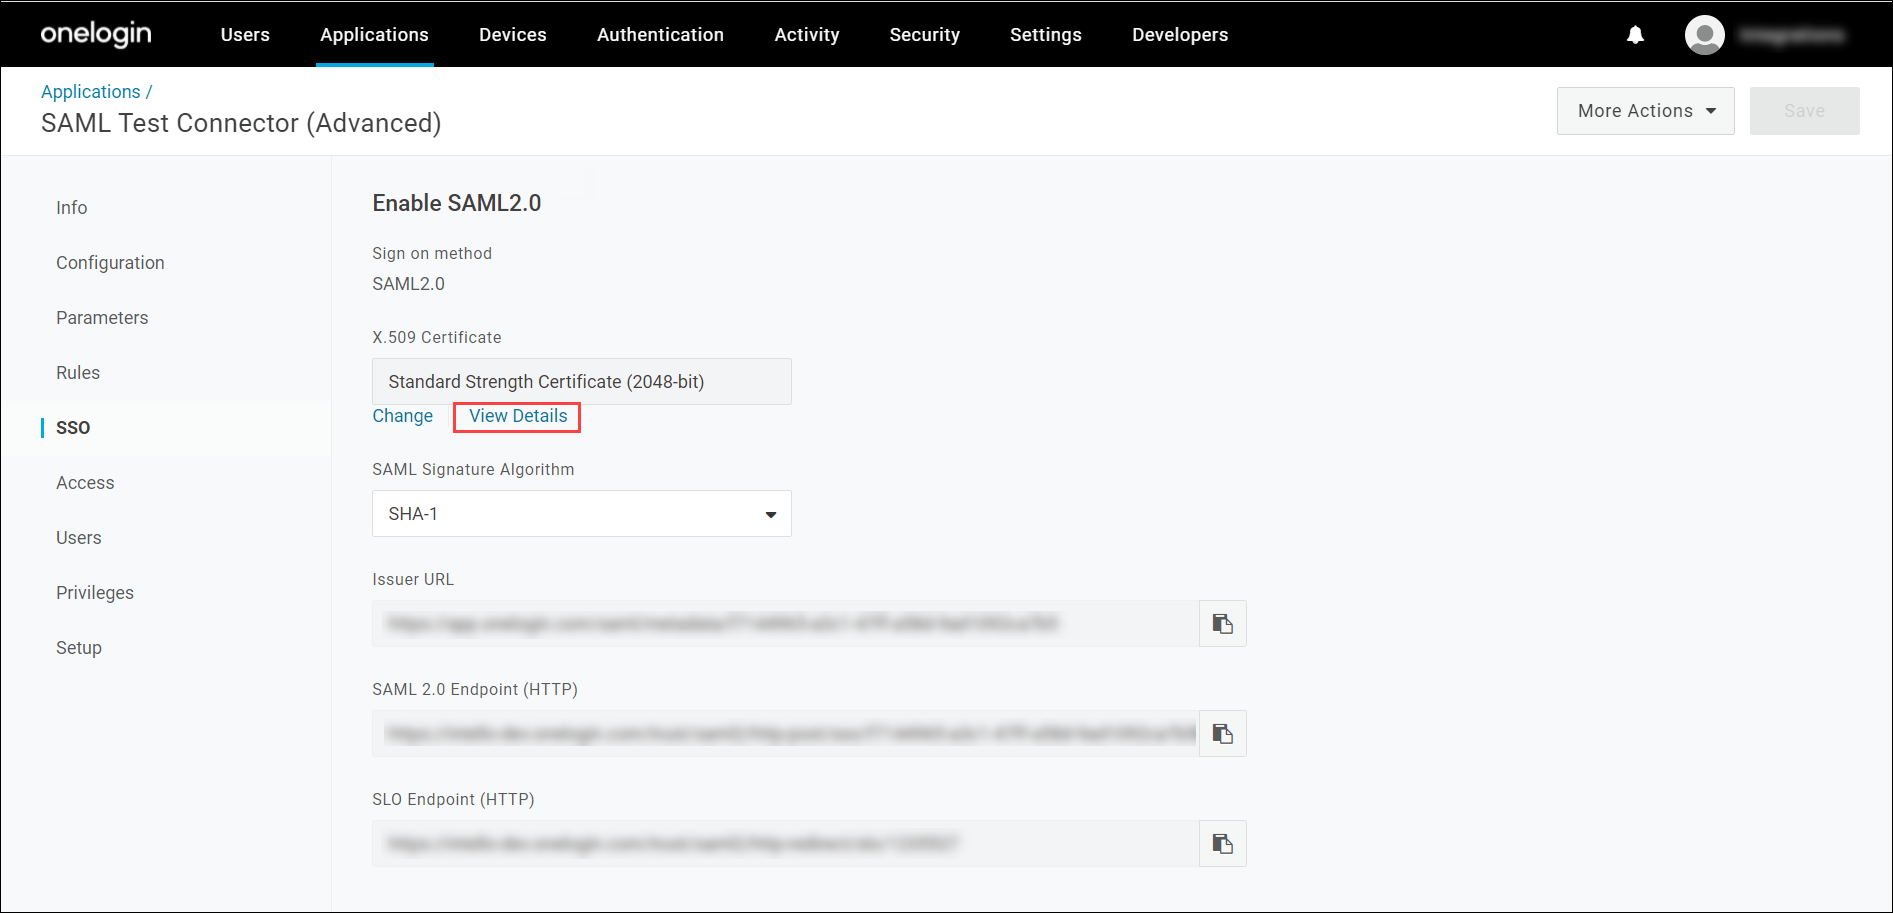
Return to OneLogin. On the SAML Test Connector (Advanced) page, select the SSO option from the left menu to open the Enable SAML 2.0 page
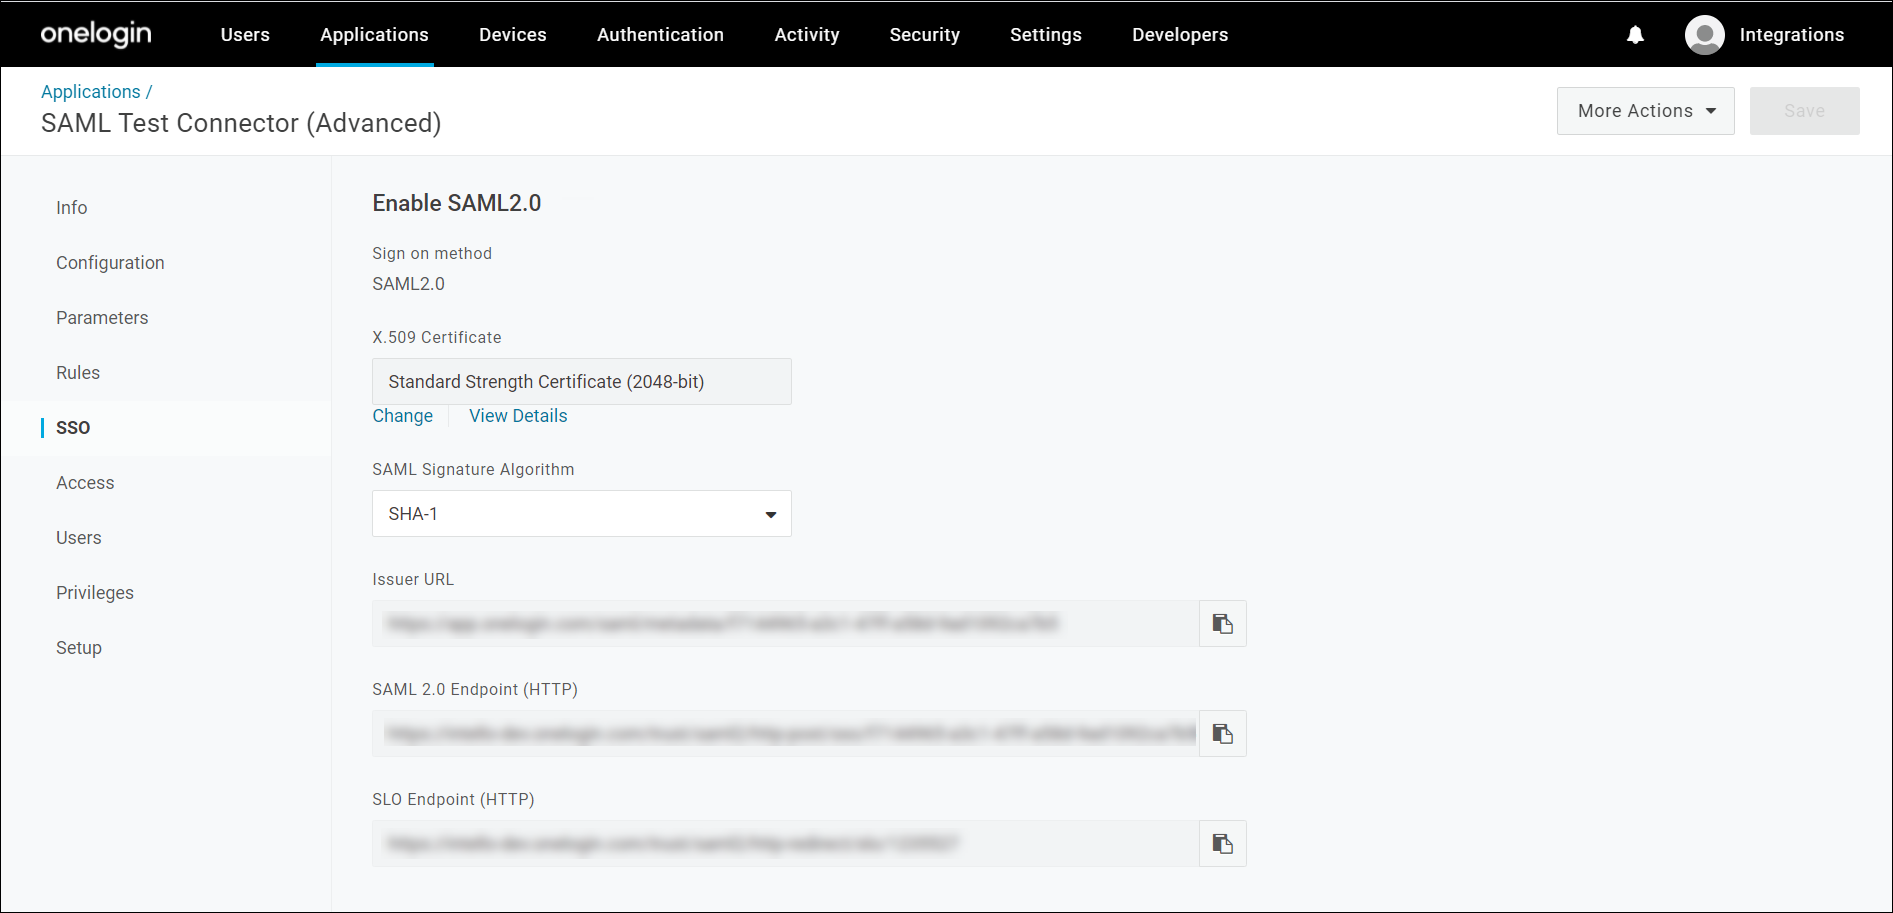
-
Copy the value for SAML 2.0 Endpoint (HTTP) and paste it into the Sign In URL field on the SaaS Management SAML Settings page.
-
In OneLogin, select View Details underneath the X.509 Certificate.
-
Copy the contents of the certificate and paste them into the Certificate field on the SaaS Management SAML Settings page
-
To create the connection in SaaS Management, select Add SSO Connection to enable OneLogin to access SaaS Management.
Dashboard users who have created a SaaS Management account can now sign in to SaaS Management using OneLogin SSO.
If you want to require all users within your organization to sign in to SaaS Management using OneLogin SSO, select SSO Required.
Documentation Feedback
Feedback is provided as an informational resource only and does not form part of SailPoint’s official product documentation. SailPoint does not warrant or make any guarantees about the feedback (including without limitation as to its accuracy, relevance, or reliability). All feedback is subject to the terms set forth at https://developer.sailpoint.com/discuss/tos.