Sage Intacct
SaaS Management integrates directly with Sage Intacct's API to uncover your company's software subscriptions.
Integrating with Sage Intacct
To integrate with Sage Intacct, you must create a new user with specific permissions for SaaS Management to use. This ensures that the integration has minimal privilege access to your Sage Intacct account. You can prefix the User ID with "XML_Gateway" to indicate that this is a web services user only.
Enabling Web Services in Sage Intacct
Before you can connect your Sage Intacct account, you must enable Web Services.
- Select Company from the dropdown menu.
-
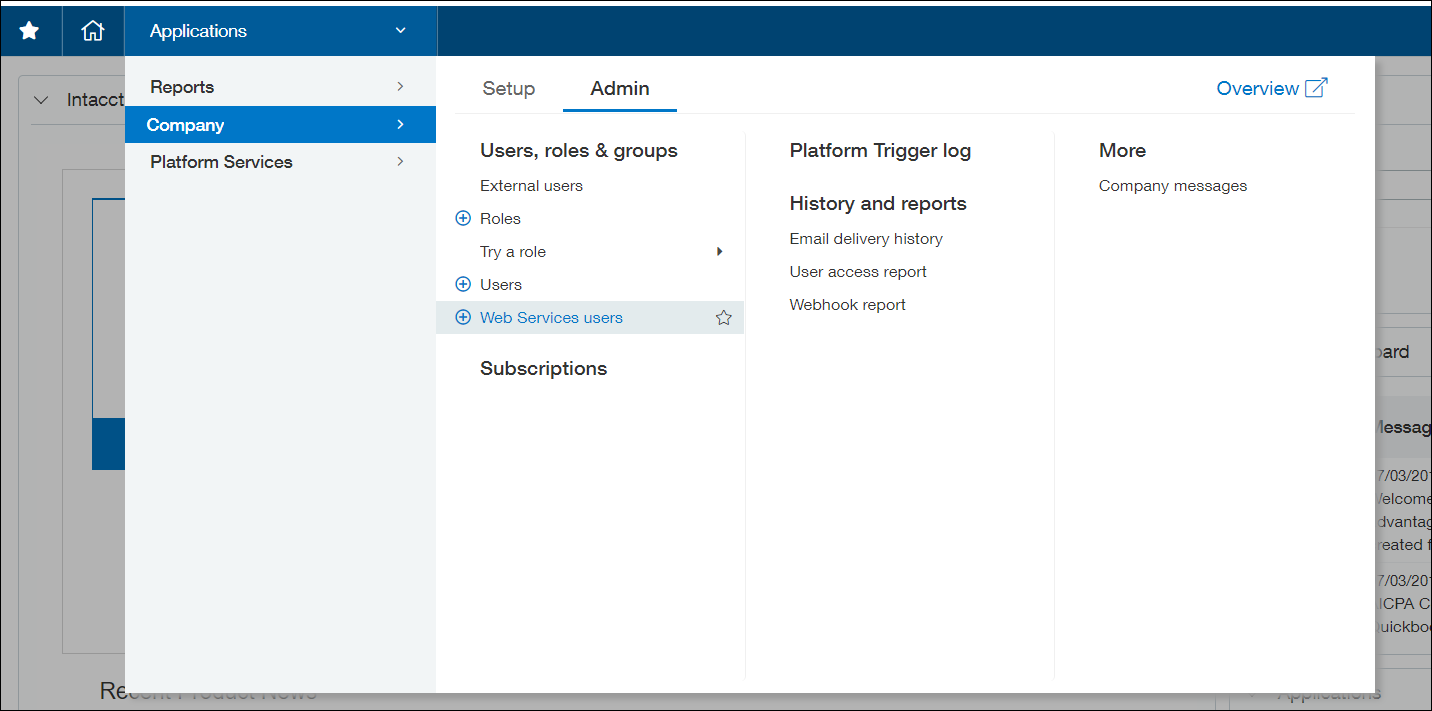
In the Admin tab, select Subscriptions.
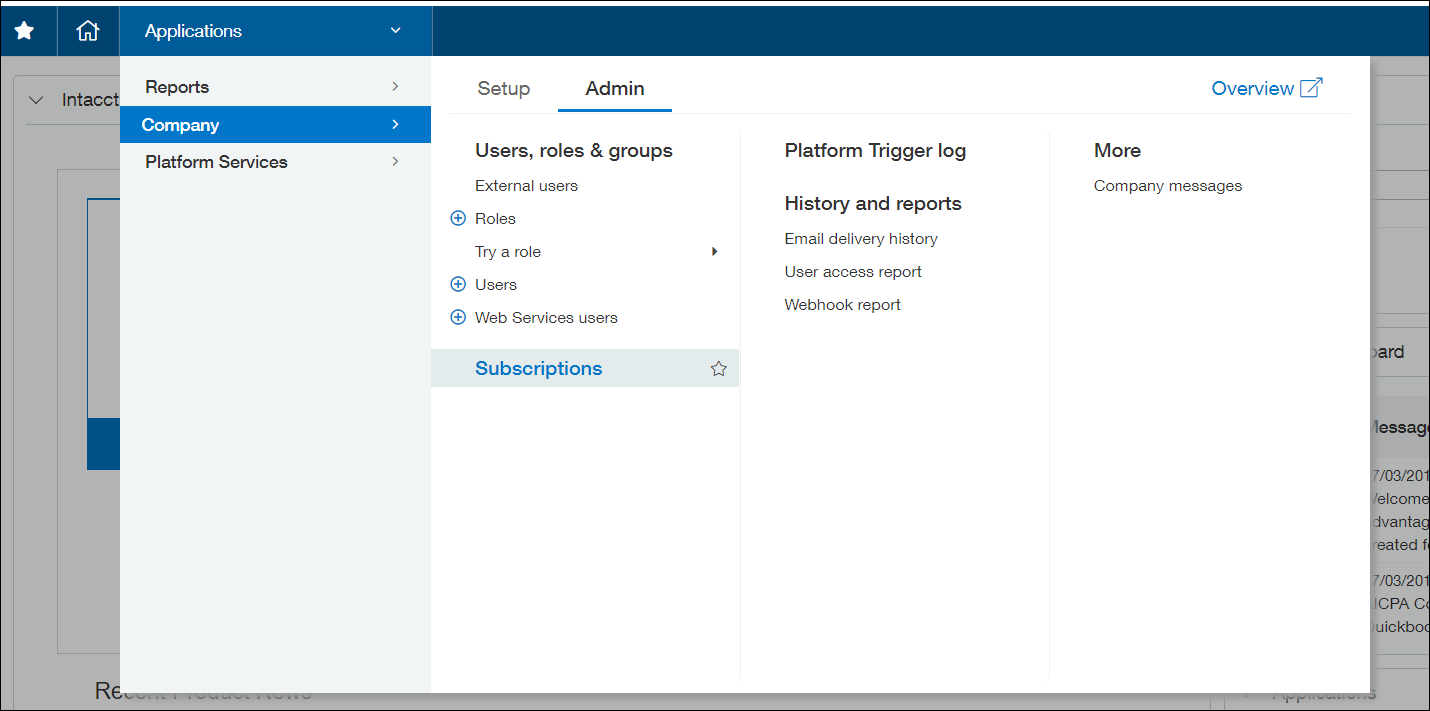
-
Turn on the Web Services toggle.

Adding a new sender
For SaaS Management to track your subscriptions, you must allow SaaS Management to send API requests to your Sage Intacct account.
- Select Company from dropdown menu.
-
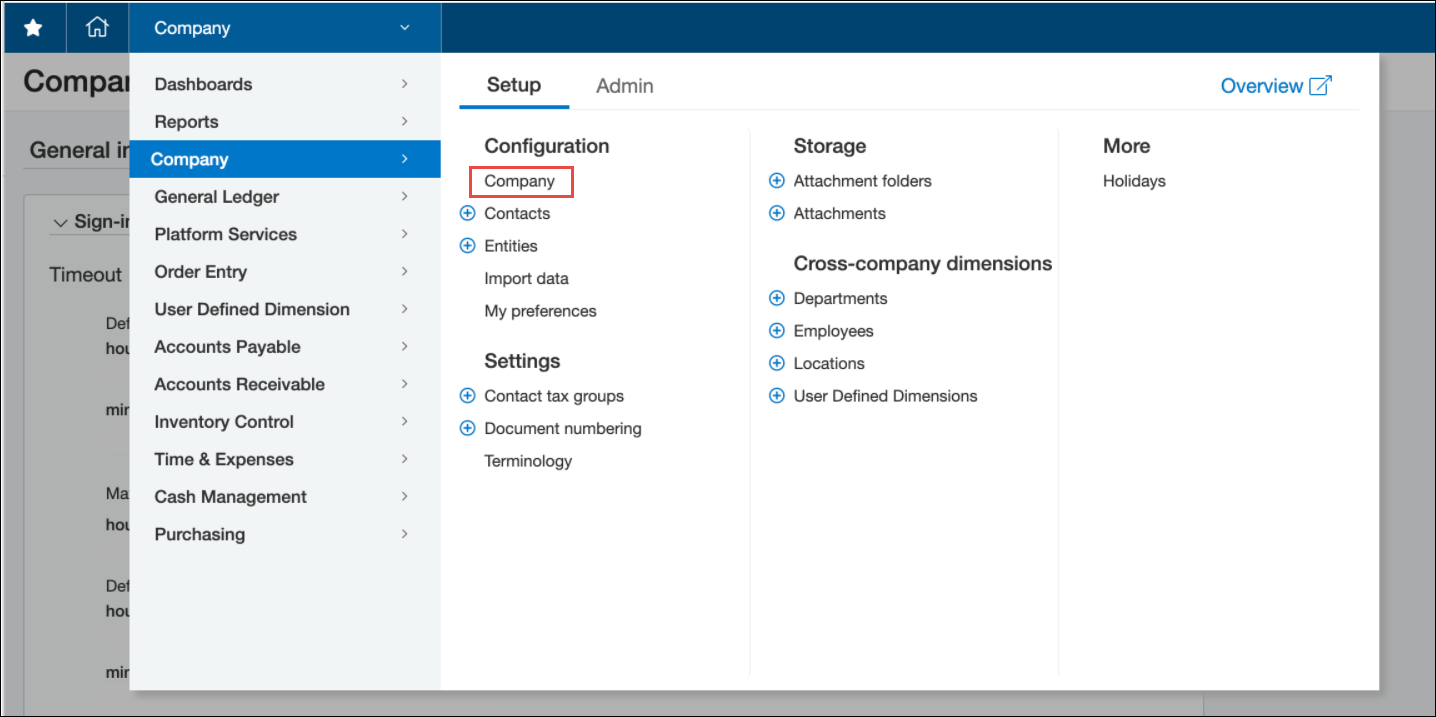
In the Setup tab, select Company.
-
In the Security tab, select Edit in the upper-right corner of the page.
-
In the Web Service authorizations section, select Add.

-
In the new window, enter "Intello" in the Sender ID field.
-
Select Save.
Important
Select Save on the Company page to save all your changes.
Determining permissions type
Sage Intacct has two permissions settings: user-based permissions and role-based permissions. Depending on your global settings, you'll create either a role or user.
- Select Company from the dropdown menu.
-
In the Setup tab, select Company.
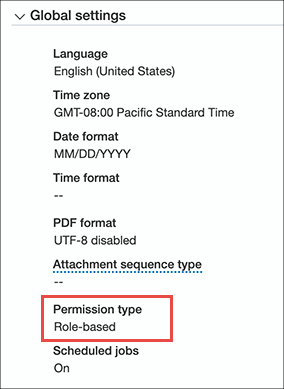
-
In the Global settings section, check the permission type listed under Permission type.
Complete the following steps based on your organization's permissions type.
Creating a new role
If your permissions are role-based, you'll create a new role for your Sage Intacct account.
- Select Company from the dropdown menu.
-
In the Admin tab, select Roles.

-
Select Add to add a new role.
-
In the Name field, enter a name for the role. You won't be able to change this name at a later date.
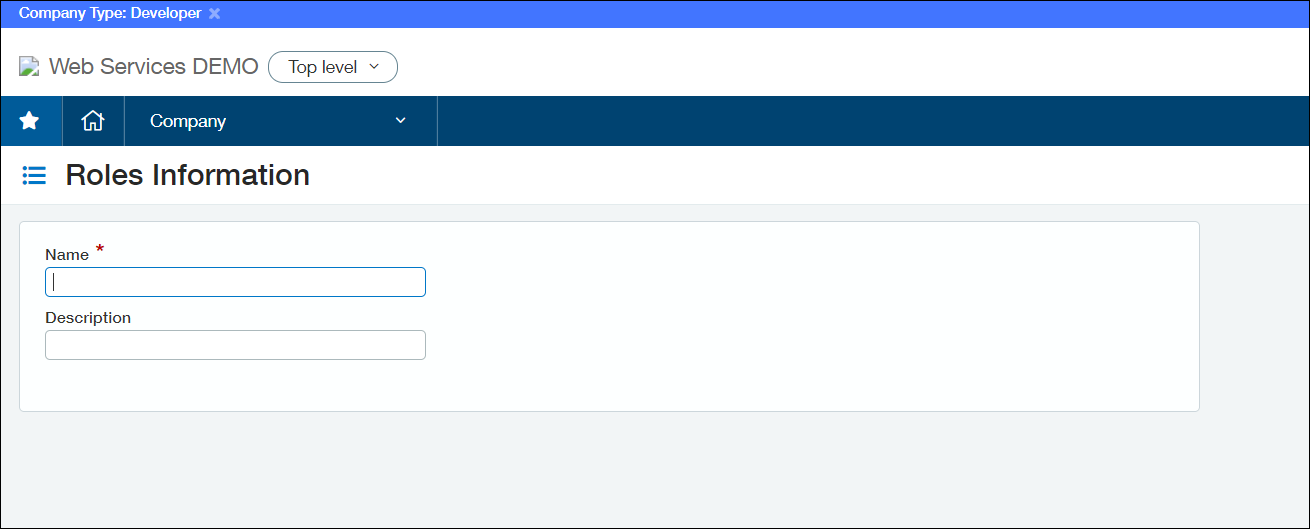
-
(Optional) Enter a description for the role.
- Select Save to create the role.
Creating a new user
If your permissions are user-based, you'll create a new user for your Sage Intacct account.
- Select Company from the dropdown menu.
-
In the Admin tab, select Web Services users.
-
Select Add to add a new user.
-
In the User information tab, enter the following information:
-
User ID - Use "XML_Gateway_Intello" to identify the user role that will facilitate the integration.
-
First and Last Name - Enter "Intello" for both fields. This role will be created specifically for the purposes of the integration. This information must be unique to this user.
-
Email address - You'll need access to this email address, but it can't tied to a user in Sage Intacct. If your email is hosted by gmail, you can add a unique identifier to the address by adding a plus sign. For example, you can use yourname+intacct@company.com.
-
-
Select Full for Admin Privileges.
- Select the Roles information tab. Add the role you created above.
- Select the User entities tab. Add each entity that you want to sync to SaaS Management.
- Select Save to create the user.
Setting permissions
After you've created your new user or role, you must set the following permissions to allow SaaS Management to access your subscription data. Both roles and users will require the same permissions.
-
On the Role Subscription page, enable the following permissions:
- Accounts Payable
- For Vendor, select the List and View check boxes.
- For Bills, select the List and View check boxes.
- Company
- For Departments, select the List and View check boxes.
- Administration
- For Users, select the List and View check boxes.
- Accounts Payable
-
After you've added all permissions, select Save.
Connecting your Sage Intacct account
- Check the email you entered in the User Information tab. You should have received an email containing your credentials.
- Go to SaaS Management and select Integrations from the navigation menu.
- Select the Sage Intacct tile.
- Select Add Integration.
- In the new window, enter the credentials included in the email.
- Select Submit to complete the integration.
It can take up to 24 hours for your SaaS spend to sync.
User Metadata
SaaS Management does not pull app-specific metadata for this application.
Documentation Feedback
Feedback is provided as an informational resource only and does not form part of SailPoint’s official product documentation. SailPoint does not warrant or make any guarantees about the feedback (including without limitation as to its accuracy, relevance, or reliability). All feedback is subject to the terms set forth at https://developer.sailpoint.com/discuss/tos.