Creating custom fields
You can use custom fields to track data about your SaaS apps beyond the default usage, spend, and compliance data that SaaS Management tracks.
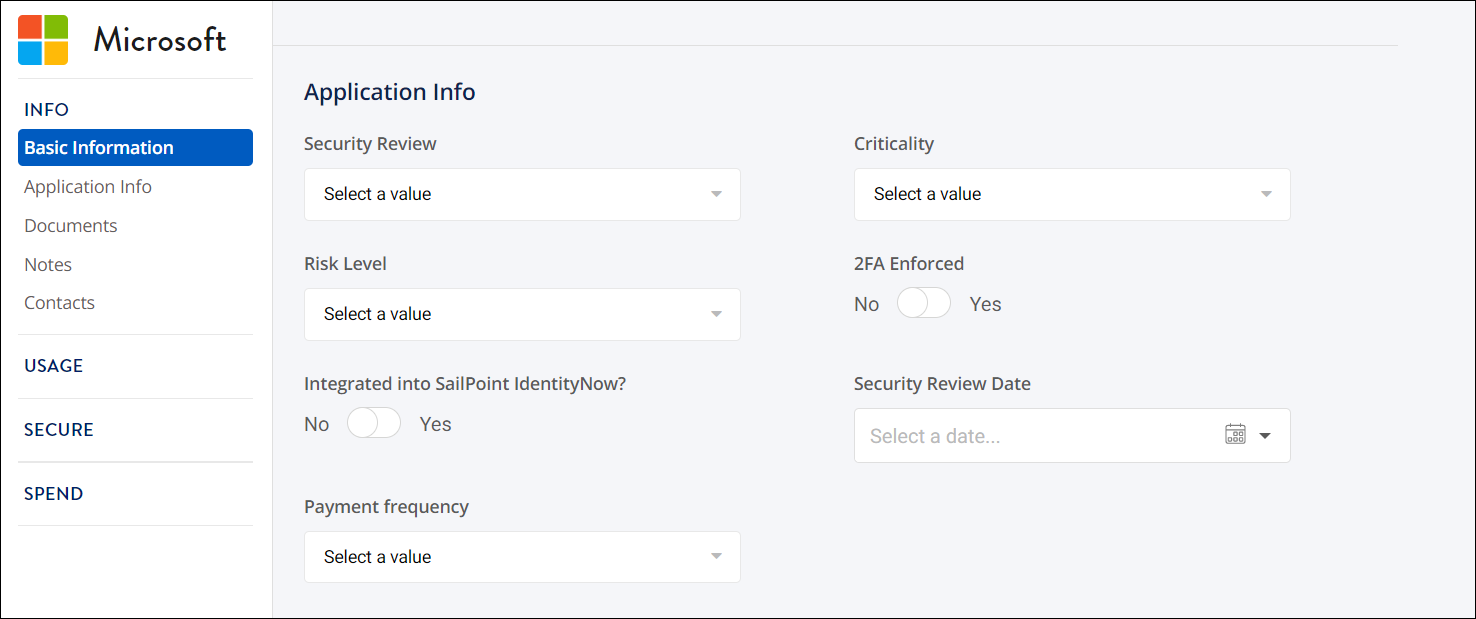
For example, if your team wants to track the status of security reviews for each app, you can create a custom field called Security Review with options such as "Not started", "In progress", and "Completed". You can then filter this data to identify which applications have incomplete security reviews and create a scheduled report to send this data to yourself and others.
When you create a custom field in SaaS Management, it is automatically added to every application's Info page and Vendor table.
Commonly used custom fields
To help you get started with custom fields, we've grouped the most commonly used custom fields in tables below, based on their relevant area or focus.
Information Technology
| Field Name | Field Type |
|---|---|
| App Owner | Single line or Multi-line text area |
| App Purpose | Single line text area |
| Criticality | Dropdown menu (High, Medium, and Low) |
| Price Per License | Single line text area |
| SSO Integration | Toggle switch |
Security and Compliance
| Field Name | Field Type |
|---|---|
| 2FA Enabled | Toggle switch |
| Compliance Review Frequency | Dropdown menu |
| Last Compliance Review | Date picker |
| Security Certifications | Check box (HIPAA and SOC II) |
Procurement and Finance
| Field Name | Field Type |
|---|---|
| Billing Frequency | Dropdown menu |
| Billing Method | Dropdown menu |
| Budgeted | Toggle switch |
| Payment Terms | Dropdown menu |
| Payment Type | Dropdown menu (ACH and Credit Card) |
Creating a custom field
- Select Settings from the navigation menu.
- Under Configuration, select Custom Fields.
- Select + Add A New Field.
-
Select a Field Type. You can select from the following options:
- Dropdown - Displays a dropdown menu of options to choose from. You can define the options that appear in the dropdown menu.
- Date Picker - Displays a calendar that can be used to select a specific date.
- Checklist - Displays a list of items. You can define the items that appear in the checklist.
- Toggle Switch - Displays a "Yes" / "No" toggle. You can use the default labels or customize them.
- Text area - Displays a text box. Select whether the user enters a number, single line of text, or multiple lines of text.
-
Add any information that the specific field type you selected requires. For example, if you choose to use a dropdown menu for your custom field, you can name the field and enter variables that will appear as options in the dropdown menu. In the following image, the user has named their dropdown menu “Criticality” and added the variables “High”, “Med”, and “Low” to appear as options in the dropdown menu.

Any changes you make will display in the preview window.
-
After you’ve set up your new custom field, select Save.
The new custom field displays under the Custom fields section on the Manage Application Fields page.
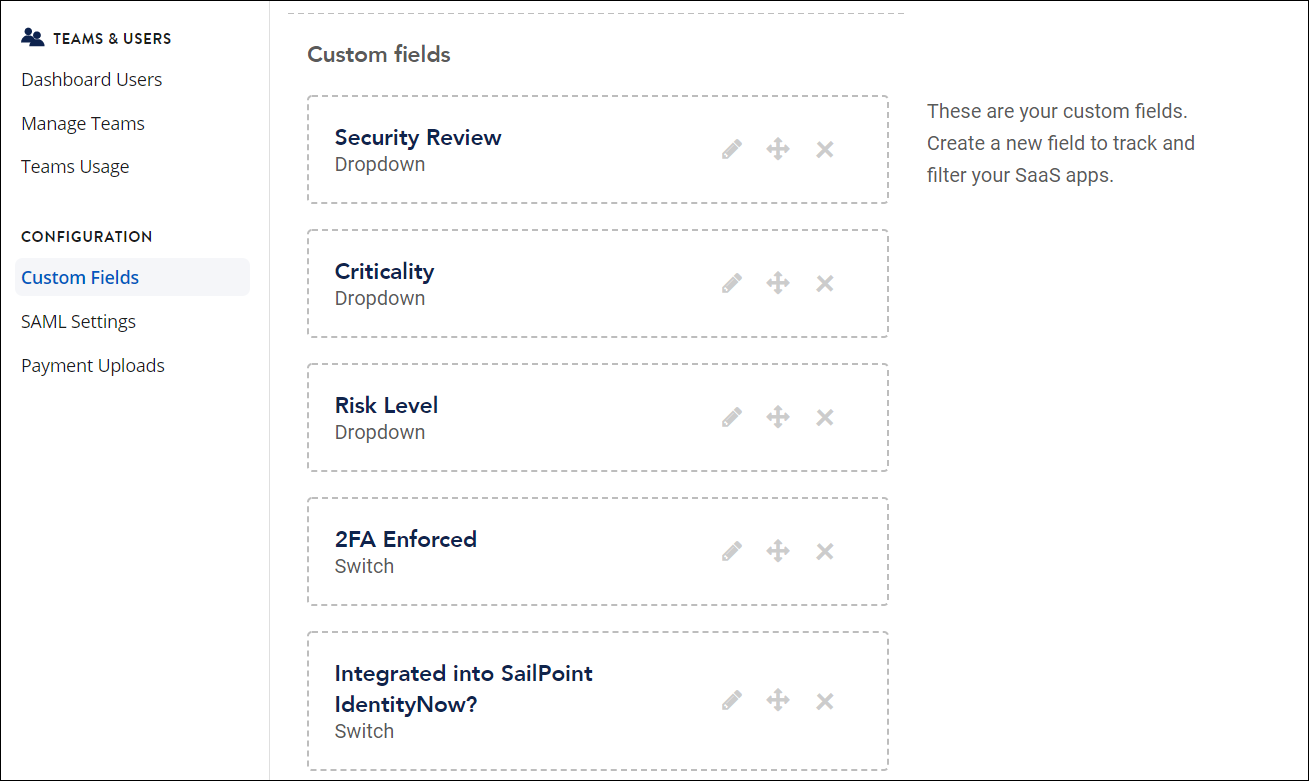
You can edit, move, or delete a custom field in the Custom fields section. Moving a field changes the order of how the fields display on each application's Info page.
After you’ve created and added data to custom fields, you can create scheduled reports to send data from these fields to yourself and others.
Documentation Feedback
Feedback is provided as an informational resource only and does not form part of SailPoint’s official product documentation. SailPoint does not warrant or make any guarantees about the feedback (including without limitation as to its accuracy, relevance, or reliability). All feedback is subject to the terms set forth at https://developer.sailpoint.com/discuss/tos.