Creating a What If Simulation
Create a What If simulation to simulate the access risk impacts that would occur based on role assignment changes.
User What If
-
From the left navigation, select What If Analysis.
-
At the top right, select Create New User Simulation +.
-
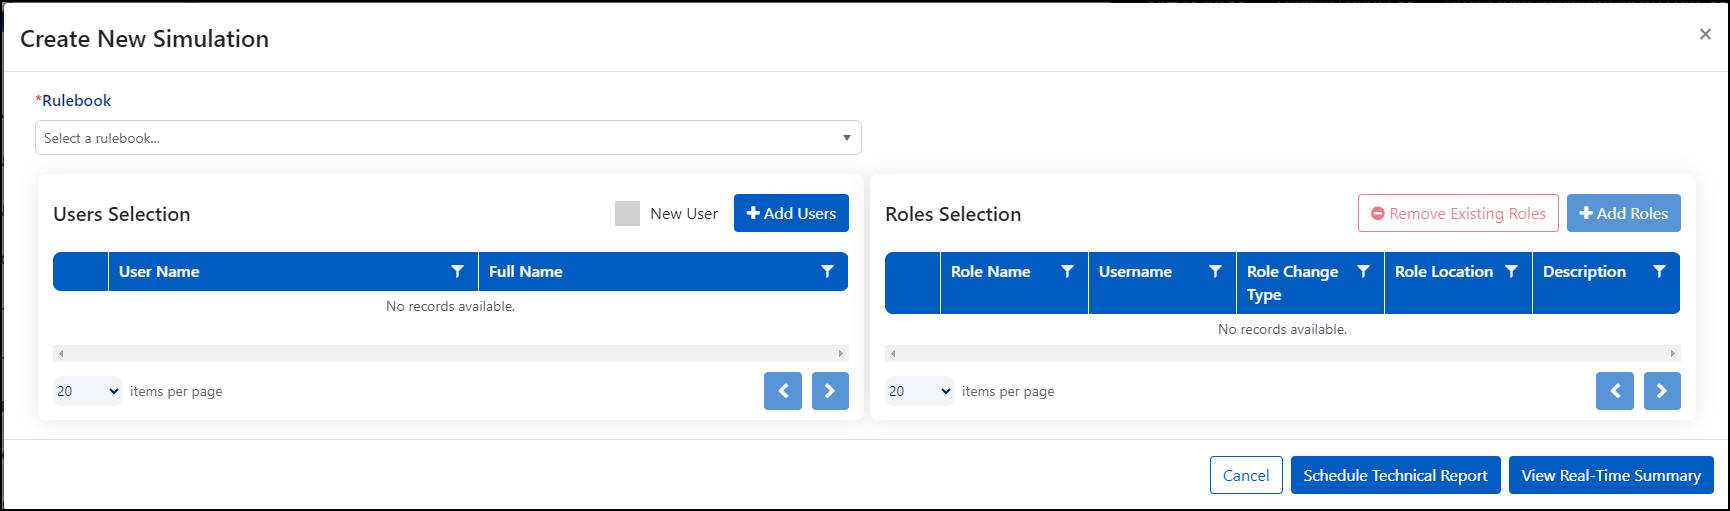
On the Create New Simulation page, under Rulebook, use the dropdown to select which rulebook to run the analysis against.
-
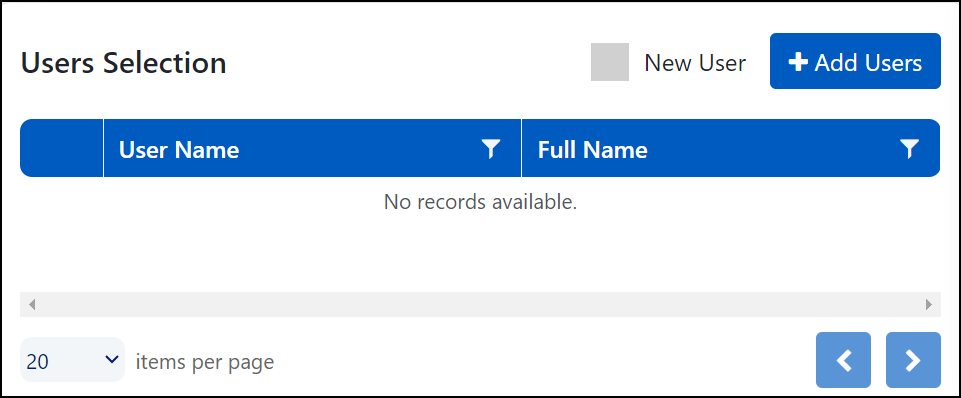
In the Users Selection pane, you can choose to simulate a new user or add one or more existing users.
Note
The View Real Time Simulation option can be used for one user at a time. If you select more than one user, you can only schedule a technical report.
-
To simulate a new user without any roles associated, select the checkbox next to New User.
-
To add existing users, select + Add Users to see the Users Selection window.
Note
The user(s) must exist in the currently selected Access Risk Management system.
-
-
If you selected + Add Users, use the Users Selection screen to:
- Filter users by username, full name, user group, and/or user type. Select the Filter icon
 in the column you want to use, then add filter criteria.
 - Search for users by entering criteria in the Search field, then selecting the Search icon
 .
. - Add all currently displayed users with any applied filters by selecting + Add All.
- Specify user to include by selecting + next to individual username.
- Add a mass set of users by entering a comma- or line-separated list of SAP UserIDs in the field at the bottom of the screen and selecting + Add.
Note
The delimited list feature supports up to 100 items at a time.
When you have finished adding users, select X to close the window.
- Filter users by username, full name, user group, and/or user type. Select the Filter icon
-
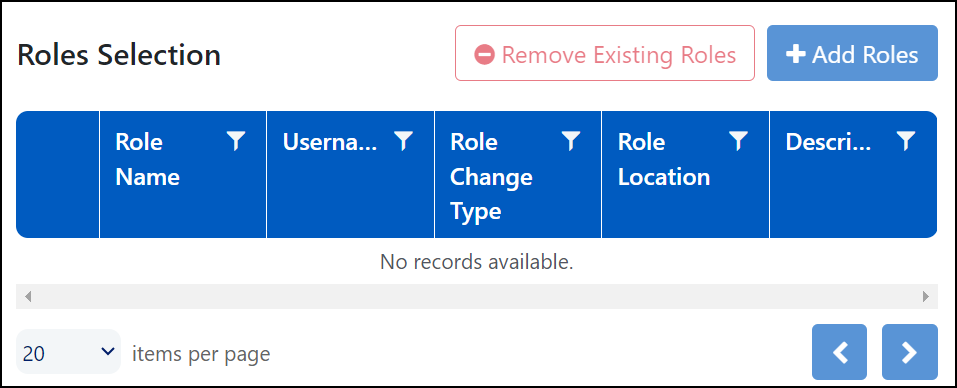
Use Roles Selection to specify the role changes to simulate by removing existing roles and/or adding new roles to the users you've selected.
- Remove Existing Roles - Select roles to remove from the selected users.
- Add Roles - Select roles to give to the selected users.
Important
You must select at least one user before you can assign or remove roles.
-
If you selected Remove Existing Roles, use the Roles Selection window to remove roles by:
- Filtering users by role name, username, role location, or description. Select the Filter icon in the column you want to use, then enter filter criteria.
- Searching for roles by entering criteria in the Search field, then selecting the Search icon .
- Adding all currently displayed roles with any applicable filters by selecting Add All.
- Specifying role(s) to remove by selecting – next to individual role name(s).
Note
If you simulate changes to more than one user and a given role is assigned to more than one selected user, you will see a different entry for that role for each user it is assigned to. Be sure to inspect the Username column.
When you have finished selecting roles, select X to close the window.
- Filtering users by role name, username, role location, or description. Select the Filter icon
-
If you selected + Add Roles, use the Roles Selection window to add roles by:
- Filtering users by role name, role location, and/or description. Select the Filter icon in the column you want to use, then enter filter criteria.
- Searching for roles by entering criteria in the Search field, then selecting the Search icon .
- Adding all currently displayed roles with any applicable filters by selecting + Add All.
- Specifying role(s) to remove by selecting + next to individual role name(s).
- Add roles by entering a comma- or line-separated list of UserIDs in the field at the bottom of the screen and selecting + Add.
Note
The delimited list feature supports up to 100 items at a time.
When you have finished selecting roles, select X to close the window.
- Filtering users by role name, role location, and/or description. Select the Filter icon
-
To remove users or roles from your lists, use the Delete icon
 to remove individual users or roles, or select Clear to remove all selected roles.
Note
The Role Change Type column shows Remove Role or Add Role for each role in your simulation.
-
Optionally, you can view a high-level summary of risks for a single user with a rapid response time by selecting View Real-Time Summary.
-
Optionally, schedule a detailed report including exportable results with role- and authorization-level details by selecting Schedule Technical Report.
Running a User What If Analysis
After setting parameters, you’re ready to run the analysis. Select View Real-Time Summary or Schedule Technical Report.
View Real-Time Summary is a real-time, high-level risk summary, showing the risk level information, without authorization details, that the user would have after the role changes. From here, you still have the option to Schedule a Technical Report if you would like.
Note
Real-Time Summary results are not retained and are visible only when you run the simulation. You may screenshot the results or use the Schedule a Technical Report button if you need to retain evidence of the simulation for future compliance documentation purposes.
Schedule Technical Report allows you to run a full analysis in the background that includes business functions, roles, profiles, and authorization details with an option to export a .csv file of the What If analysis results. This option redirects you to the Activity History dashboard where you can monitor job progress and access the results once the report is ready.
You may also view or export the results at a later time by returning to the main grid of What If analysis where you initially scheduled the simulation.
Note
User What If analysis export is available as a .csv file only.
View or download your analysis on the What If Analysis page.
Role What If
Create a What If simulation to assess the access risk impacts that would occur based on role composition changes. Single Role What If simulates adding permissions to a role. Composite Role What If simulates adding or removing single roles to or from the composite.
- From the left navigation, select What If Analysis.
- At the top right, select Create New Role Simulation +.
-
Select the type of simulation you want to run, either Single Role or Composite Role.
Note
A default name is provided, but best practice is to edit this name to include descriptive details so it's easy to reference this simulation at a later date.
-
On the Create New Single or Composite Role Simulation page, select the Analysis Selector Edit icon
 .
. -
In the Analysis Selector modal, use + to select the analysis you want to run a simulation against and select Submit.
Note
The most recent analysis will be selected by default. If you are using multiple rulebooks, make sure you select the correct analysis.
-
Choose the role you want to simulate changes to.
- For a single role analysis, use the SAP role dropdown to select a single role.
- For a composite role simulation, use the Composite role dropdown to select a composite role.
-
In a composite role What If, you can add or remove single roles by selecting + Add Roles or - Remove Existing Roles to open the Roles Selection window and browse single roles. Add or remove roles individually using the + or – buttons in their rows or add / remove all using the + Add All or – Add All buttons at the top of the window. Select X to close the window.
-
In a single role What If, you can select + Add Action to specify the role change to simulate by adding new actions (such as SAP Transaction Codes or Fiori oData Services), authorization objects, authorization fields, and field values.
Important
Single role What If relies on the SAP Authorization Default Values configured using SU24 and stored in SAP table USOBT_C. To populate these values into Access Risk Management, you must import the data. Go to the Configuration Menu > ERP SYSTEMS page and select Refresh Authorization Defaults (SU24) in the Actions dropdown for each system.
-
Entering an Action that exists in your SAP Authorization Defaults will automatically populate all default authorization objects, fields, and values according to your configuration in SAP. You may then edit the objects, fields, values, or value ranges as needed prior to submission. Any fields without a value populated will not be evaluated as part of the analysis.
Note
The Range option for specifying field values works the same way as the SAP From / To ranges.
-
If you are simulating adding an action that does not exist in your SAP Authorization Defaults, you may manually add each Action, Object, Field, and Value.
- If you are relying on SAP Authorization Defaults and you do not populate each of the Fields with a value, you will be prompted with an informational warning that lists each of the fields that are blank. You can use the Rerun with Changes action to go back and add values if this was not intentional.
-
-
Select Submit.
After setting parameters, the analysis runs. View or download your analysis from the What If Analysis page > Role Simulations tab.
Note
Single role simulations only support Add change types. The simulation examines what happens if we add permissions to a role. Other What If simulations support adding and removing. For example, you might analyze what happens if you add or remove a single role from a composite.
Documentation Feedback
Feedback is provided as an informational resource only and does not form part of SailPoint’s official product documentation. SailPoint does not warrant or make any guarantees about the feedback (including without limitation as to its accuracy, relevance, or reliability). All feedback is subject to the terms set forth at https://developer.sailpoint.com/discuss/tos.