Managing Users
You can add users in Access Risk Management and assign roles to them to determine what actions they can take in the application. For example, users with the Emergency Access Approval role can evaluate whether an access request should be approved.
From the Menu ![]() , select Manage Users.
, select Manage Users.
Adding Users
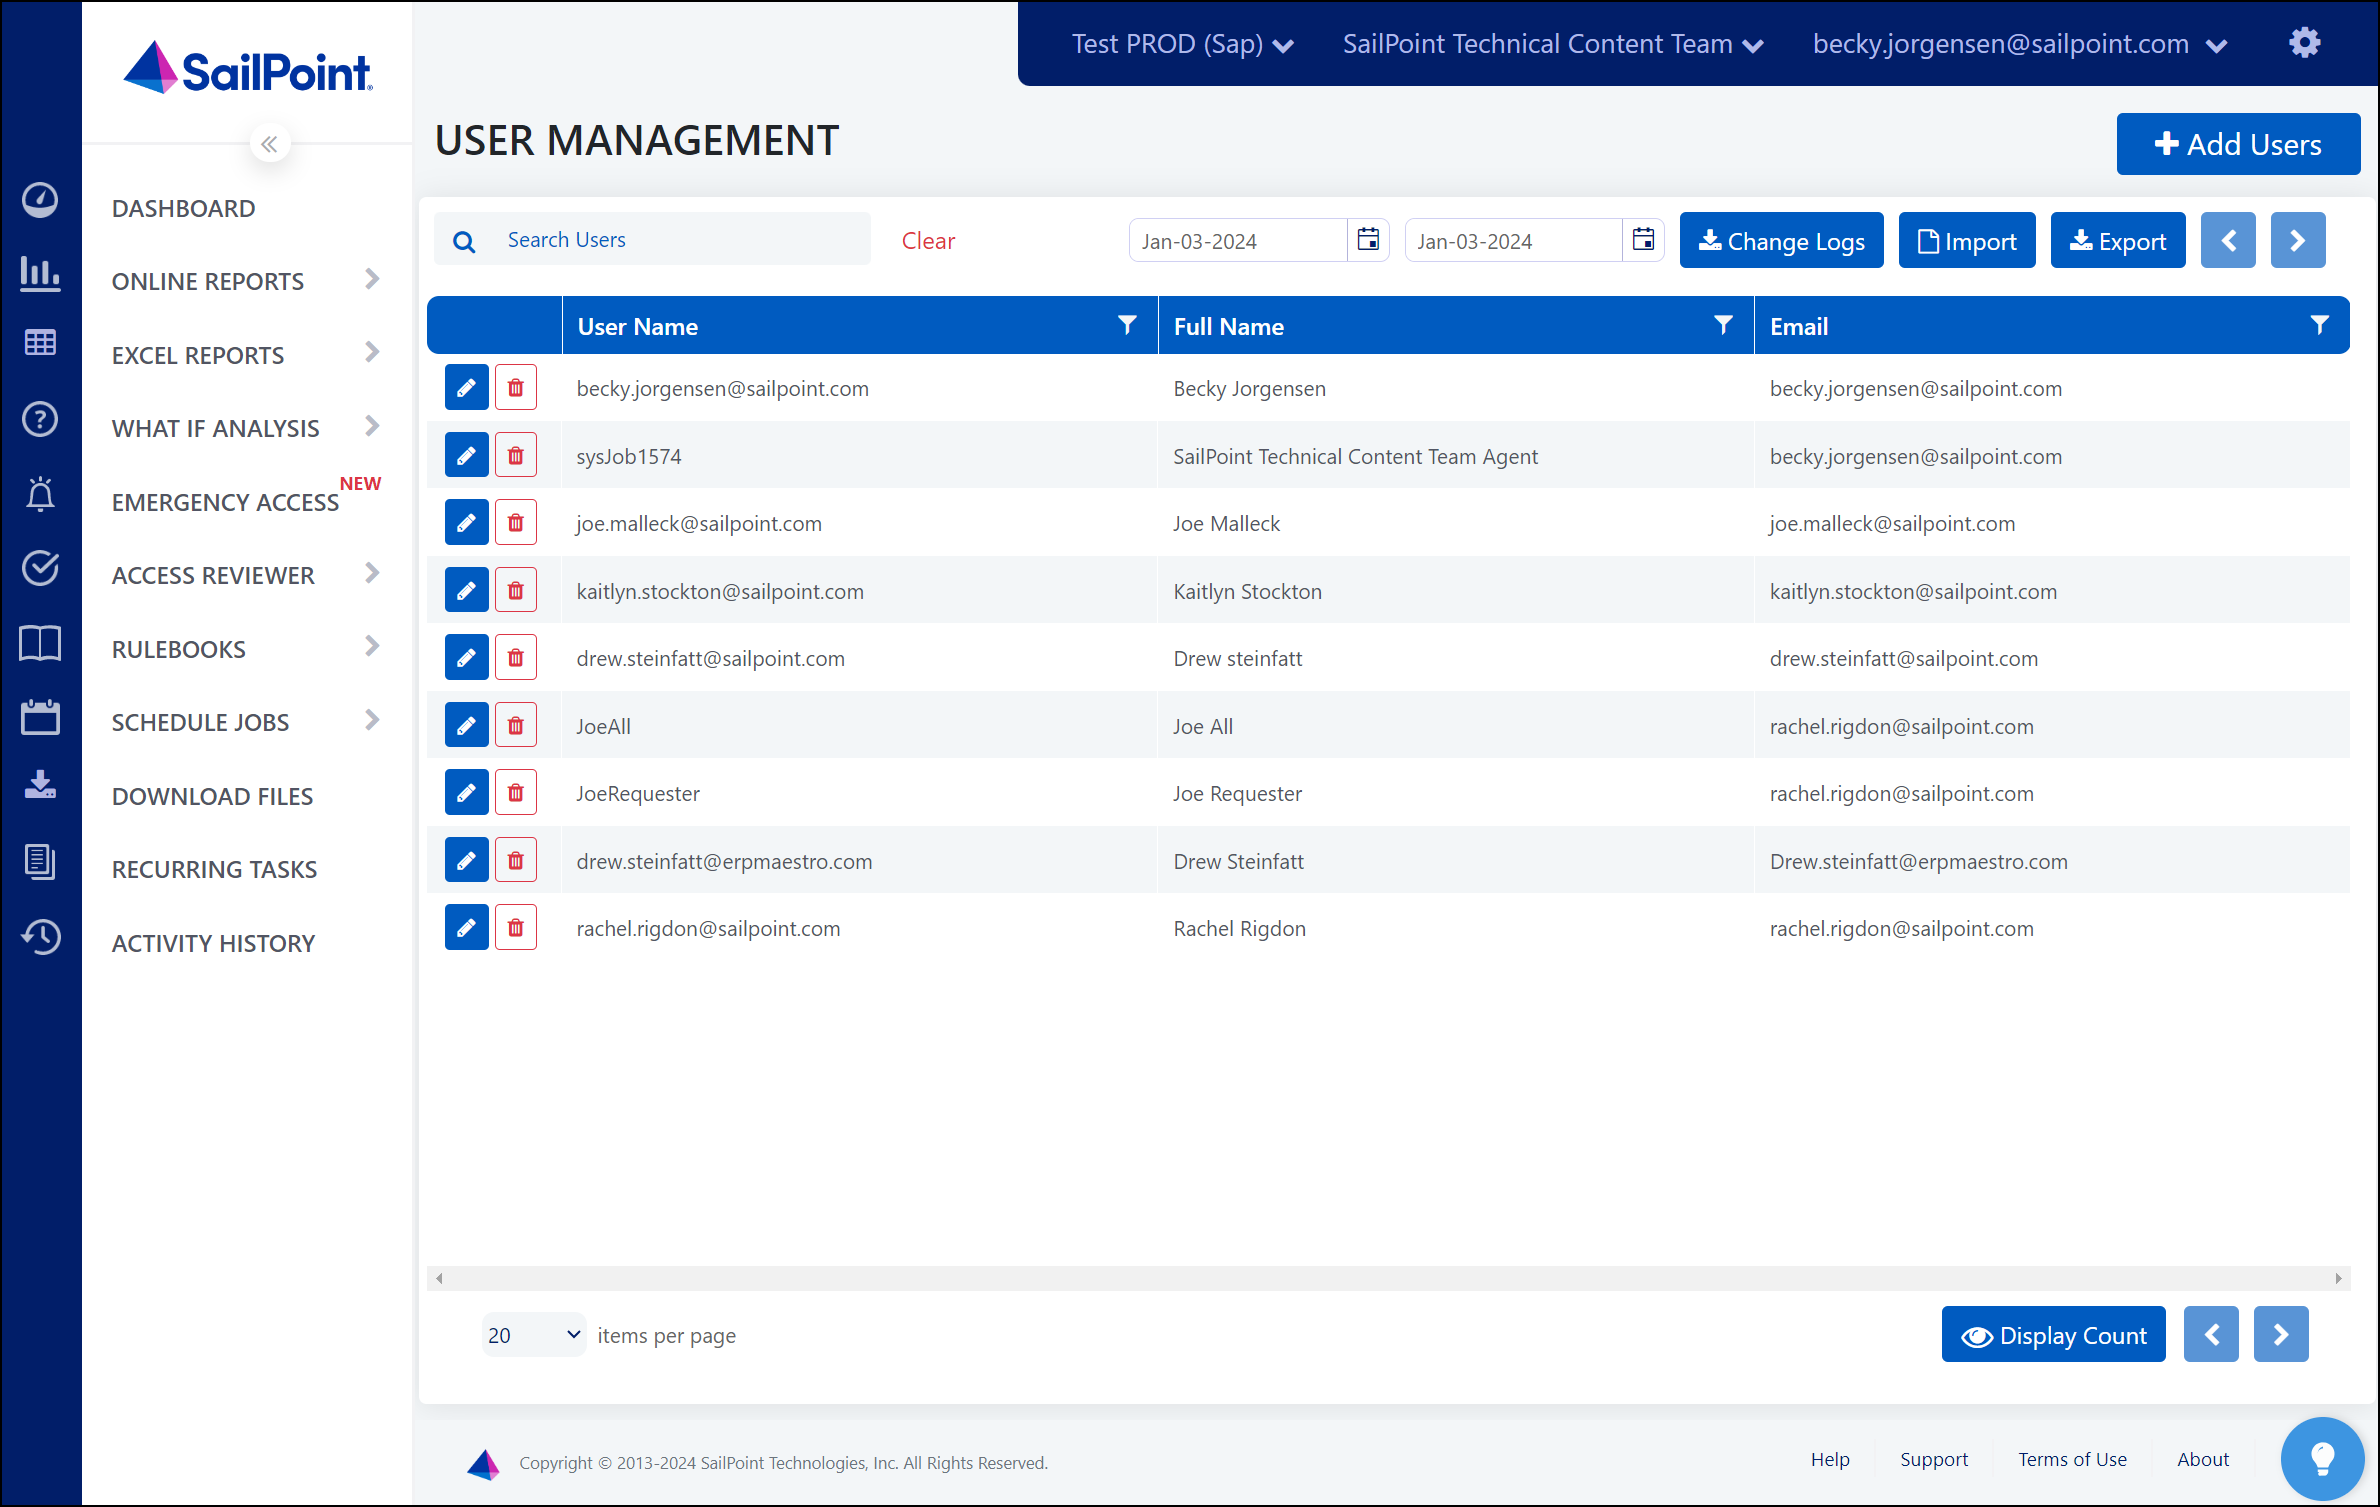
Select the Menu icon ![]() and choose Manage Users to display the users currently in Access Risk Management. You can add multiple users at once or individually.
and choose Manage Users to display the users currently in Access Risk Management. You can add multiple users at once or individually.
Bulk Importing
You can upload an .xlsx file to mass maintain existing users or add multiple users or permission roles at once from your sandbox or another tenant.
- On the User Management page in your sandbox or other tenant, select Export to download the template that you'll use to import an .xlsx file.
-
If any users already existed in production that do not exist in your other tenant, manually add them to the .xlsx file so they will not be deleted when the user list is overwritten.
Caution
Any users or Access Risk Management role assignments that are not present in the file will be deleted when you upload.
-
Save changes to the .xlsx file.
- On the User Management page in your production tenant, select Import.
- Select the updated .xlsx file that contains your users’ info.
- Select Upload.
The updated user information appears on the User Management page.
Note
If you don't want to send welcome emails to newly added users, set the SendWelcomeEmail column value to False to suppress the welcome email for those users.
Adding Individuals
You can add users individually.
- On the User Management page, select + Add Users.
-
Enter the user's details.
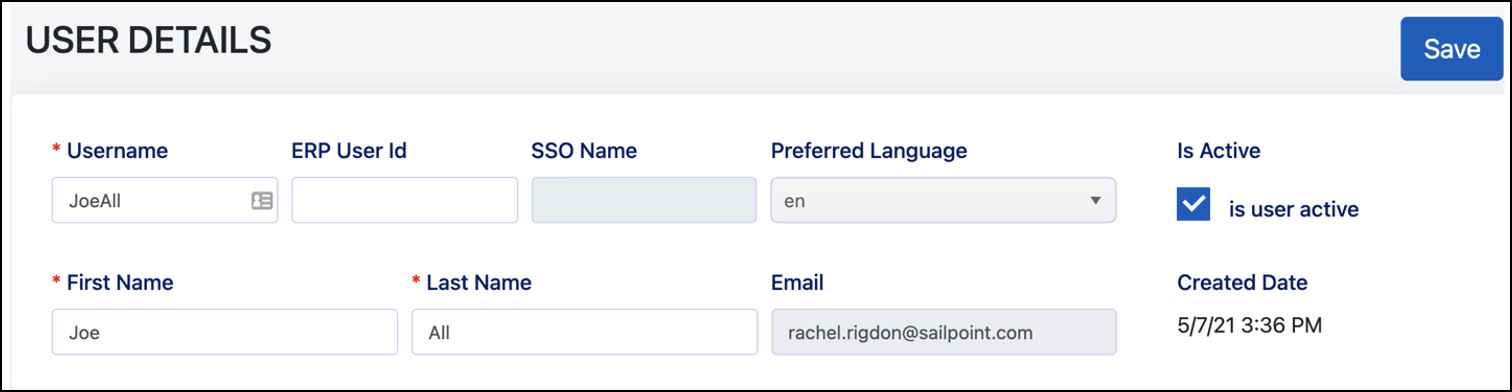
- Include the ERP User ID if the user will be an access reviewer or be able to request and receive temporary elevated access.
- Add the SSO name if you have configured SSO and expect the user to use the SSO option to log in to Access Risk Management.
-
Select Submit.
You can also view, add, assign user roles, and create access contexts from this page.
Editing User Details
You can update user details, such as username, first name, last name, and email.
- Go to Menu
 > Manage Users.
 - Scroll or search to find a user.
- Select the edit icon
 in that row.
 - On the User Details page, update user information.
- Select Submit.
Assigning Roles to Users
You can assign roles that will determine what level of access a user can have and what actions they can take. To assign a role to a user, select + Add User Roles under User Roles Selection.
Downloading User Change Logs
On the User Management page, select Change Logs to be redirected to the Activity History page. Select Download to download a .csv of the logs.
It may take a moment for the change log to generate and the Download button to display. Select the Refresh icon ![]() above the Action column to update the Activity History page.
above the Action column to update the Activity History page.
Creating Access Contexts
Access contexts allow administrators to restrict what users see in the online reports. Access contexts can also be used to filter between different sets of users if someone has multiple access contexts assigned to them.
To set up access contexts:
-
Select the Menu icon
and choose Access Contexts. -
Select the toggle to enable access contexts.
-
Select Add to create a new access context.
-
Name the access context.
-
Use the Column dropdown menu to select the criteria you want to filter users by, such as country or department. To create custom columns, contact Access Risk Management support.
-
Enter the value you want associated with your criteria. For example, you might select "country" as your column and enter "United States" as your value to filter users based on if they are in the US.
When creating or editing users, you can select + Add Access Context
to restrict the SAP users that the Access Risk Management users can see in
online reports. You can edit existing users by selecting the
Edit icon ![]() on the User Management page.
on the User Management page.
Scheduling Automatic Logouts
You can schedule the days, hours, minutes, and seconds after which an idle user will be automatically logged out. Select Customer Settings, choose your times, and select Schedule.
Documentation Feedback
Feedback is provided as an informational resource only and does not form part of SailPoint’s official product documentation. SailPoint does not warrant or make any guarantees about the feedback (including without limitation as to its accuracy, relevance, or reliability). All feedback is subject to the terms set forth at https://developer.sailpoint.com/discuss/tos.