Adding a DropBox Application
In order to integrate with DropBox, we must first create an application entry in File Access Manager. This entry includes the identification, connection details, and other parameters necessary to create the link.
To add an application, use the New Application Wizard.
- Go to Admin > Applications.
- Select Add New to open the wizard.
Select Wizard Type
- Select Standard Application
- Slect Next to open the General Details page.
General Details
- Application Type - DropBox
- Application Name - Logical name of the application
- Description - Description of the application
-
Tags - Select tags for the application from the dropdown menu, and / or type a new name, and select Enter to create a new tag. The dropdown list of tags filters out matching tags as you type and displays up to 50 tags.
Note
The tags replace the Logical container field that was used when creating applications in releases before 8.2.
-
Event Manager Server - This option is available if there are more than one event manager servers configured in the system. Select an event manager from the drop down menu.
Select Next to open the Connection Details page.
Connection Details
Complete the Connection Details fields:
-
Authorization Page
-
Select this link to open the DropBox Consent window shown below.
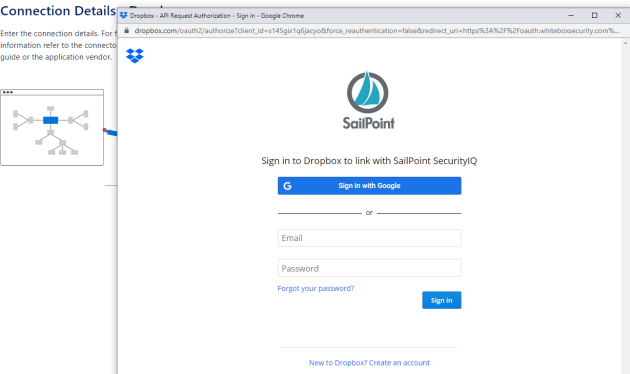
-
On the DropBox consent window, log in with a Team Admin user name.
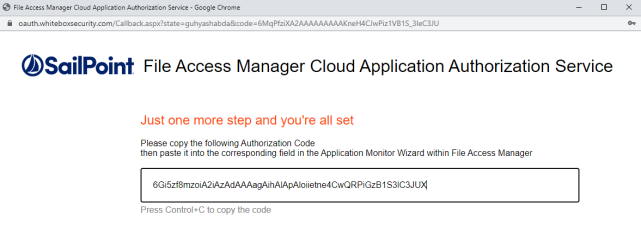
-
You are redirected to the File Access Manager Cloud Application Authorization page with the authorization code.
-
This code has a timeout of about a minute, so copy the authorization code into the proper field in the application configuration page.
-
-
Authorization Code
- The result of the authorization process.
Select Next.