Configuring Other Parameters
There are other important parameters in addition to the connection parameters for the ServiceNow admin to configure.
-
Enter the SailPoint Identity Security Cloud attribute to correlate with ServiceNow account. For example,
nameoraccountId. To help ensure successful attribute correlation, you must use the exact name for the attribute as it appears in Identity Security Cloud in parenthesis (not the "friendly name" that’s displayed for the identity profile) and you must prefix any second level or custom fields withattributes.Note
An understanding of the data model used to organize your data in Identity Security Cloud will help ensure you specify the correct value. Refer to the table of attributes in Second-level Fields for Identities for more information. -
Enter the ServiceNow Account attribute to correlate with the SailPoint Identity Cube. For example,
user_name.Note
The values of attributes being correlated as a result of mapping a SailPoint attribute and a ServiceNow account attribute are treated as case-insensitive. -
Select your choice from Approval Flow.
The integration relies on ServiceNow Manager approvals before it can create access requests in Identity Security Cloud.
-
To use an Identity Security Cloud approval workflow instead, select
None. -
To use only ServiceNow as a manager in ServiceNow, use
Manager Approval(Option included to maintain compatibility to earlier versions, soon to be deprecated). -
To use the easy to configure and native ServiceNow approvals, use
Configurable Approvalsfrom the Approval Flow list. For more information, refer to Configuring Approval Flow.
-
-
Select your choice for Generic Approval Definition Enabled (applicable if Configurable Approvals is selected for Approval Flow). For more information, refer to Generic Approval Definition.
-
Set the configuration for the Default comments for requested items. Keep it blank to impose comment configuration of Identity Security Cloud. For more information, refer to Configuring the Comments.
-
Select your choice for Is Sunset Date Mandatory for Access Requests? For more information, refer to Configuring the Sunset Date.
-
Select your choice for Skip user selection screen for users who can request access for self only. If the user will select access only for themselves, leave the default value as
Yes. This bypasses the user selection screen and redirects them to the sign in page. If the user needs to be able to request access for others, change the value toNo. This requires the user to select a user before it redirects them to the sign in page. -
Enter page URL to redirect after submission (Default: Service Portal page). This is where you want your user to be redirected after successfully creating a new ServiceNow Access request. For example,
-
You can leave the field empty to redirect the user to the default Service Portal page.
-
You can specify a relative path that starts with / to redirect the user to that page. For example, to send a user to the Manage Access page use
/sp?id=manage_access. -
You can enter a URL with an absolute path to a page or site. For example,
https://www.sailpoint.com/
-
-
Enter a user-friendly Header that will be displayed in the sidebar. For example,
SailPoint Identity Security Cloud for Service Catalog. -
Select your choice for Show Header text box?
Instructional text in the remaining customizable header fields will be applicable based on your choice:
-
User Header text
-
Add Access Header text
-
Recommendations Header text
-
Remove Access Header text
-
Review & Submit Header text.
For more information, refer to Configuring Page Headers.
-
-
Select whether you want to Display Non-Requestable Access Objects or not.
-
Set the configuration for List and order of Search results tab. Exact text separated by comma to be used. For more information, refer to Configuring the Search Results Tab.
-
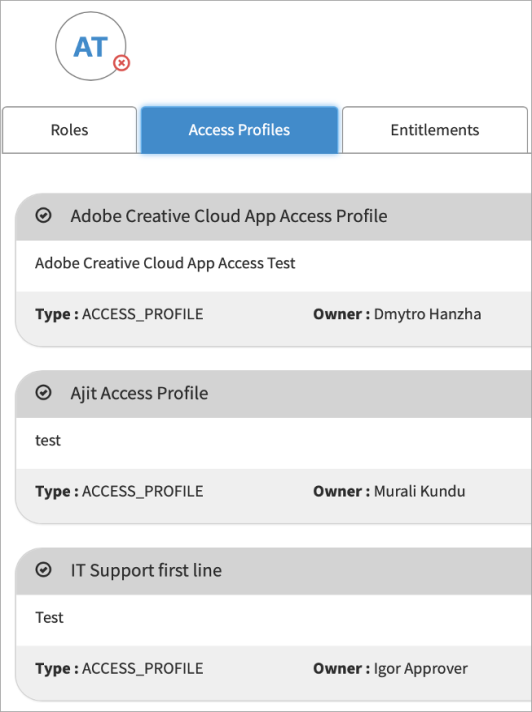
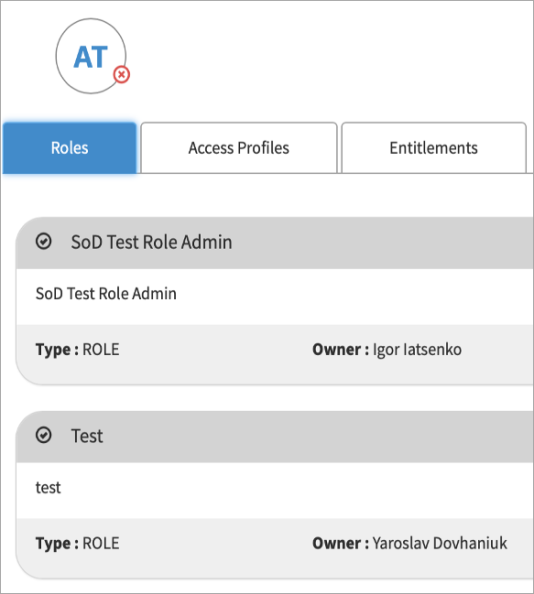
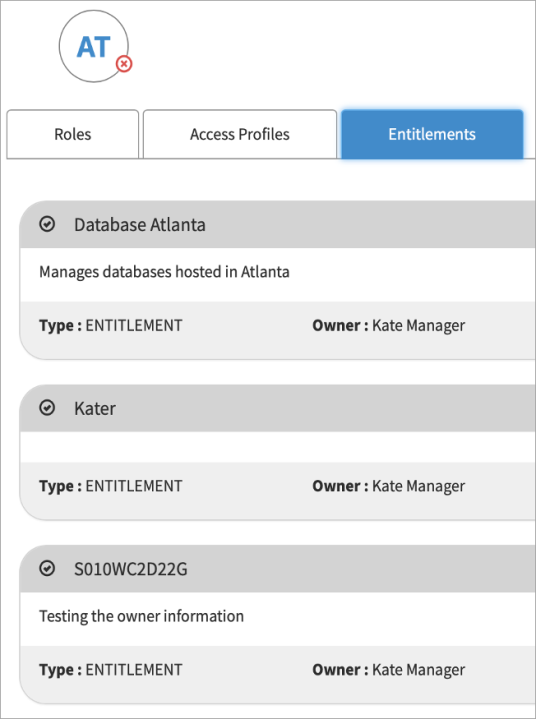
Enter additional query conditions for Additional query for fetching list of access profiles (For manage_access Page only), Additional query for fetching list of roles (For manage_access Page only), and Additional query for fetching list of entitlements (For manage_access Page only). Through these, the admin user can filter Roles, Access Profiles and Entitlements using any attribute the access object has. Only those filtered values will be available for end users. By default, these fields are empty.
Examples of a query condition
Note
For more information on SailPoint's REST APIs, refer to Best Practices: REST API Authentication and REST API - Update Source (Partial) in the SailPoint Developer Community. -
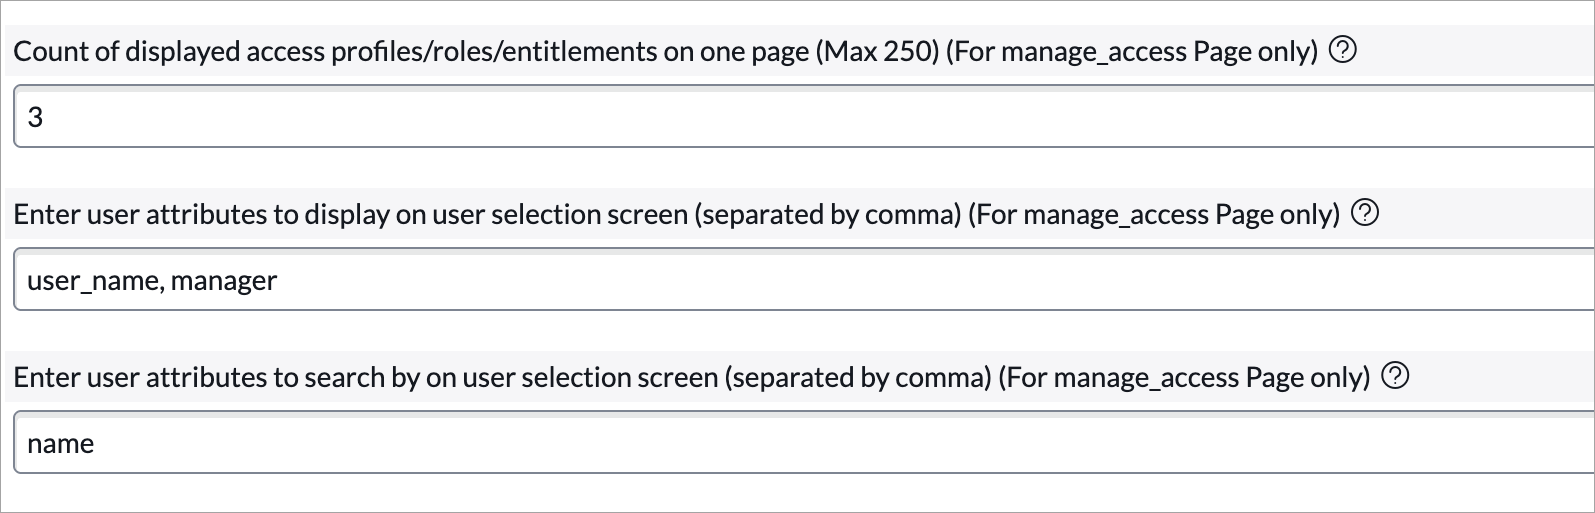
Enter the number of search results in Count of displayed access profiles/roles/entitlements on one page (Max 250) (For manage_access Page only) .
-
Enter user attributes to display on user selection screen (separated by comma) (For manage_access Page only). These are the attributes you want to make available on the users search page. Use field names from the
sys_user tableseparated by a comma. -
Enter user attributes to search by on user selection screen (separated by a comma) (For manage_access Page only). These are the attributes you want to use for the users search page. Use fields names from the
sys_user tableseparated by a comma. -
Select how you want to manage Separation of Duties policy checks? for the selected users before a new access request can be raised. For example,
-
Disabled (default) - There is no Separation of Duties violation check for the selected users.
-
Soft: allow submission - The Separation of Duties violation check is applied for all the selected users. If there is a violation, a warning message is displayed and the request can be submitted.
-
Hard: reject submission - The Separation of Duties violation check is applied for all the selected users. If there is a violation, an error message is displayed and the request cannot be submitted.
-
-
To show the recommendations tab, select
Yesfor Show Recommendations, applicable only if required license available? This property is applicable only if a required license is available. -
Specify the field name that will be used to store the access request ID from SailPoint. This field name is used to link tickets created by
SailPoint Identity Security Cloud for ServiceNow Catalogwith those created for the same request bySailPoint for Service Desk. This property is applicable only if you have both theSailPoint Identity Security Cloud for Service CatalogandSailPoint for Service Deskstore applications installed on the same ServiceNow instance. The default value iscorrelation_id. You can change it to another custom field if you are already usingcorrelation_idon requested item for other integration. For more information, refer to Linking with the SailPoint for Service Desk Application. -
Specify the value for status check timer activity in minutes. Default value is 1440 minutes which is 24 hours” The default configuration for the workflow involves pooling statuses from Identity Security Cloud once every 24 hours. However, this can be adjusted to align with specific business requirements using the provided property.
Important
Exercise caution when adjusting this value, as setting it too low may lead to requests being canceled. Recommended value: no less than 720.Note
For app version 3.1.0 and earlier, the required steps are outlined in Configure Status Pooling Timer. -
The Auto Approve Enabled field is applicable to customers with app version 3.2.0 and later. The default setting is
No. IfYesis selected, the approval request will be auto-approved if theapproverandrequester/requested forare the same user.Note
-
This property applies exclusively to the rule types of ServiceNow User, ServiceNow Manager, Identity Security Cloud Owner and Identity Security Cloud Manager.
-
The property does not apply to ServiceNow Workflow, ServiceNow Flow, and Identity Security Cloud Workflow.
-
-
The Property to determine which logs to print. Choices are debug, info, warn and error. Default is warn is used to determine the level of logging. For more information, refer to Reports, Debug and Error Handlers.
-
The Native Search redirect page ID (example: manage_access) setting is useful if Native Search is implemented. For more information, refer to Configuring Native Search.
-
Select Save.