Connecting SailPoint and ServiceNow Service Desk
The ServiceNow Service Desk Integration Module helps to perform effective and efficient service management for SailPoint services offered to the organization in the ServiceNow Service Desk managed system and enables customers to create and manage Service Requests or Incidents.
Note
ServiceNow Service Desk SDIM supports Incident and Service Request ticket types.
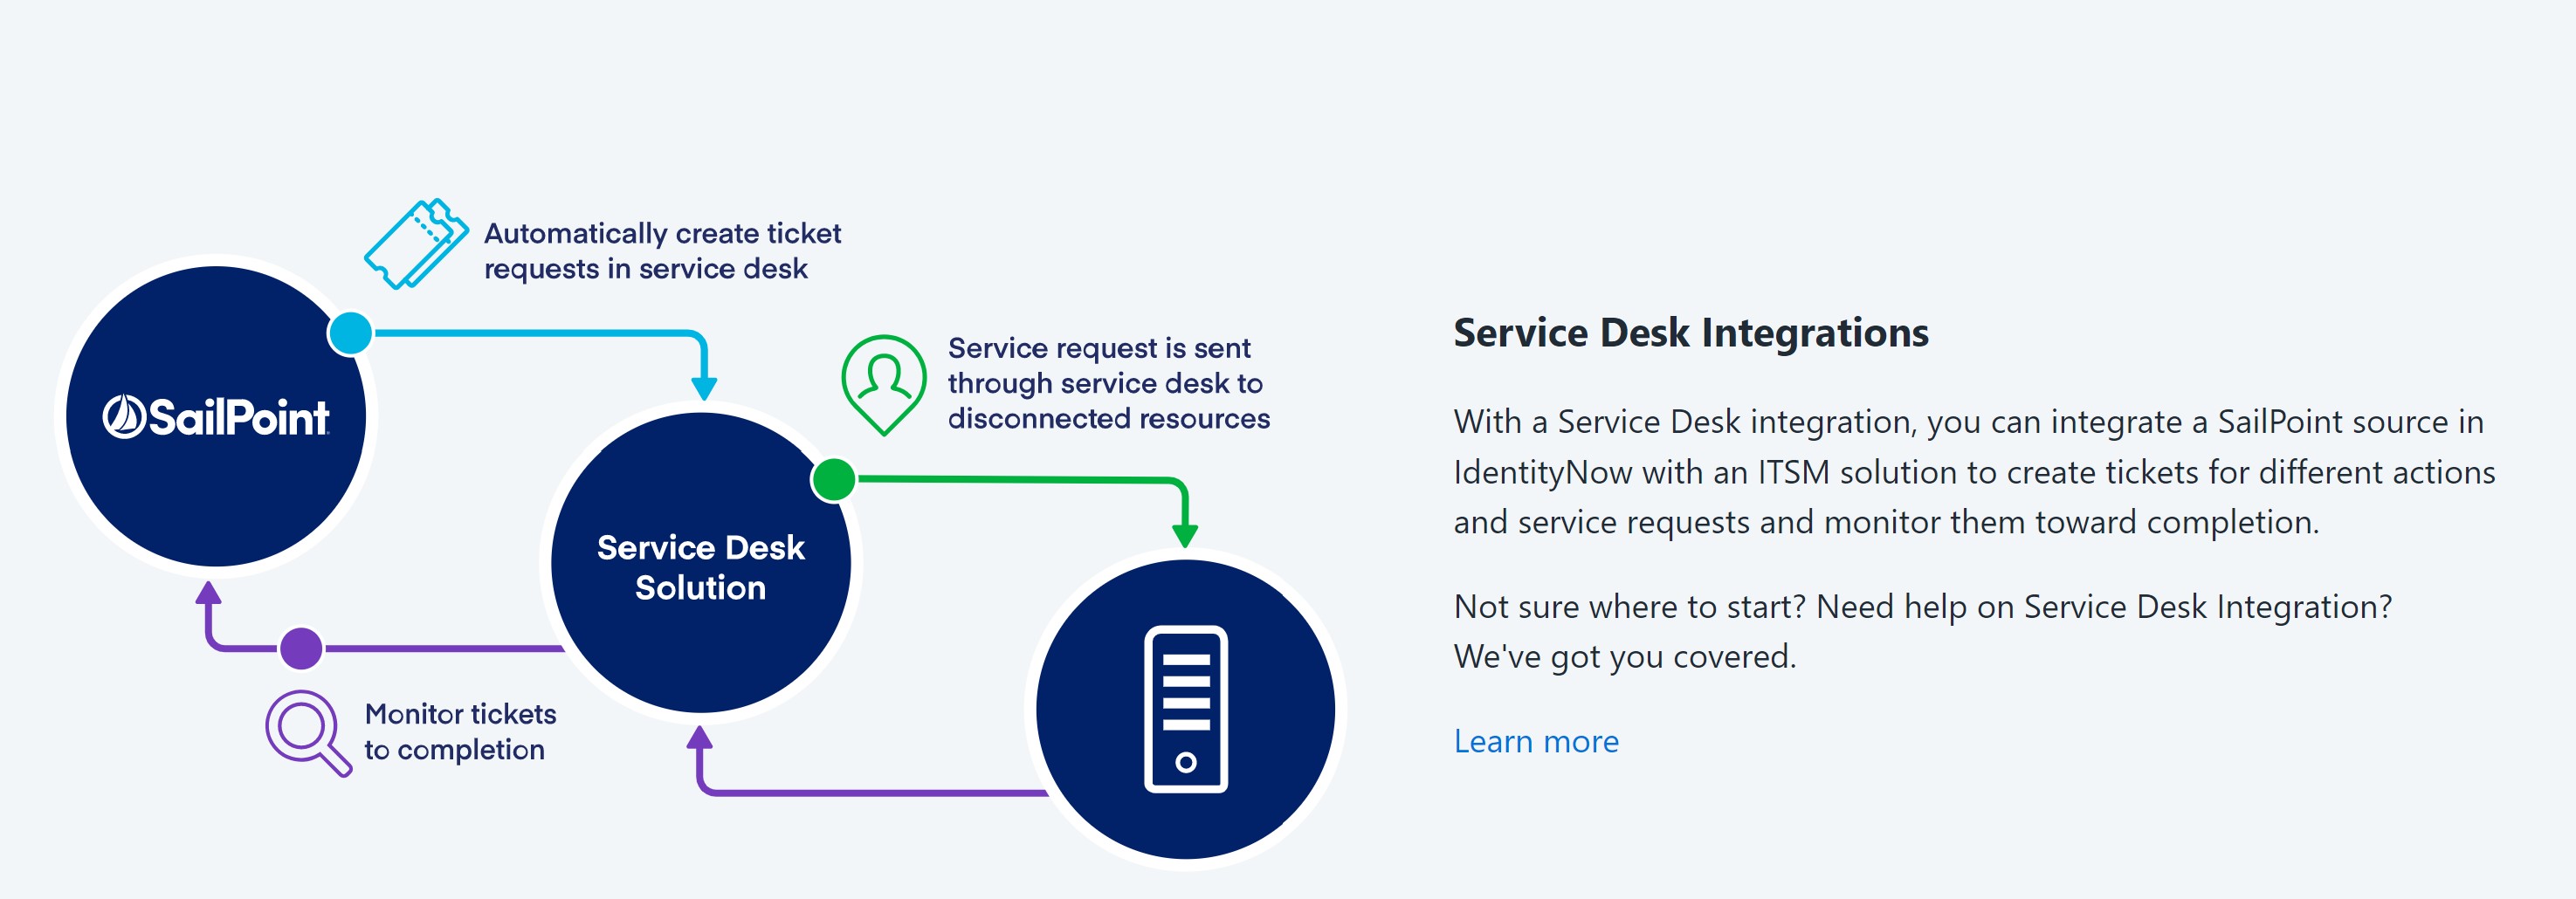
You can integrate a SailPoint source with ServiceNow Service Desk for access requests and to monitor it.
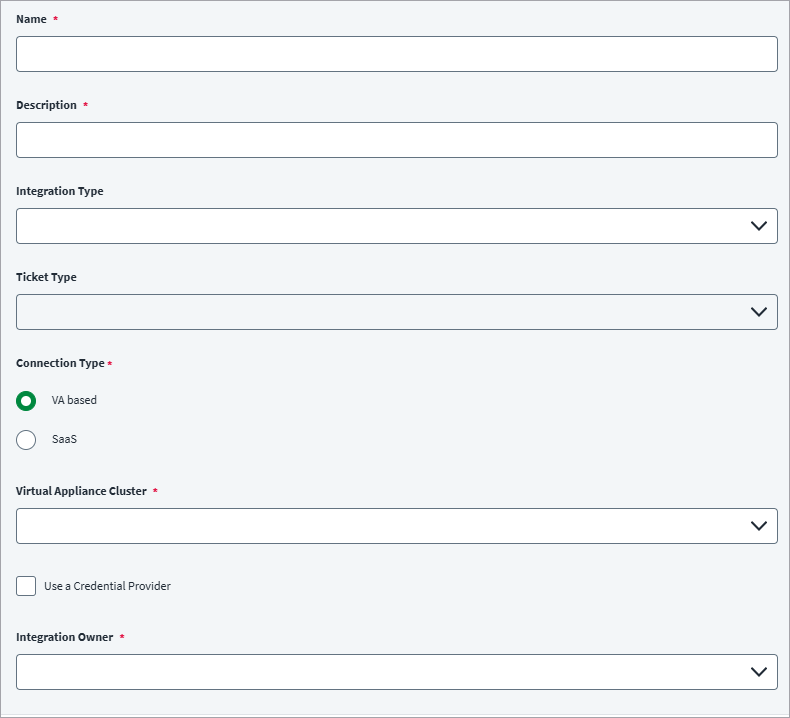
To create an integration, on the Service Desk Integrations page, go to Admin > Connections > Service Desk, and select Create.
Screenshot
General Settings
The following are the steps to set up your ServiceNow Service Desk integration:
Screenshot
Note
Ensure that the name and description of each connection are unique. Because you can configure multiple source types to use this connection, you should specify the sources in the description. The tickets for those sources will be processed on the managed system while the status of the tickets is synchronized in SailPoint.
- Enter a unique Name for the integration that you are setting up.
- Enter a unique Description for the integration. The description will help you identify the associated sources and tasks associated with an integration.
-
Select ServiceNow Service Desk for the Integration Type.
-
Select Incident in the Ticket Type dropdown list.
-
Select the Connection Type:
- VA-Based Connection Type - Select the VA-Based connection type if you want to use a Virtual Appliance Cluster.
- SaaS Connection Type - Select the SaaS connection type if you want to create a SaaS application without using a Virtual Appliance Cluster.
Notes
- SaaS Connection types don't support Credential Providers.
- Once you create an integration, you cannot edit the connection type.
-
(Optional) If Credential Providers are supported for this integration, you can select Use a Credential Provider to use a credential provider configured in your tenant.
- Enter the name of the Integration Owner.
VA-Based Connection Type
Screenshot
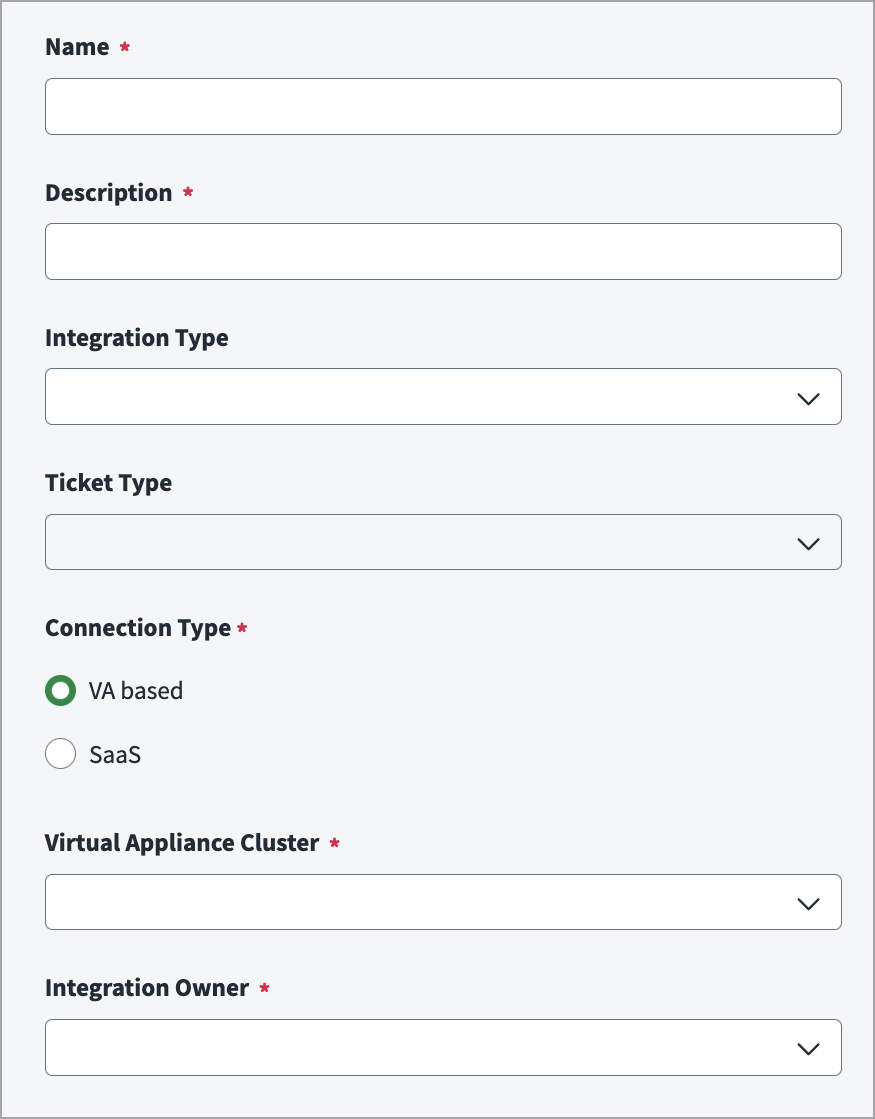
- Select VA-Based connection type if you want to use a Virtual Appliance Cluster.
- Select Save.
SaaS Connection Type
Screenshot

- Select SaaS connection type if you want to create a SaaS application without using a Virtual Appliance Cluster.
Note
When you select the SaaS connection type, the Enable Debug Logging feature is available. It is only supported for Service Desk SaaS integration.
Administrator Settings
Screenshot

- Select the Enable Debug Logging checkbox to enable the integration to create and send debug log files to SailPoint Support to help troubleshoot issues.
-
If the Enable Debug Logging feature is needed, please contact SailPoint.
Note
Enable Debug Logging should not be enabled without SailPoint guidance.
Sources
Screenshot

In the Sources dropdown list, select sources to configure from the available sources. For each source you want to integrate with the ServiceNow Service Desk system, verify that it is configured for provisioning.
Tip
Edit the Description field for these sources to indicate they are used in the ServiceNow Service Desk integration.
Connectivity and Authentication
- In the URL field, enter the URL of the ServiceNow instance that you want to integrate with. For example,
https://<demo>.service-now.com. - Select Basic or OAuth2 in Authentication Type.
- Complete the authentication steps:
Basic Authentication
Screenshot
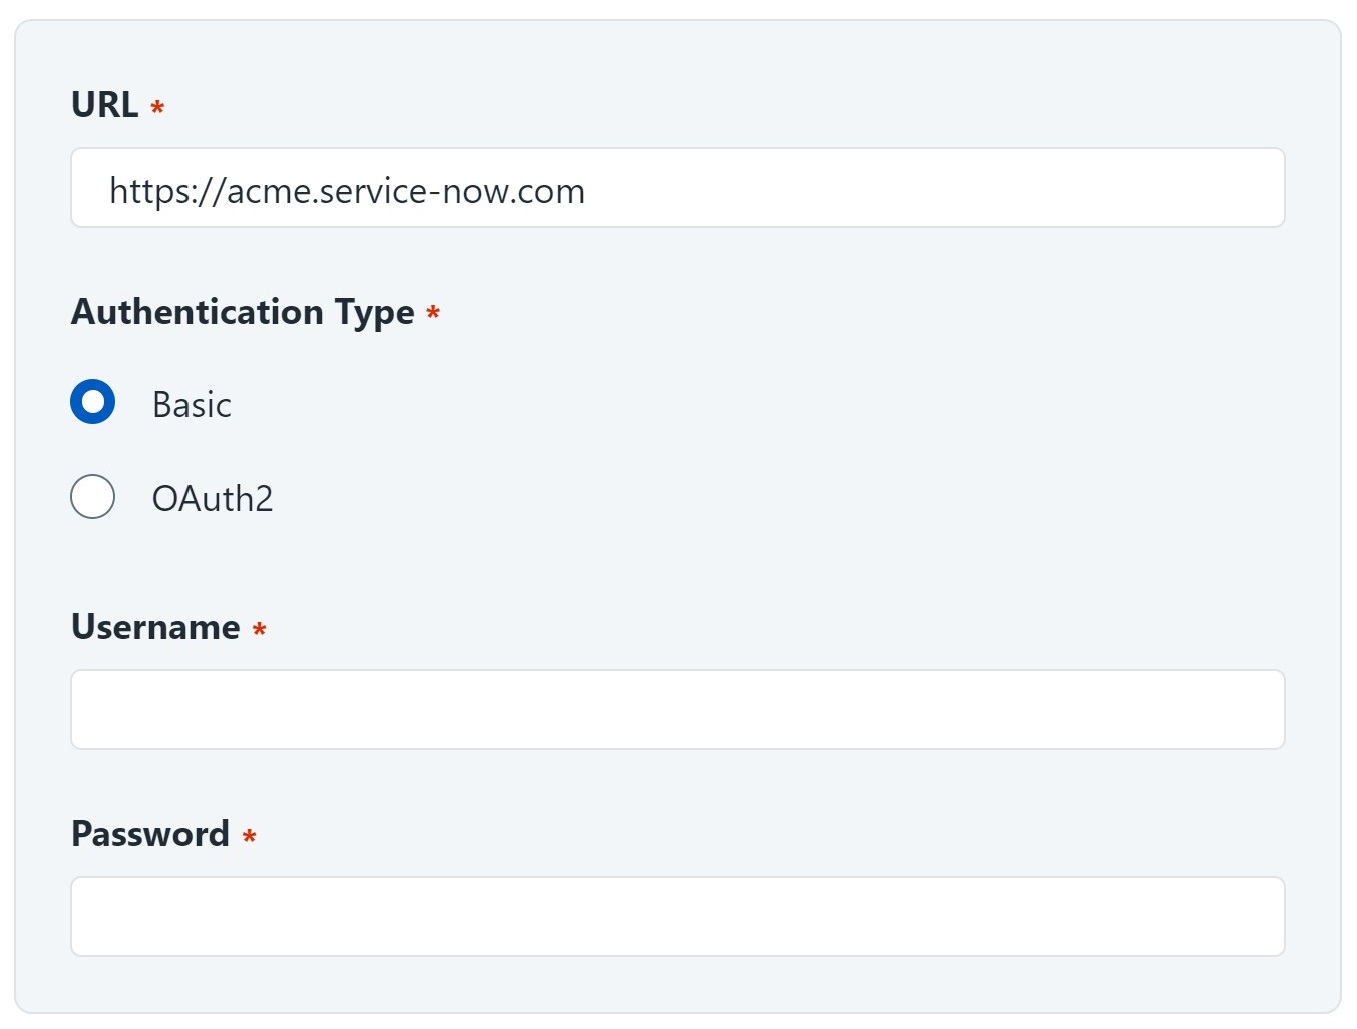
For the Basic authentication type, enter the Username and Password in the respective fields.
OAuth2 Authentication
Screenshot
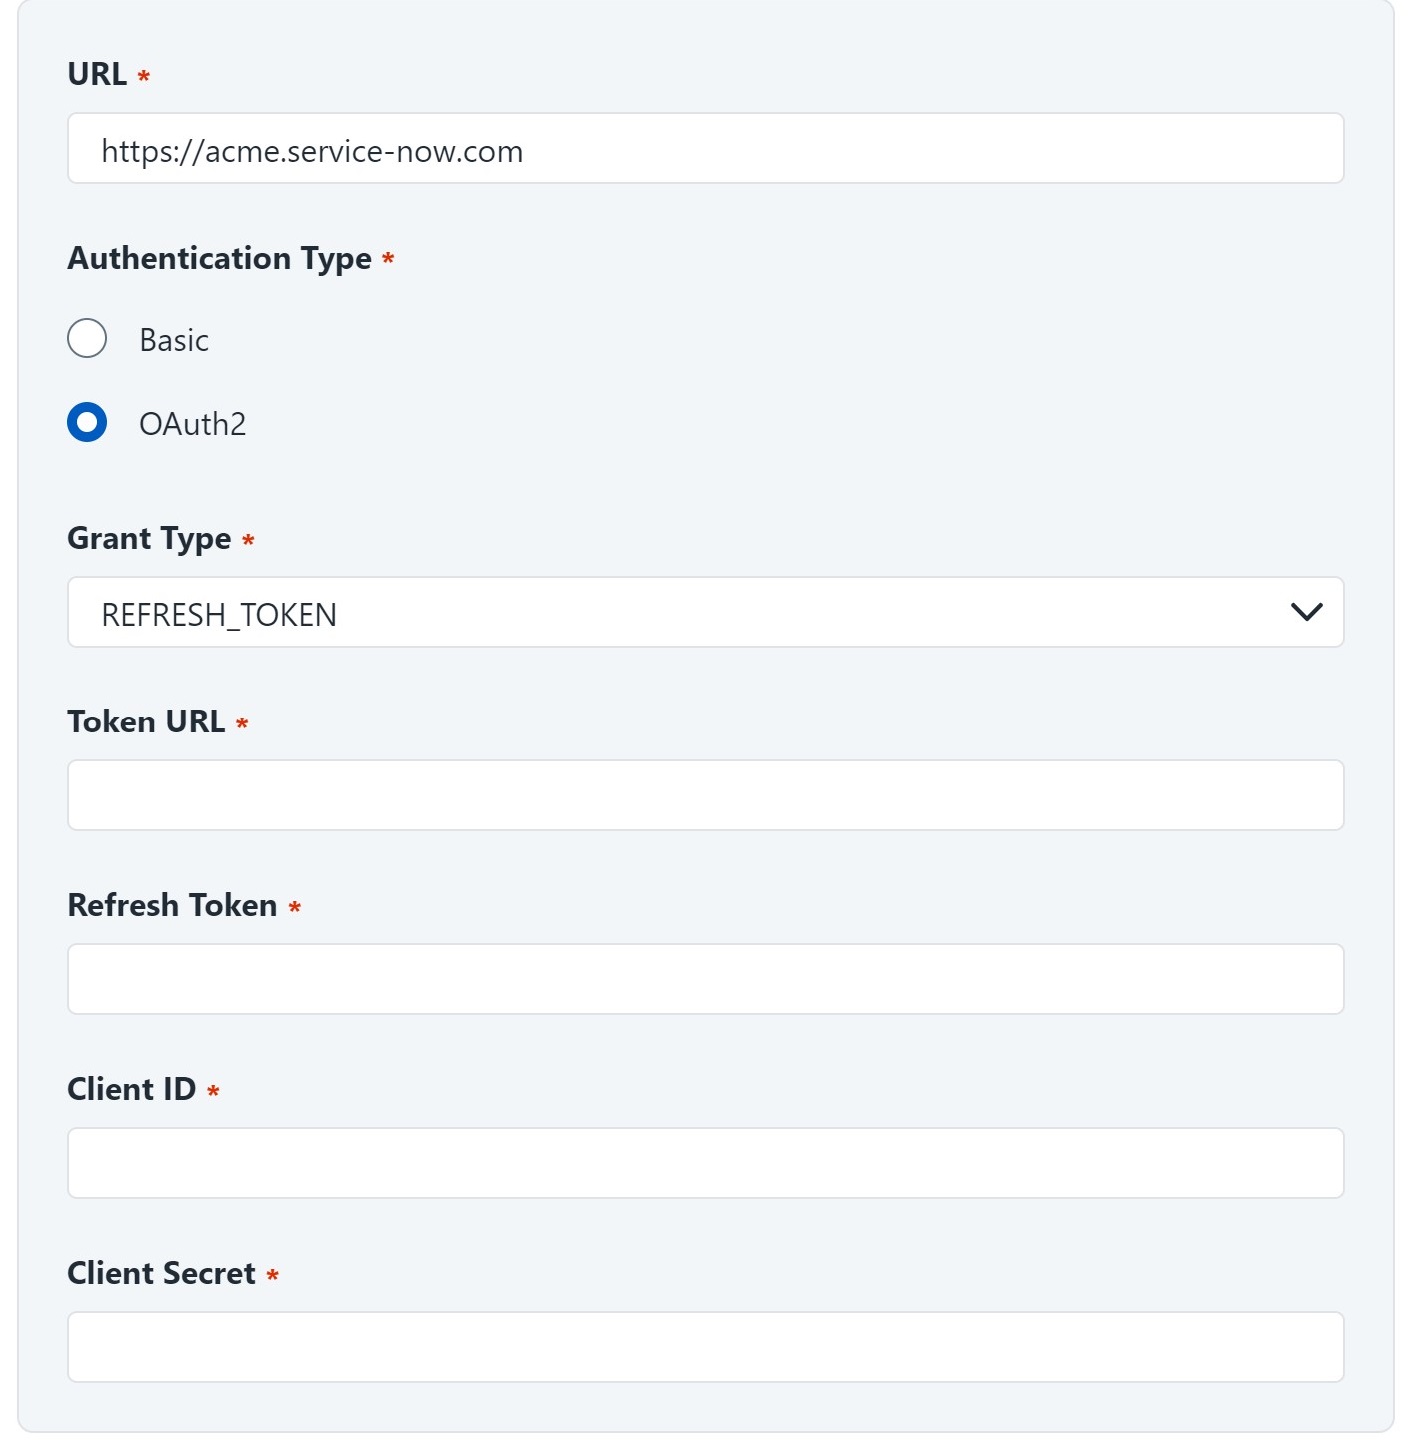
For OAuth2 authentication, there are two grant types:
- Password
- Refresh Token
Note
For the most current information about using OAuth2 authentication, refer to OAuth API Request Parameters in the ServiceNow documentation.
In the Grant Type drop-down list, select either Password or Refresh Token grant type.
Password Grant Type
Screenshot

- In the Token URL field, enter the location of the token endpoint that the instance uses to retrieve the token. For example,
https://<instancename>.service-now.com/oauth_token.do. - In the Username, Password, Client ID, and Client Secret fields, enter the respective values for OAuth2 authentication.
Refresh Token Grant Type
Screenshot

- In the Token URL field, enter the location of the token endpoint that the instance uses to retrieve the token.
-
In the Refresh Token field, enter the refresh token for OAuth2 authentication. Refer to the ServiceNow documentation for information about creating an endpoint for a client to access a ServiceNow instance.
Use the following curl command to create a refresh token:
-
In the Client ID and Client Secret fields, enter the values for OAuth2 authentication.
Documentation Feedback
Feedback is provided as an informational resource only and does not form part of SailPoint’s official product documentation. SailPoint does not warrant or make any guarantees about the feedback (including without limitation as to its accuracy, relevance, or reliability). All feedback is subject to the terms set forth at https://developer.sailpoint.com/discuss/tos.