Connecting SailPoint and Delimited File SaaS
To connect SailPoint with Delimited File, perform the following tasks:
Adding the Source in SailPoint
To connect to SailPoint, perform the following steps. Once the connection is made, you can configure it to meet your company's needs.
Important
By default, the provisioning feature is disabled, and the connector only supports read-only operations. To support provisioning operations, you must manually enable the feature in the source configuration.
To configure a new source:
- Sign in to SailPoint.
- Go to Admin > Connections > Sources.
- Select Create New.
- Search for the connector by entering the name in the search box, and then select Configure.
-
Enter the following information:
- Source Name - Enter a name for the new source.
- Description - Enter a description for the new source to help distinguish it from similar sources.
-
Source Owner - Begin typing the name of an owner. Matches appear after you type two or more letters.
Note
You must add a source owner at the same time as you add a Name, Description, and Source Type while creating the source.
-
Platform Type - Select SaaS.
- SaaS - Select SaaS if no connector is available, or if another system restricts the connection. This option allows only reading and aggregating data as a generic application. Provisioning activity is unsupported, and additional configuration pages like connection settings and aggregation settings are unavailable.
-
Governance Group (Optional) - Select an optional governance group from the dropdown list.
- Select Authoritative Source if the source will be used as the account source for an identity profile. For more information, refer to Creating Identity Profiles.
-
Select Continue to create the new source with your selections.
Base Configuration
Provide the base configuration parameters. Information you entered in the Create New Source dialog is automatically entered into the fields in the Base Configuration page. You can edit this information if necessary.
- Enter a unique name and description for the source.
-
In the Source Owner dropdown list, select the identity that owns this source.
- To find a source owner, begin entering their name.
-
(Optional) If enabled for your organization, select the Use a Credential Provider checkbox to manage the source's authentication using a credential provider.
Note
To add a credential provider, go to Admin > Connections > Credential Providers. For more information about credential providers, refer to Credential Providers.
-
Configure the authentication to allow SailPoint to connect to the source.
-
(Optional) In the Governance Group for Source Management dropdown list, select a governance group to associate with this source. For more information about governance groups, refer to Associating Governance Groups with a Source.
-
(Optional) Choose whether to enable or disable provisioning for the source. Provisioning is disabled by default.
-
Enable Provisioning - Set the toggle to Enabled to allow the source to create, update, and deactivate accounts in the connected source system.
-
Disable Provisioning - Set the toggle to Disabled to disable provisioning for the source. Disabling provisioning will prevent the creation, updating, or deactivating of accounts on this source.
-
-
Select Save.
Parsing Settings
Configure the parsing technique the connector uses to parse the data file: Delimited or Regular Expression.
Screenshot
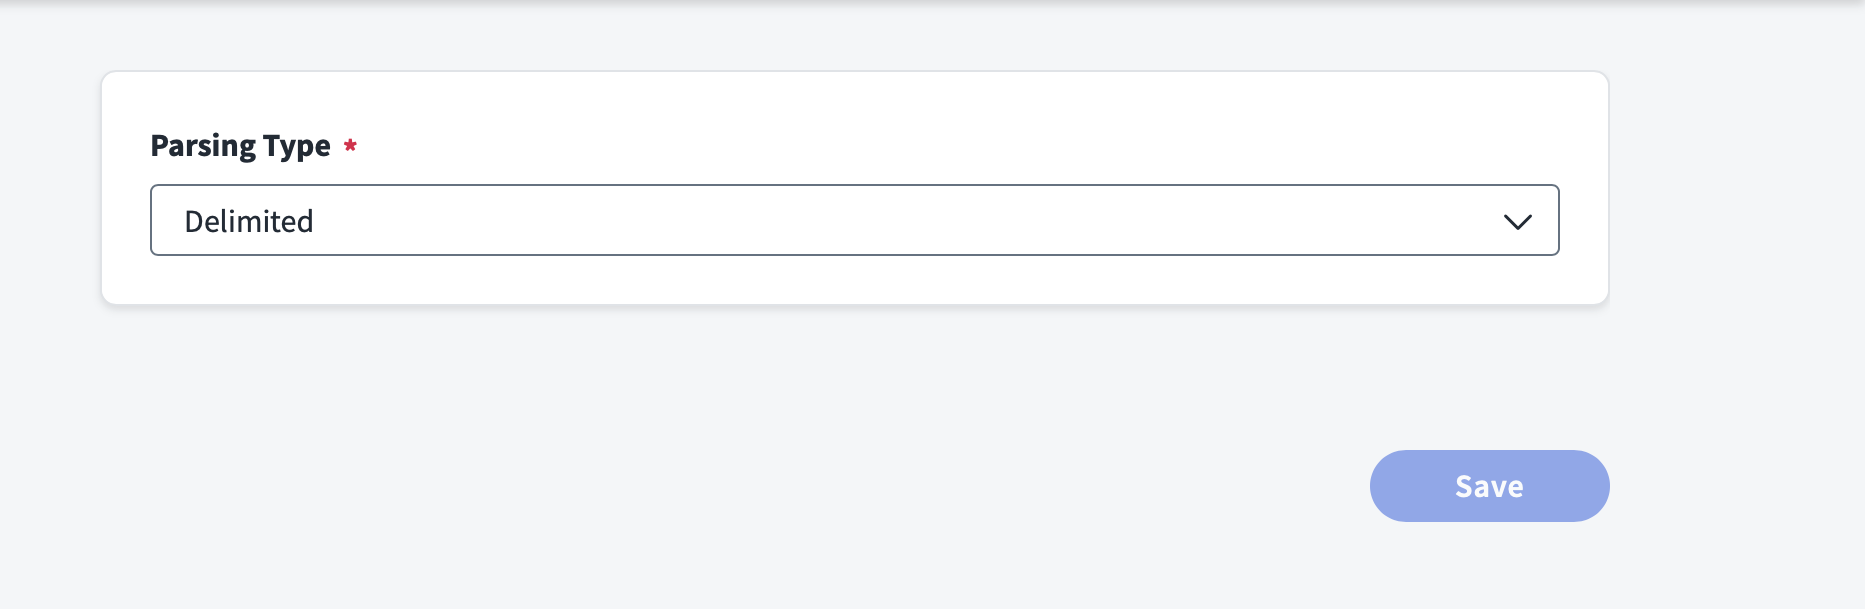
- Delimited - When Parsing Type is set to Delimited, select the edit button for the schema in File Settings to enter the character to use as a delimiter.
- Regular Expression - When Parsing Type is set to Regular Expression, select the edit button for the schema in File Settings to enter the regular expression using regular expression groups to break the data into tokens.
File Settings
For each schema type, specify the attributes to use during aggregation.
Account Schema File Settings
Complete the following tasks to configure the file path, parsing, merging, and filtering settings for the Account schema:
File
Use the File Path attribute to specify the path to the export file that the Delimited File source uses for the Account Schema.
Screenshot

Enter the path and name of the data file that should be parsed.
Parsing
Use the following parsing attributes for the Account Schema:
Screenshot
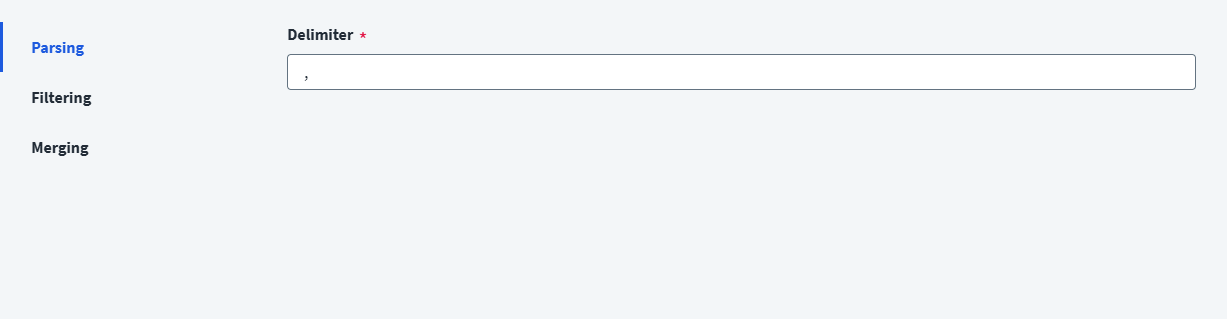
- Delimiter
- Applicable when Parsing Type is set to Delimited.
- Enter the character to use as a delimiter.
- If the delimiter is a Unicode character, use the
\uformat. For example,\u0009is used for the tab character.
- Regular Expression
- Applicable when Parsing Type is set to Regular Expression.
- Enter the regular expression using regular expression groups to break the data into tokens.
- Columns - Enter the names of the columns to use when parsing the file.
- If you are using the Regular Expression parsing type, this field is required.
- If you are using the Delimited parsing type, configure this field only if there is no header defined or you want to rename the columns used in the buildMap rule.
Filtering
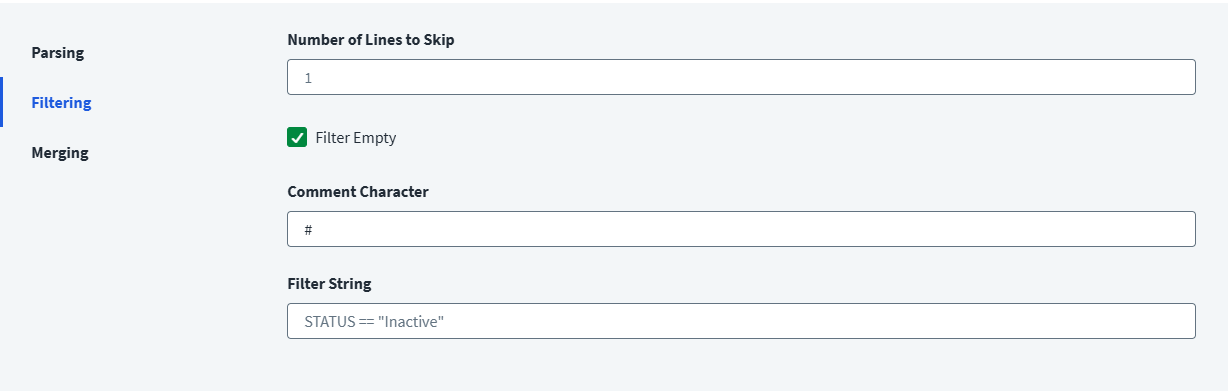
Use the following filtering attributes for the Account schema:
Screenshot
-
Number of Lines to Skip - Enter the Number of Lines to Skip in the data file before parsing the data. For example, when the value is set to
1, the connector skips the first line of data from the input file along with the header line.Note
The first line of the input file consists of column headers. For the Regular Expression parsing type, the connector skips the header section during aggregation if the value is set to
1. -
Filter Empty - Select this checkbox to filter out any objects that parse but have no attributes.
- Comment Character - Enter a comment character in the Comment Character field. Records that start with the comment character are skipped by the source. The default value is
#. -
Filter String - Enter a string that represents a filter object in the Filter String field. Any object that matches this filter is excluded from the dataset and is not returned. For example, the following filter excludes all objects from the Marketing department:
Merging
Use the following merging attributes for the Account Schema of the Delimited File source:
Screenshot
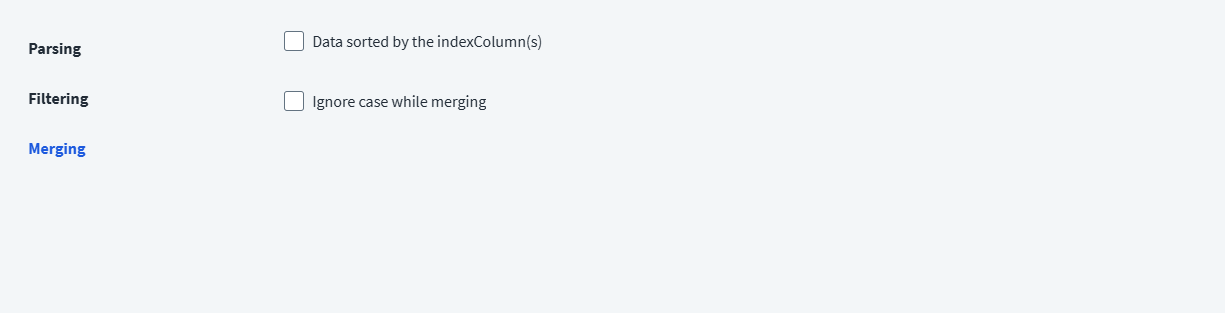
- Data sorted by the indexColumn(s) - Select this checkbox if the data is sorted by the index columns. If the data is not sorted, an in-memory representation of the data is built and used.
- Ignore case while merging - Select this checkbox to ignore case during the merge. The Data sorted by the indexColumn(s) option must be selected.
Group Schema File Settings
Complete the following tasks to configure the file path, parsing, merging, and filtering settings for the Account schema:
File
Use the File Path attribute to specify the path to the export file that the Delimited File source uses for the Account Schema.
Screenshot
Enter the path and name of the data file that should be parsed.
Parsing
Use the following parsing attributes for the Account Schema:
Screenshot
- Delimiter
- Applicable when Parsing Type is set to Delimited.
- Enter the character to use as a delimiter.
- If the delimiter is a Unicode character, use the
\uformat. For example,\u0009is used for the tab character.
- Regular Expression
- Applicable when Parsing Type is set to Regular Expression.
- Enter the regular expression using regular expression groups to break the data into tokens.
- Columns - Enter the names of the columns to use when parsing the file.
- If you are using the Regular Expression parsing type, this field is required.
- If you are using the Delimited parsing type, configure this field only if there is no header defined or you want to rename the columns used in the buildMap rule.
Note
The delimiter character the connector should use to parse group data is defined separately by the group.delimiter parameter. Set the group.delimiter parameter value using the SailPoint REST API as shown in the following PATCH example. The default value is a comma (,).
For more information on SailPoint's REST APIs, refer to Best Practices: REST API Authentication and REST API - Update Source (Partial) in the SailPoint Developer Community.
Filtering
Use the following filtering attributes for the Group schema:
Screenshot
-
Number of Lines to Skip - Enter the Number of Lines to Skip in the data file before parsing the data. For example, when the value is set to
1, the connector skips the first line of data from the input file along with the header line.Note
The first line of the input file consists of column headers. For the Regular Expression parsing type, the connector skips the header section during aggregation if the value is set to
1. -
Filter Empty - Select this checkbox to filter out any objects that parse but have no attributes.
- Comment Character - Enter a comment character in the Comment Character field. Records that start with the comment character are skipped by the source. The default value is
#. -
Filter String - Enter a string that represents a filter object in the Filter String field. Any object that matches this filter is excluded from the dataset and is not returned. For example, the following filter excludes all objects from the Marketing department:
Merging
Use the following merging attributes for the Account Schema of the Delimited File source:
Screenshot
- Data sorted by the indexColumn(s) - Select this checkbox if the data is sorted by the index columns. If the data is not sorted, an in-memory representation of the data is built and used.
- Ignore case while merging - Select this checkbox to ignore case during the merge. The Data sorted by the indexColumn(s) option must be selected.
Review and Finish
Once you have completed your configuration, review your settings.
- Select Review and Finish from the left-hand menu.
- Select the X icon to exit.
Review and Import Accounts
If you are configuring a Delimited File source for the first time, select Review and Import Accounts to review your connectivity details and import a CSV file of your accounts for correlation recommendations. Importing accounts at this stage does not aggregate them.
Refer to Source Recommendations for more information.
Documentation Feedback
Feedback is provided as an informational resource only and does not form part of SailPoint’s official product documentation. SailPoint does not warrant or make any guarantees about the feedback (including without limitation as to its accuracy, relevance, or reliability). All feedback is subject to the terms set forth at https://developer.sailpoint.com/discuss/tos.