Using Integrations
Listing Integrations
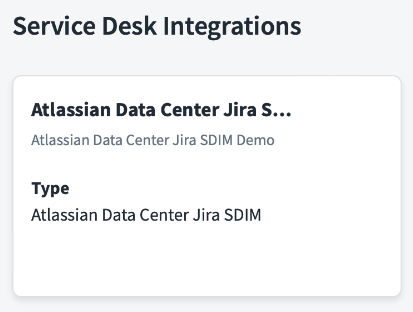
To list the SailPoint Atlassian Data Center Jira Service Management integrations in the card-view format, perform the following:
Screenshot
Note
All your Service Desk integrations are displayed based on: Name, Description, and Integration Type.
- Go to Admin > Connections > Service Desk.
- On the Service Desk Integrations page, the integrations will be sorted by name in alphabetical order. The Atlassian Data Center Jira Service Management integrations are listed accordingly.
Viewing Integrations
Screenshot
- Go to Admin > Connections > Service Desk.
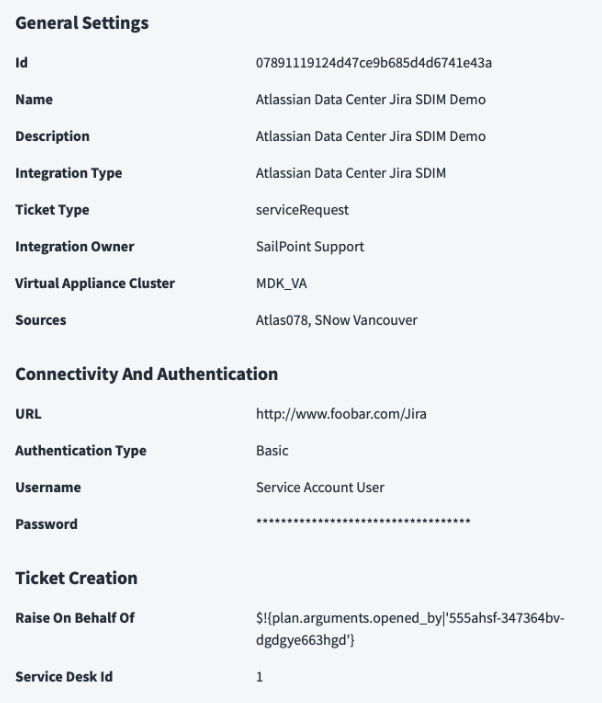
- On the Service Desk Integrations page, select a card for the Atlassian Data Center Jira Service Management integration to view the corresponding details.
- Scroll down to view the values of the UI fields.
- To exit, select the X.
Editing an Integration
Screenshot
- Go to Admin > Connections > Service Desk.
- On the Service Desk Integrations page, select a card for the Atlassian Data Center Jira Service Management integration to view the corresponding details.
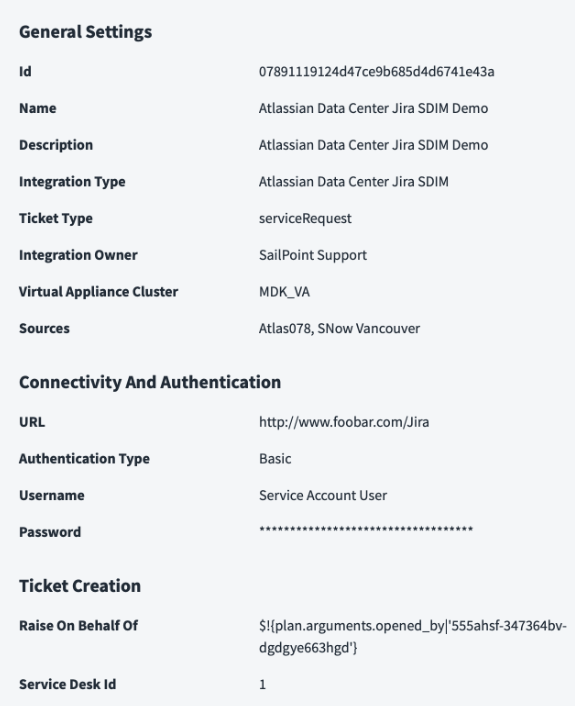
- Scroll down to view the values of the UI fields.
- Select Edit. The integration details with the previous values are displayed. Change the UI field values as per your requirement.
- Select Continue on the dialog boxes to proceed to the Summary page.
- Select Update to save the changes.
Deleting an Integration
Screenshot
- Go to Admin > Connections > Service Desk.
- On the Service Desk Integrations page, select a card for the Atlassian Data Center Jira Service Management Integration to view the corresponding details.
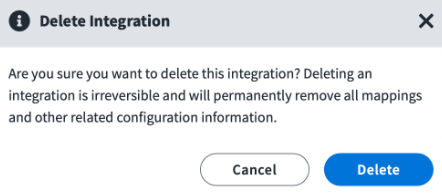
- Select Delete. A warning message is displayed. Select Delete if you're sure you want to delete the integration.
Configuring Integration for Jira Project Filtering
To assign Jira projects to incoming tickets, configure the following:
-
Modify the Before Provisioning Rule to contain the logic to filter which Jira project the tickets are assigned to.
For example, you can have a use case where you create tickets in a Jira project with an ID of
33where the application is Slack, and a Jira project with an ID of50where the application is Okta. Then for all other applications the tickets will be created in a Jira project with an ID of1.Note
In the following example, Slack and Okta are considered to be configured as a Managed Resource for the integration in question.
for (AccountRequest accReq : Util.iterate(plan.getAccountRequests())) { if (accReq.getApplicationName().equals("Slack")) { plan.put("serviceDeskId", "33"); plan.put("requestTypeId", "33"); } else if (accReq.getApplicationName().equals("Okta")) { plan.put("serviceDeskId", "50"); plan.put("requestTypeId", "50"); } else { plan.put("serviceDeskId", "1"); plan.put("requestTypeId", "1"); } } -
Modify the values for Request Type Id and Service Desk Id, located in the Ticket Creation section, to read the modified values from the Before Provisioning Rule rather than the default hard coded values.
-
Update the Identity Security Cloud Status to Atlassian Data Center Jira SDIM Status based on the status mapping you configured in the Status Mapping section, as per the status being received from multiple objects.
Documentation Feedback
Feedback is provided as an informational resource only and does not form part of SailPoint’s official product documentation. SailPoint does not warrant or make any guarantees about the feedback (including without limitation as to its accuracy, relevance, or reliability). All feedback is subject to the terms set forth at https://developer.sailpoint.com/discuss/tos.