Configuring AWS Secrets Manager
Base Configuration
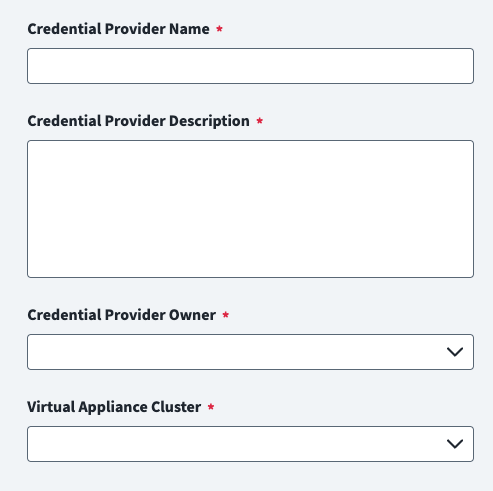
Provide the base configuration parameters. Information you entered during the initial creation of the credential provider is automatically entered into the fields in the Base Configuration page. You can edit this information if necessary.
Screenshot
Note
Ensure that the name and description of each credential provider is unique.
- Go to Admin > Connections > Credential Providers.
- Search for the credential provider you want to edit.
- Enter a unique Credential Provider Name.
- Enter a Credential Provider Description that provides details necessary to distinguish it from similar credential providers.
- Select a Credential Provider Owner by typing the owner's name into the field provided. Matches display after you type at least two letters. Select the credential provider owner as required.
- Select a Virtual Appliance Cluster with connectivity to the credential provider. For more information about configuring and deploying virtual appliances, refer to the Virtual Appliance Reference Guide.
- Select Save.
Authentication Settings
Configure your authentication method. There are two ways to authenticate:
IAM User
Screenshot
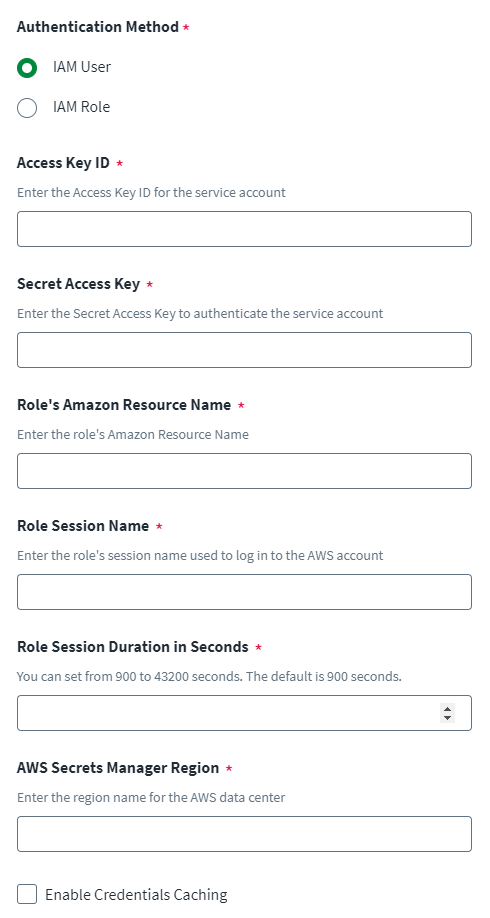
- Enter the Access Key ID for the service account.
- Enter the Secret Access Key to authenticate the service account.
- Enter the Role's Amazon Resource Name.
- Enter the Role's Session Name used to log in to the AWS account.
- Enter the Role Session Duration in Seconds. You can set this from 900 to 43,200 seconds. The default is 900 seconds.
- Enter the AWS Secret Manager Region name for the AWS Secret Manager.
IAM Role
Note
IAM Role requires a virtual appliance on the AWS EC2 instance.
Screenshot
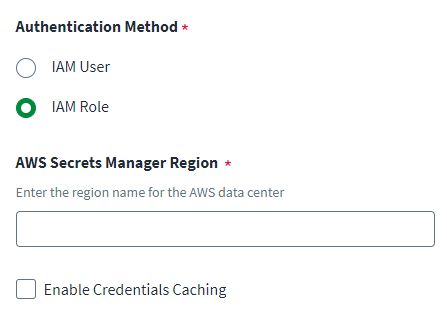
- Enter the AWS Secret Manager Region name for the AWS Secret Manager.
- (Optional) Enable credential caching. For more information, refer to Caching Credentials.
- Select Save.
Retry Configuration
The AWS Secrets Manager credential provider comes with the following default retry mechanism:
- No. of retries: Defines the number of retries when encountered with an error like timeout. The default value is 2.
- Base Delay (Milliseconds): Defines the interval after which a retry attempt must be made. The base delay exponentially increases after every retry attempt. For example, if the default base delay is 10 seconds, subsequent retry attempts will be 20 seconds, then 40 seconds, and so on. The default value is 500 ms.
- Throttled Base Delay (Milliseconds): Defines the interval to wait before retrying after the first retry attempt. This value automatically increases exponentially with each failed attempt. The default value is 1000 ms.
- Maximum Backoff Time (Milliseconds): After the delay reaches this maximum limit, the time between retries stops increasing. The default is 2000 ms.
If you need to override this configuration, add the attributes you need to the application XML using the SailPoint REST APIs.
| Configuration Field | Attribute | Unit |
|---|---|---|
| Number of retries | maxRetries |
Whole number |
| Base Delay | baseDelay |
Milliseconds |
| Throttled Base Delay | throttledBaseDelay |
Milliseconds |
| Maximum Backoff Time | maxBackoffTime |
Milliseconds |
Note
Increasing the values for any of the above fields may trigger a timeout exception for the connector.
Documentation Feedback
Feedback is provided as an informational resource only and does not form part of SailPoint’s official product documentation. SailPoint does not warrant or make any guarantees about the feedback (including without limitation as to its accuracy, relevance, or reliability). All feedback is subject to the terms set forth at https://developer.sailpoint.com/discuss/tos.