User Account Configuration
(Previously referred as “Auth Code for Access Request)
To configure the access request connection using authorization code, perform the following:
-
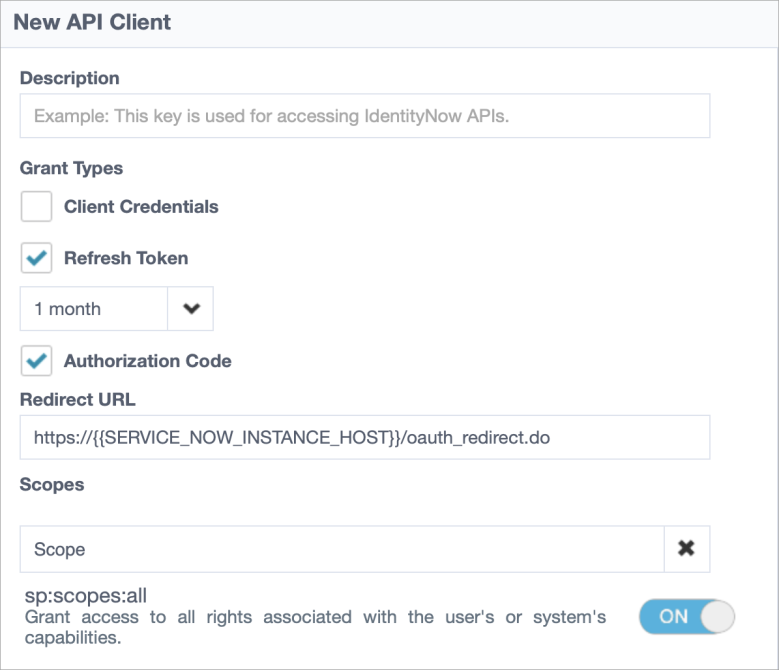
Sign in to Identity Security Cloud and create a new OAuth client. Go to Admin > Global > Security Settings > API Management > New.
-
Type a name in the Description and select the options for Refresh token and Authorization Code.
-
Enter the Redirect URL, and type the word
Scopeinto the Scopes field. Enable the option for sp:scopes:all to turn it ON. -
Select Create, and save the Client ID and Client Secret for configuration on the ServiceNow side.
-
In ServiceNow, go to System OAuth > Application Registry, and then select New.
-
On the interceptor page, select Connect to a third-party OAuth provider, and then fill in the form fields.
-
Name: The name you want to give the OAuth client. For example, IDN.
-
Client ID: The client ID of the application registered in Identity Security Cloud; created in step 4.
-
Client Secret: The client secret of the application registered in Identity Security Cloud; created in step 4.
-
Default Grant type: Authorization code.
-
Refresh Token Lifespan: Auto populates the seconds. You may customize the value as needed.
-
Active: Checked.
-
Authorization URL: https://{{ORG_NAME}}.identitynow.com/oauth/authorize
-
{{ORG_NAME}}: The name of the Identity Security Cloud organization.
-
You can check the relevant configuration of your Identity Security Cloud organization at the following link. Replace {{ORG_NAME}} with the name of your organization: https://{{ORG_NAME}}.api.identitynow.com/oauth/info
-
-
-
Token URL: https://{{ORG_NAME}}.api.identitynow.com/oauth/token
-
{{ORG_NAME}}: The name of the Identity Security Cloud organization.
-
-
Redirect URL: https://{{SERVICE_NOW_INSTANCE_HOST}}/oauth_redirect.do
-
{{SERVICE_NOW_INSTANCE_HOST}}: The hostname of the ServiceNow instance.
-
-
-
Generate a Personal Access Token on Identity Security Cloud.
-
Sign in to Identity Security Cloud as an administrator.
-
Follow the instructions to Generate a Personal Access Token. For additional information, refer to Best Practice: Using Personal Access Tokens.
-
A Client ID and Client Secret are generated for you. Save these offline, so they are accessible.
-
-
Go to SailPoint Identity Security Cloud for Service Catalog > Setup.
-
Enter the fully-qualified domain name of your Identity Security Cloud instance in Identity Security Cloud URL(Mandatory). For example,
https://<company>.api.identitynow.com -
Enter the values of the Client ID and Client Secret that you generated in the above step #7 in Identity Security Cloud Personal Access Token Client ID ( To be Deprecated from future release, Use Application Registries) and Identity Security Cloud Personal Access Token Client Secret (To be Deprecated from future release, Use Application Registries).
-
Select client_credentials if Service Account is the method for connection for every user or Select authorization_code if individual user account will be used for connection.
-
In Application Registries OAuth Provider Name for "Logged In User Account"(Mandatory if User Authorization is "Logged In User Account", i.e authorization_code) enter the name you gave the OAuth client in step 6.
-
Assign the appropriate role on ServiceNow to a user to access the portal. For more information on the appropriate role, refer to Assigning Roles to the Portal Integration.
-
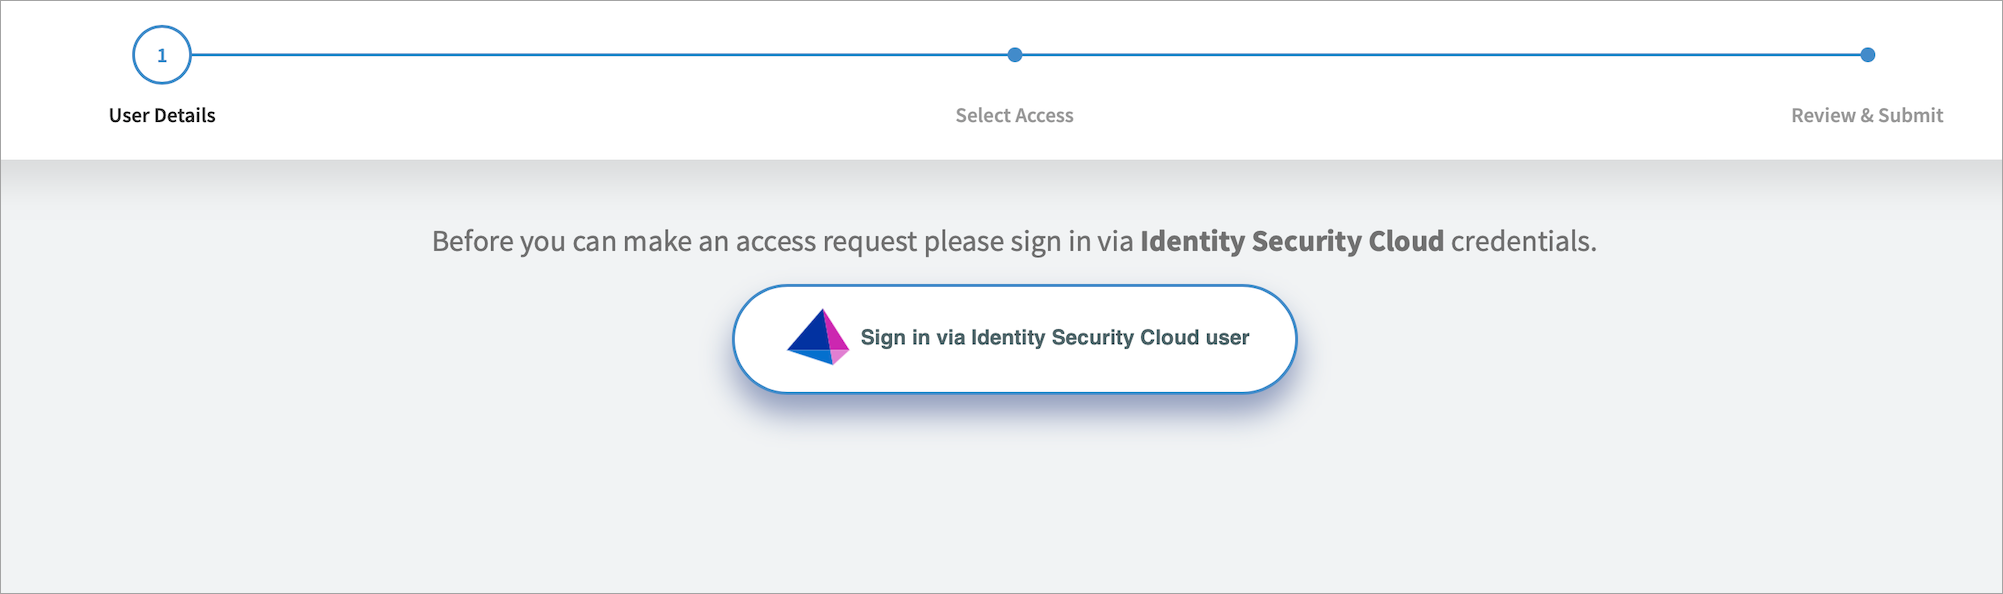
Sign in with the Identity Security Cloud user that has the required privileges for intended operations.
 Screenshot