Custom Authentication
Important
If an endpoint does not require authentication at all, you only need to select Custom Authentication. Perform the following steps to set up custom authentication.

-
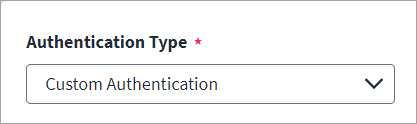
Select Custom Authentication as the Authentication Type.
-
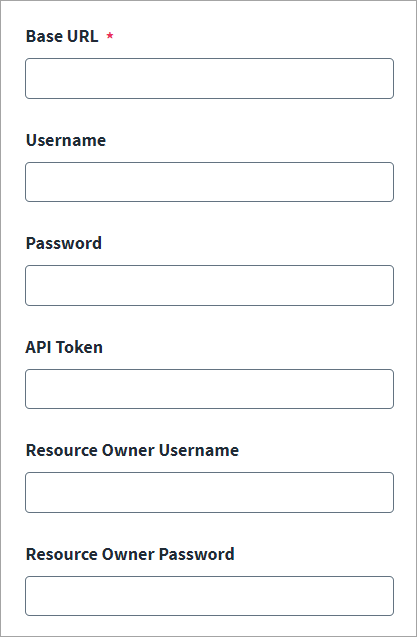
Enter the Base URL to connect to the managed system. For example,
https://api.testurl.com
-
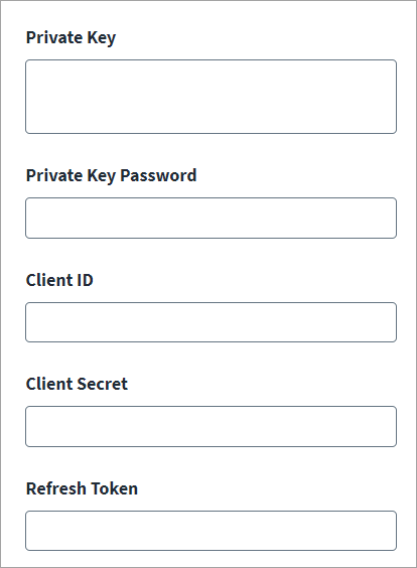
(Optional) fields display that you can configure as your authentication configuration requires.
-
Username
-
Password
-
API Token
-
Resource Owner Username
-
Resource Owner Password
-
Private Key
-
Private Key Password
-
Client ID
-
Client Secret
-
Refresh Token
-
-
Go to HTTP Operations, and select Add Operation. Set the Operation Type to Custom Authentication.
For more information about using the HTTP Operations fields, refer to HTTP Operations.
-
Configure the following for endpoints:
-
Authentication URL – From the endpoint details page, enter the full URL in the Authentication URL field.
Note
Ensure that you enter the full URL in this field unlike the other endpoints where this field takes in the context URL. -
Header and Body:
-
Configure the Header and Body with the required fields for the token generation.
-
Keys for sensitive attributes updated in the Header and Body must be appended in the encrypted list in the application.
Caution
Don't configure sensitive attributes for the Header and Body through the configuration UI. They should be added using the Update Source Partial REST API.
For more information about using the Update Source Partial REST API, refer to REST API - Update Source (Partial).
When you add sensitive attributes to the header, ensure that the attributes are added with the suffix,
_CA. For example, to use a password in the request, addpassword_CA.Note
If the attributes are not suffixed with_CA, the Web Services SaaS source might display unusual behavior.For example, if the attribute updated is a password then it must be added to the header as follows:
Before updating the encrypted list:
{"encrypted":"accesstoken,password,refresh_token,oauth_token_info,client_secret,private_key,private_key_password,clientCertificate,clientKeySpec,resourceOwnerPassword,custom_auth_token_info"}
After updating the encrypted list:
{"encrypted":"accesstoken,password,refresh_token,oauth_token_info,client_secret,private_key,private_key_password,clientCertificate,clientKeySpec,resourceOwnerPassword,custom_auth_token_info,password_CA"}
After the attributes are added, their values can be used as placeholders in the Header and Body. For example,
$application.password_CA$
-
Use the
password_CAattribute key with value asxyz123(for example). -
Add the
password_CAkey to the existing encrypted attribute (comma-separated) using the REST API. -
Use the
encryptedattribute key and append,password_CAto the existing value.
-
-
-
Response Mapping – Configure Response Attribute Mapping to obtain the access details from the response. Response mapping is the same as the other endpoints; the key is added under Response Attribute. Its respective path must be added under Attribute Path.
Note
The value under Response Attribute must not be present in the schema. After response parsing the value will be stored in key-value format as follows:
{"accesstoken":"access_token"}
-
-
The token value generated after executing Custom Authentication endpoint can be utilized in all other endpoints using placeholders as follows:
"$application.<your key>$"
For example:
"$application.accesstoken$".
If the token type is for Bearer instance, then it can be used as the following:
"<your token type> $application.<your key>$"
For example:
"Bearer $application.accesstoken$"
-
Enable Delta Aggregation to aggregate accounts that have changed since the last execution.
Note
Delta aggregation based on "account object type" is only applicable for managed systems that support the delta aggregation operation. -
Enter the Date Format to use for the date and time data sent for delta aggregation.
-
Enter the Server Timezone for the source’s server.
-
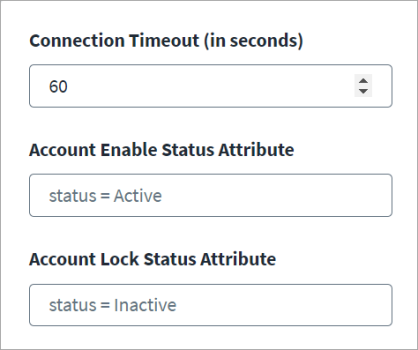
Enter the value for Connection Timeout (in seconds).
-
In the Account Enable Status Attribute field, enter the attribute name and value to set the account status while loading accounts. The status of accounts with the specified attribute and value will be marked as Enabled; the status for all other accounts will be Disabled.
For example, if you enter
status=Active, the status of all accounts with thestatusattribute set to the valueActivewill be enabled.Note
The Account Enable Status Attribute field supports multiple values for status attribute.
If you need to enter multiple values for the Account Enable Status Attribute, separate them by using a comma(,) as displayed in the following example:status=Active,Pending -
In the Account Lock Status Attribute field, provide the value required to check the account lock status. For example, if you enter
status=inactive, the account schemastatusattribute will determine whether the account is locked or not. In this case, all accounts with theirstatusattribute set to inactive will be considered locked by the connector, and they will not be included in provisioning.Note
The Account Lock Status Attribute field supports multiple values for status attribute.
If you need to enter multiple values for Account Lock Status Attribute, separate them by using a comma(,) as displayed in the following example:status=Locked,Inactive -
Select Save.