API Token
The connector can authenticate with the source using an API token. The API token you provide is saved to the accesstoken attribute in the application configuration. API tokens are given in the following format:
token_type API_token
For example:
Bearer ********
Note
If the token type is not provided, then the connector automatically uses Bearer.
API Token Placeholders
You can reference a saved API token using a placeholder. The token placeholder can be provided as a variable across all endpoints for request components such as:
-
Request URL
-
HTTP Headers
-
Request Body
The following is an example of an API token placeholder:
$application.accesstoken$
You can define and use multiple API token placeholders if your configuration requires it. For more information on API Token placeholders, refer to Custom Authentication.

-
Select API Token as the Authentication Type.
-
Enter the Base URL to connect to the managed system. For example,
https://api.testurl.com
-
Enter the API Token specific to the managed system.
-
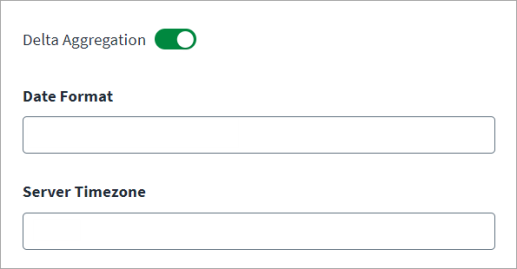
Enable Delta Aggregation to aggregate accounts that have changed since the last execution.
Note
Delta aggregation based on "account object type" is only applicable for managed systems that support the delta aggregation operation. -
Enter the Date Format to use for the date and time data sent for delta aggregation.
-
Enter the Server Timezone for the source’s server.
-
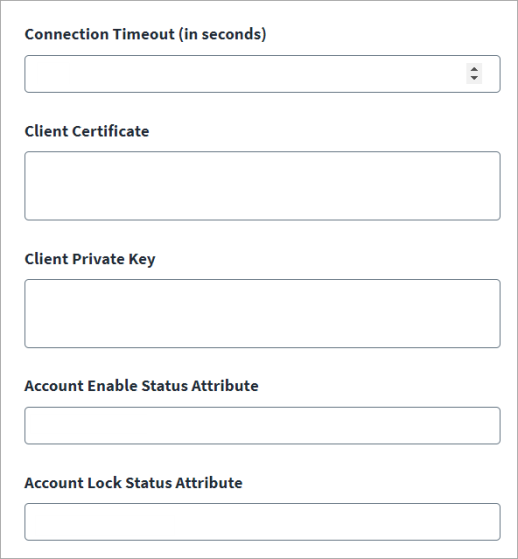
Enter the value for Connection Timeout (in seconds).
-
Enter the valid details for Client Certificate and Client Private Key.Important
Important
The connector only supports the PEM format for the Client Certificate and the private key. Additionally, the Web Services connector expects the PEM private key to be an RSA PEM private key. The following process enables you to convert the private key to an RSA private key on a Windows computer:-
Download openssl-1.0.2q-x64_86-win64.zip and extract it.
-
Open cmd to OpenSSL path.
-
Copy the Private_ADP_Key.key file to the extracted/openSSL path.
-
Run the following command:
-
openssl rsa -in Private_ADP_Key.key -out rsa_private_key.pem
-
Use this rsa_private_key.pem file in the connector.
-
-
In the Account Enable Status Attribute field, enter the attribute name and value to set the account status while loading accounts. The status of accounts with the specified attribute and value will be marked as Enabled; the status for all other accounts will be Disabled.
For example, if you enter
status=Active, the status of all accounts with thestatusattribute set to the valueActivewill be enabled.Note
The Account Enable Status Attribute field supports multiple values for status attribute.
If you need to enter multiple values for the Account Enable Status Attribute, separate them by using a comma(,) as displayed in the following example:status=Active,Pending -
In the Account Lock Status Attribute field, provide the value required to check the account lock status. For example, if you enter
status=inactive, the account schemastatusattribute will determine whether the account is locked or not. In this case, all accounts with theirstatusattribute set to inactive will be considered locked by the connector, and they will not be included in provisioning.Note
The Account Lock Status Attribute field supports multiple values for status attribute.
If you need to enter multiple values for Account Lock Status Attribute, separate them by using a comma(,) as displayed in the following example:status=Locked,Inactive -
Select Save.