Adding Multiple Instances
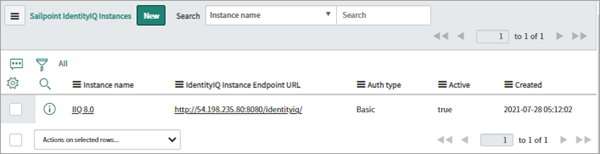
The SailPoint ServiceNow Service Catalog integration supports multiple IdentityIQ instances and IdentityIQ supports multiple instances in ServiceNow. The information on the Setup page applies to your default IdentityIQ instance. When you add an instance, you will specify the settings that are applied to that instance. By default, the first instance that you add to your ServiceNow integration is your default instance.
To add IdentityIQ instances:
-
Sign in to the ServiceNow Portal using administrator credentials.
-
Go to SailPoint
-
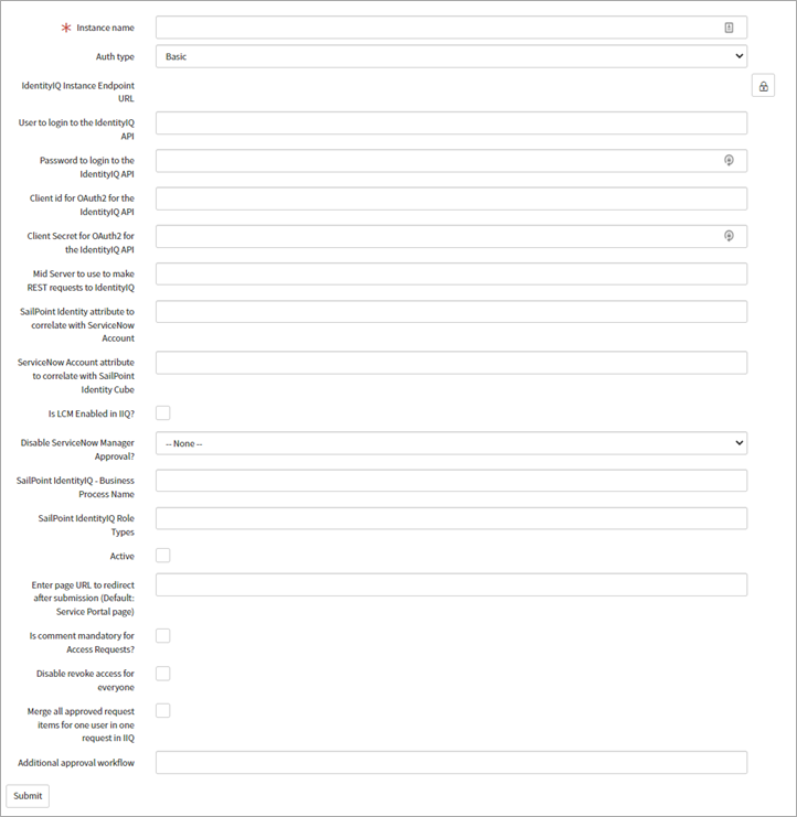
Select New to open the New record page, and then provide the following properties:
-
Create a unique Instance name. Include identifying details such as location or business unit. This is the name that appears in the drop down menu on the Manage Access page.
-
Select Auth type as Basic or OAuth2.
-
Enter the fully qualified domain name in IdentityIQ Instance Endpoint URL. For example,
https://<company>.com:8080/identityiq -
Enter an Admin User to login to the IdentityIQ API.
-
Enter the associated Admin Password to login to the IdentityIQ API.
-
Enter the Client id for OAuth2 for the IdentityIQ API and the Client Secret for OAuth2 for the IdentityIQ API. For more information, refer to Authenticating with OAuth2 for information on how to generate the values.
-
Enter the Mid Server name from ServiceNow in Mid Server to use to make REST requests to IdentityIQ.
-
Enter the SailPoint Identity Security Cloud attribute to correlate with ServiceNow account. For example,
nameoraccountIdTo help ensure successful attribute correlation, you must use the exact name for the attribute as it appears in Identity Security Cloud in parenthesis (not the "friendly name" that’s displayed for the identity profile) and prefix any second level or custom fields with
attributes. -
Enter the ServiceNow Account attribute to correlate with the SailPoint Identity Cube. For example,
user_nameNote
The values of attributes being correlated as a result of mapping a SailPoint attribute and a ServiceNow Account attribute are treated as case-insensitive. -
Select Yes for Is (LCM) Enables in IIQ? for Lifecycle Manager to be enabled in your IdentityIQ instance (required).
-
Select your choice from Disable ServiceNow Manager Approval? The integration relies on ServiceNow Manager approvals before it can create access requests in
Yesfrom Disable ServiceNow Manager Approval? In this case, approvals will follow the process that’s defined for your -
Enter the SailPoint IdentityIQ - Business Process Name that will follow access requests initiated within the ServiceNow Portal. In IdentityIQ, select Lifecycle Manager from the gear icon, select Business Process and use the Request Access list to view the available business processes. Be sure that the business process name you provide is suitable for
LCM Provisioning.Important
If you’re unsure, check with your IdentityIQ Administrator to confirm you provide the correct value. -
Enter the name(s) of the SailPoint IdentityIQ Role Types you want to make requestable to users. The role types you specify here will be available to users when they request access, and they will be included in search results. For more information, refer to Using the ServiceNow Portal Integration for IdentityIQ. In IdentityIQ, select Global Settings from the gear icon, then select Role Configuration. Under Role Types, select the name of a role type listed to view its details. Role types are case sensitive, so be sure to specify the same value that’s in the Type Name field, not the Display Name. To make multiple role types requestable, use a comma to separate the values. For example,
business,it,custom. -
Select Active to indicate this instance is active.
-
Enter page URL to redirect after submission (Default: Service Portal page). This is where you want your user to be redirected after successfully creating a new ServiceNow Access request. For example,
-
You can leave the field empty to redirect the user to the default Service Portal page.
-
You can specify a relative path that starts with / to redirect the user to that page. For example, to send a user to the Manage Access page use
/sp?id=manage_access -
You can enter a URL with an absolute path to a page or site. For example,
https://www.sailpoint.com/
-
-
Select the Is comment mandatory for Access Requests? option.
-
Select the Disable revoke access for everyone option to allow only users with role
x_sap_integration.sapadminto create revoke access requests. If No is selected, users with any role can create revoke access requests. -
Select the Merge all approved request items for one user in one request in IIQ option to merge all approved ServiceNow RITMs, and create only one identity request in IdentityIQ with multiple requests for the same user.
-
Enter Additional approval workflow. Add workflows to execute additional workflows inside of the default workflow for ServiceNow RITMs. These workflows will execute before creating an access request in IdentityIQ.
-
Select Submit to save your changes.
Note
Even if the following options are absent from the particular instance setup page, they will still be available on the general setup page for you to set as needed. The values of the options that are from the general setup page, and that are absent in the setup of the particular instance, will still be relevant for instances in which you have an integration built.
-
Approval Flow
-
Approval Configuration when Approver is same as Requestor or Requested For
-
Generic Approval Definition Enabled (Applicable if Configurable Approvals selected for Approval Flow)
-
Header that will be displayed in the sidebar
-
Show Header text box
-
User Header text
-
Add Access Header text
-
Remove Access Header text
-
Review & Submit Header text
-
Enter user attributes to display on user selection screen (separated by comma)
-
Enter user attributes to search by on user selection screen (separated by comma)
-
Count of displayed entitlements/roles on single page
-
-