Pre-upgrade Steps
Before the upgrade, back up the database. All of the following should be installed prior to the upgrade.
RabbitMQ
RabbitMQ is now a mandatory service, therefore RabbitMQ must be installed using the 8.3.x installer prior to the 8.4 upgrade. Without installing RabbitMQ, the upgrade process will not be completed.
Note: In case File Access Manager is installed on both Production and Disaster Recovery servers, RabbitMQ must be installed on both servers prior to the upgrade process.
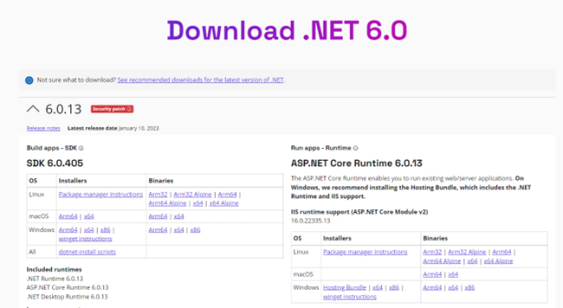
.NET 6.0
File Access Manager requires the latest ASP.NET Core 6.0.x Hosting Bundle. This bundle consists of .NET Runtime and ASP .NET Core Runtime. .Net 6.0 must be installed before the upgrade.
You can download the latest 6.0.x Hosting Bundle version from here.
Note: Without completing this step, the upgrade will fail.
-
All servers hosting File Access Manager services, including all Activity Monitors, must have .NET Core 6.0.x installed as a prerequisite for the upgrade.
-
The administrative client computer must contain .NET Framework 4.7.2.
-
The User Interface service server must contain .NET Framework 4.7.2.
.NET 6 and .NET Framework 4.7.2 can be installed on the same server.
Verifying .NET Settings
Complete the following steps to verify the version of .NET:
-
Open a CMD window.
-
Execute the following command:
dotnet --list-runtimes
The output should consist of at least the following:
Microsoft.AspNetCore.App 6.0.x
Microsoft.NETCore.App 6.0.x
If the command did not execute or the two runtimes mentioned above are not in the output list, reinstall or repair the hosting bundle.
Elasticsearch 8.2.2
File Access Manager 8.4 requires Elasticsearch version 8.2.2 to be installed prior to the upgrade procedure. Without installing Elasticsearch, the upgrade operation will not be completed.
If File Access Manager is deployed in Production and Disaster Recovery mode, install the new Elasticsearch in both the Production environment and Disaster recovery environment.
Note: New Elasticsearch cannot be installed on a server which contains an already existing Elasticsearch installation. It must be on a server without an Elasticsearch installation.
Note: If a user is upgrading to File Access Manager 8.4 from an older version, the user must keep the legacy Elasticsearch running in order to avoid loading failures.
To Install New Elasticsearch 8.2.2 perform the following steps:
-
Copy “ServerInstaller.msi” from the File Access Manager 8.4 installation package into the new File Access Manager server and perform the installation.

-
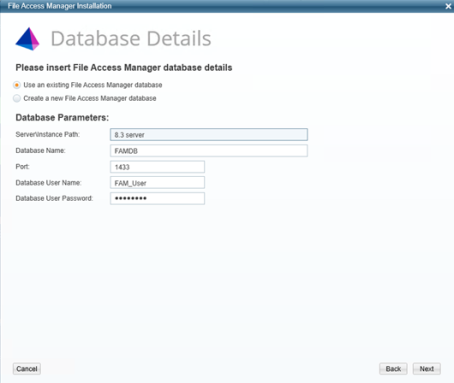
Open the server installer as an administrator and choose the Use Existing File Access Manager Database option.
-
Insert valid database information and select Next.
-
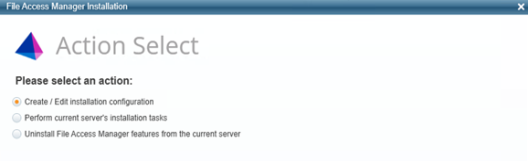
Select Create/Edit Installation Configuration and click Next.
-
In the General Configuration screen, insert the new File Access Manager server(s) that will be used to install the new Elasticsearch and select Next to continue.
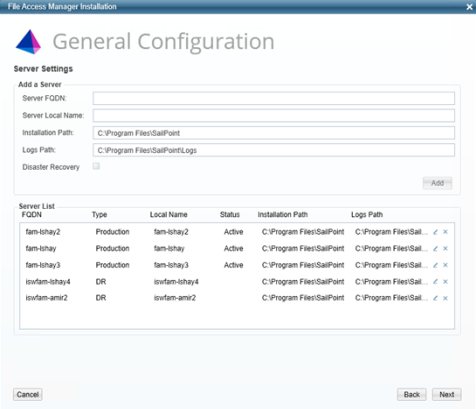
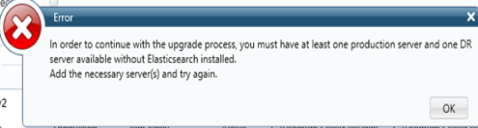
Note: If File Access Manager is installed in Production and Disaster Recovery, make sure to insert both Production and Disaster Recovery server addresses. Without inserting them both, you will not be able to proceed into the next step and you will get the following error message.
-
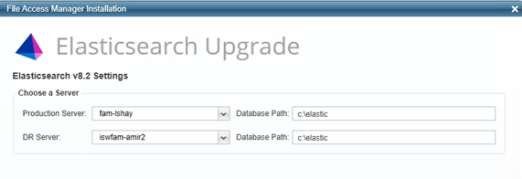
Choose the server that the new Elasticsearch will be installed on and insert the database path.
Note: The database path is generated during the installation. Make sure that the path is valid
-
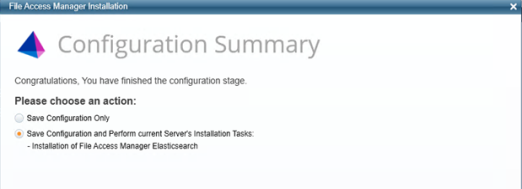
Choose the Save Configuration and Perform current Server's Installation Tasks button and select Next.
The installation process will begin.
-
Once the Installation process is completed, close the Server Installer Wizard.