Creating an Okta Application
If you are using SAML login connected to Okta for authentication, you have to first create a dedicated application in Okta.
-
Open the Create a new Application dialog.
-
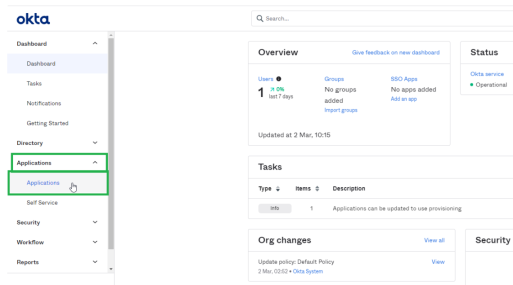
Log into Okta.
-
Select Applications to open the Applications screen.
-
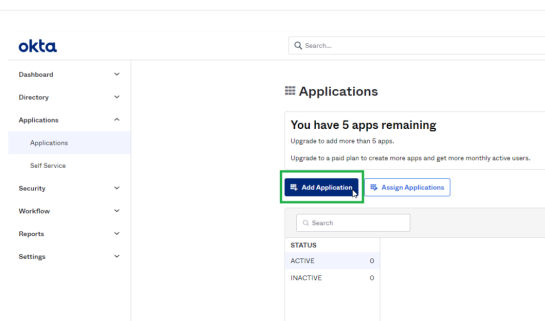
Select Add Application.
-
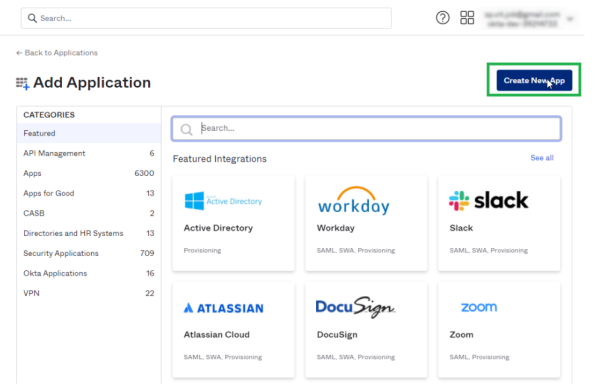
Select Create New App.
-
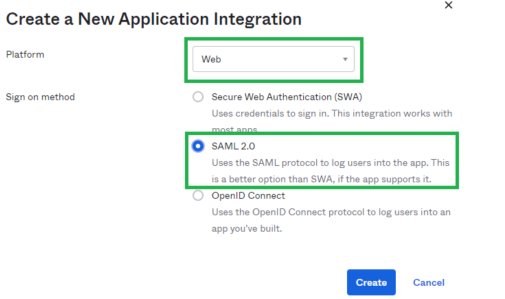
In the Platform select Web and in the Sign on method select SAML 2.0.
-
Select Create.
-
-
Fill in the configuration fields.
-
General Settings
App name
Enter any name for your Application
Click Next.
-
Configure SAML.
Single sign on URL
-http://[SERVER_NAME]/siqapi/login/AssertionConsumerService
Where SERVER_NAME is the VM in which the Website is installed
Audience URI (SP Entity ID)
Enter the name of the application.
This will be used later during the installation of the File Access Manager using the SAML option.
Important: Additional settings can be found under the Show Advanced Settings link – these settings shouldn’t be changed, but if they were changed they should also be changed in the File Access Manager installation with the SAML option.
-
Feedback
Are you a customer or partner?
I'm an Okta customer adding an internal app
Select Finish.
-
-
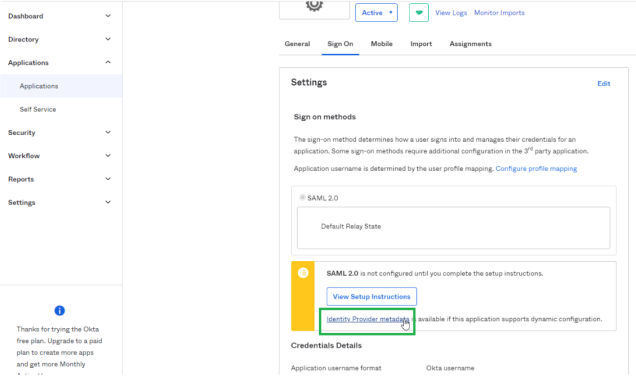
The application was successfully created.
-
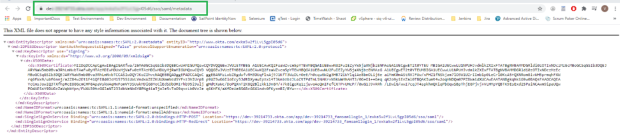
Click on the Identity Provider metadata.
-
Copy the URL of the opened page. This will be used later during the installation of the File Access Manager using the SAML option.
-
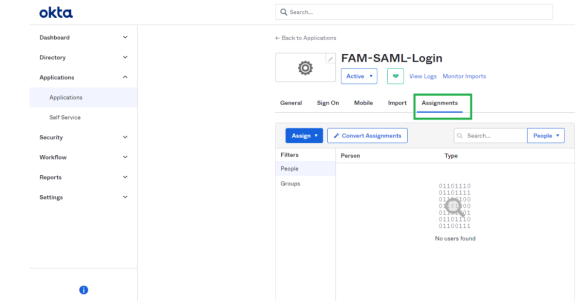
Add users who can see the application.
-
Select on the Assignments tab.
-
Navigate to Assign > Assign to People.

-
Select Assign next to the displayed user.
-
Select Save to go Back button.
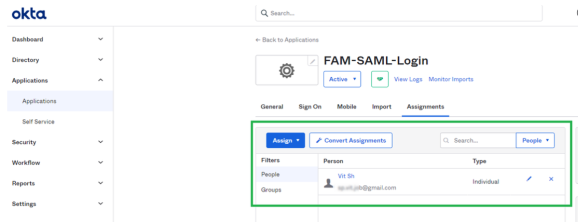
The user is now selected as Assigned.
-
Select Done.
-
User is displayed in the Application list.
-
-
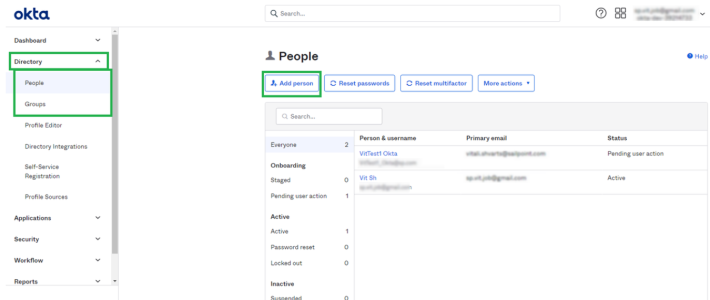
Additional users or groups can be added in
Directory > People > Add Person or Directory > Groups > Add Group.
Important: The user email entered should be an actual email, because it is used as part of the account activation process.
-
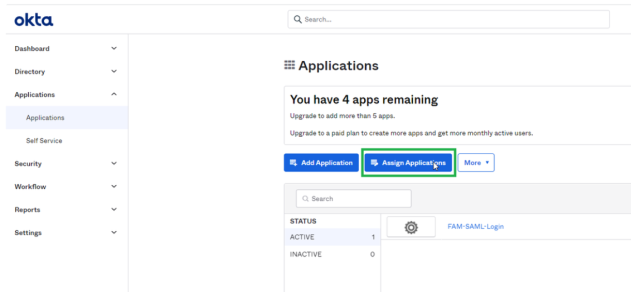
You can now assign the application for recently created users:
-
Navigate to Applications> Applications and select Assign Applications.
-
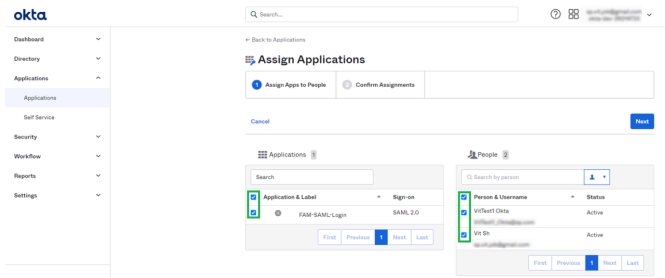
Select the applications and the users which you want to assign.
-
Click Next.
-
Click Confirm Assignment.

-
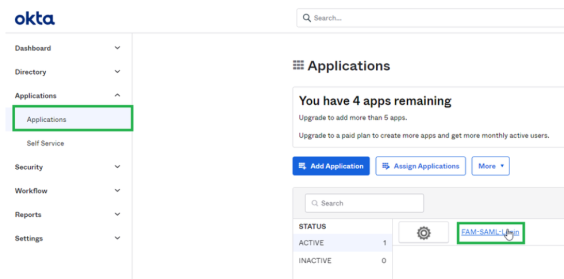
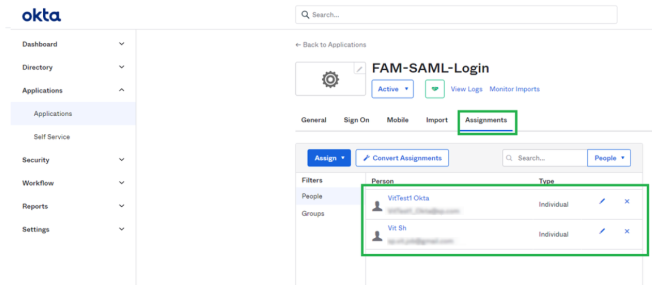
Navigate to Applications > Applications.
-
Select the Existing Application.
-
The Assignments tab is selected, verify that all the assigned users are displayed in the grid.
-
The Okta application is now set and the following data will be needed during the installation of the File Access Manager with the SAML 2.0 version.
-
The name of the created Okta application. In this example “FAM_SAML_LogIn“ Note that this string is case sensitive in the installation process in File Access Manager.
-
The URL to the Metadata mentioned above.
When installing File Access Manager, make sure to follow the sections pertaining to SAML login installation.