OAuth 2.0 Authentication
To configure your source with OAuth 2.0 authentication, complete the following:
-
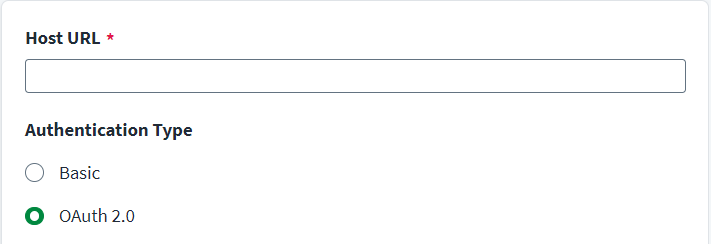
Enter the Host URL for the ServiceNow instance that is used for communication.
-
Select OAuth 2.0 as the authentication type.
-
Select
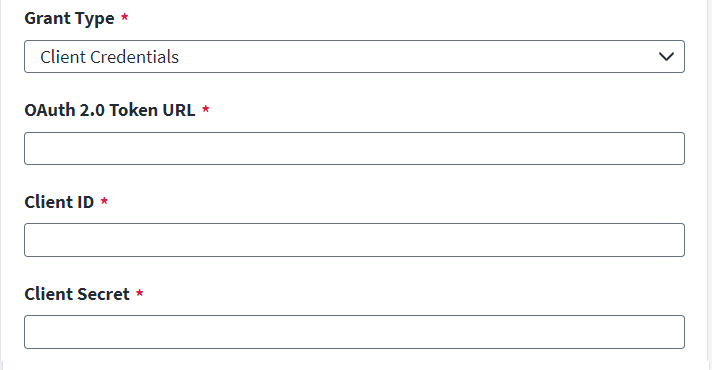
Client CredentialsorRefresh Tokenfrom the Grant Type dropdown. Client Credentials
Note
-
The Okta External OIDC Provider in ServiceNow is supported with the Client Credentials Grant Type.
-
To configure OAuth 2.0 in the SailPoint Identity Governance connector, an OAuth 2.0 Token URL, Client ID, and Client Secret are required. The OAuth 2.0 Token URL, Client ID, and Client Secret are specific to the Okta instance that is configured in ServiceNow as an External OIDC Provider.
-
For configuration in ServiceNow, refer to Product Documentation | ServiceNow.
-
Enter the Oauth 2.0 Token URL. For example,
https://{yourOktaDomain.com}/oauth2/{authorizationServerId}/v1/token. -
Enter the Client ID and Client Secret.
-
Select Save.
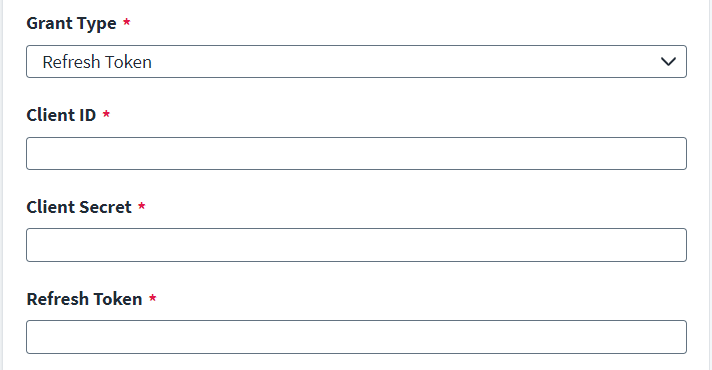
Refresh Token
Note
To configure OAuth 2.0 in the SailPoint Identity Governance connector, a Client ID, Client Secret, and Refresh Token are required. The Client ID, Client Secret, and Refresh Token are specific to the ServiceNow instance and configured while enabling OAuth 2.0 in your ServiceNow instance. Contact your ServiceNow Administrator to obtain the Client ID, Client Secret, and Refresh Token.- Enter the Client ID and Client Secret.
-
Enter the Refresh Token. For more information on creating an OAuth 2.0 profile on your ServiceNow instance, refer to ServiceNow: Create an endpoint for clients to access instance .
To create a refresh token, use the following curl command:
Copy$ curl -d "grant_type=password&client_id=be3aeb583ace210011c15b24a43e25d8
&client_secret=client_password
&username=admin&password=admin"
POST https://instancename.service-now.com/oauth_token.do - Select Save.
For more information on token generation, refer to ServiceNow: OAuth API request parameter.
-