Configuring AWS Manually
If you cannot access CloudFormation, you can manually add AWS accounts within your organization.
Collecting AWS Resources Manually
You must create an identity and access management role on your Amazon Web Services source account. This is where you will attach the policy defining what data SailPoint AWS SaaS can read. If you’re using manual IAM roles with an AWS organization, you must repeat this process to create a role in each subaccount.
-
Sign in to the Amazon Web Services Management console, and search for IAM.
-
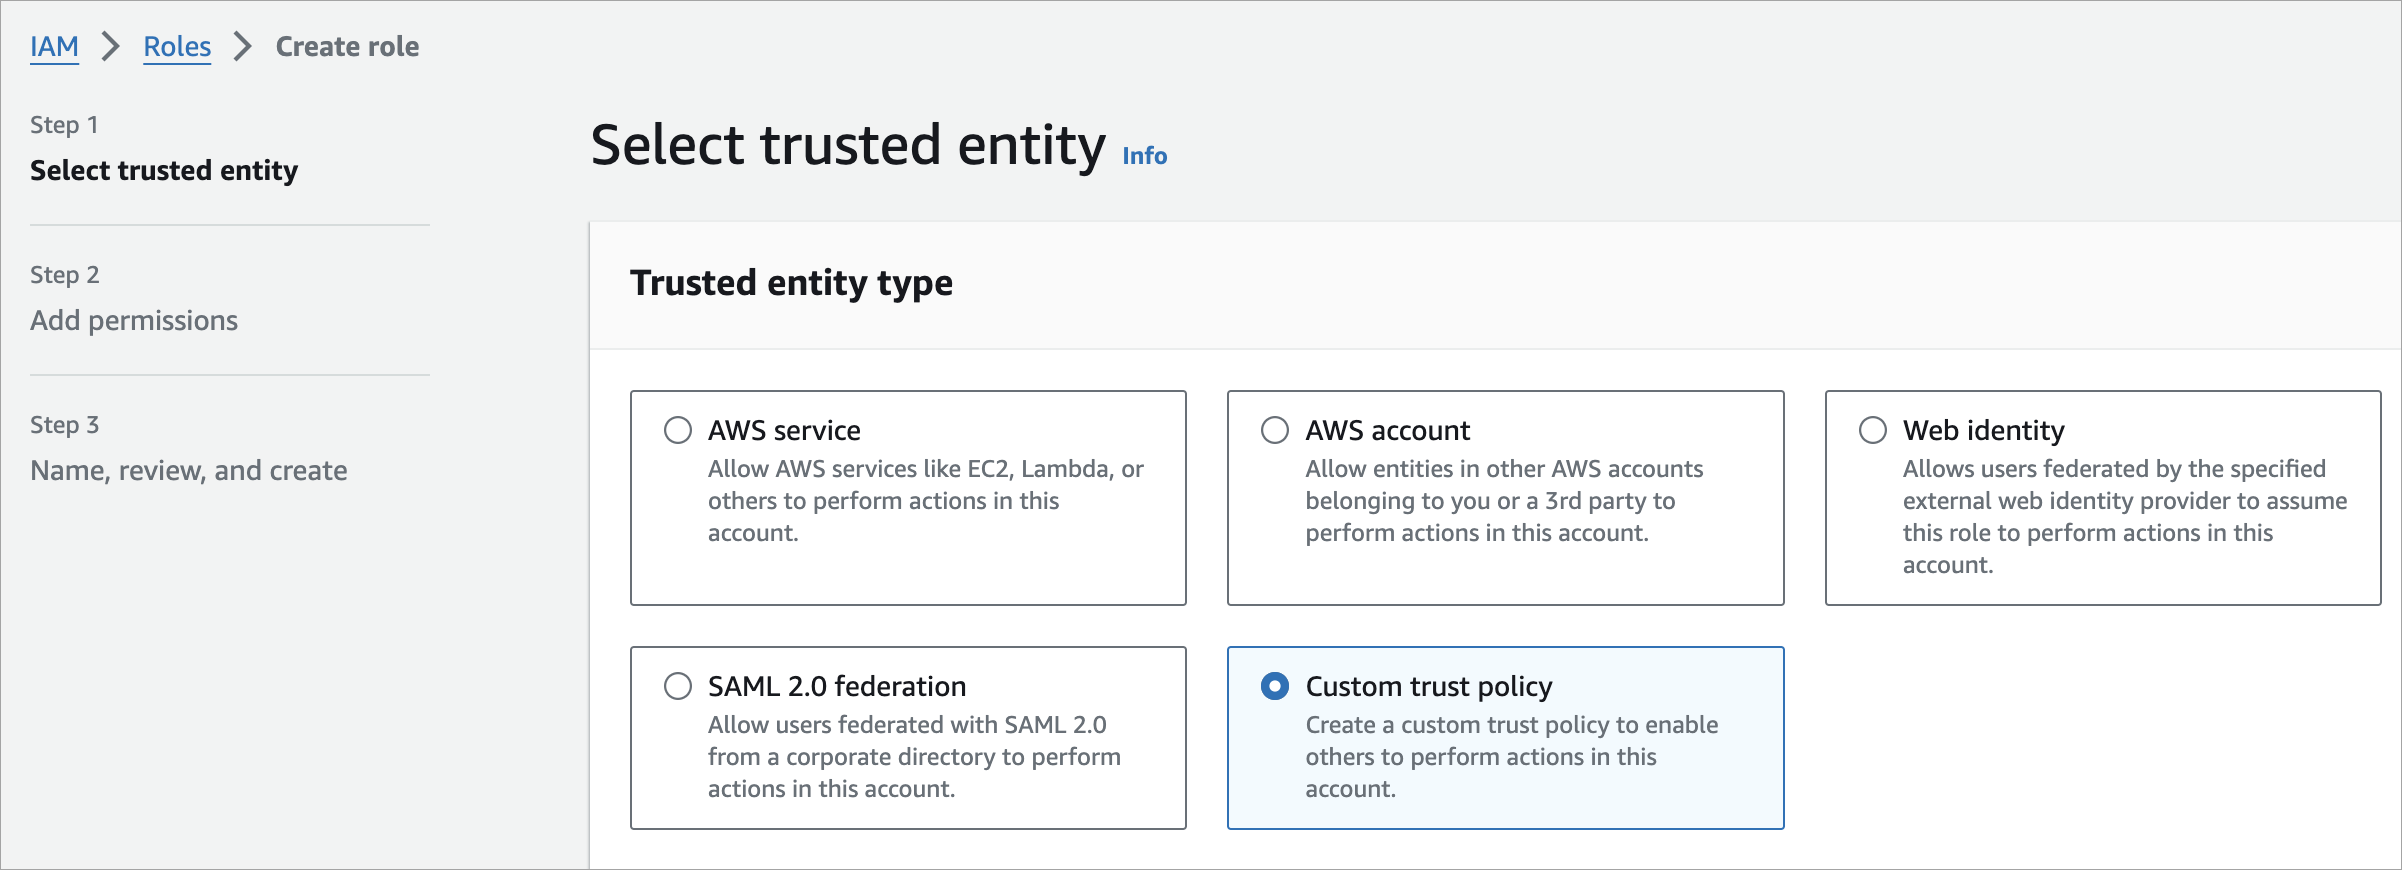
Select Roles, then select Create role.
-
Select the Custom trust policy option.
-
Paste the following code in the Custom trust policy window, replacing
<externalId>with the External ID provided by SailPoint in Connection Settings:Copy{
"Version": "2012-10-17",
"Statement": [
{
"Effect": "Allow",
"Principal": {
"AWS": [
"arn:aws:iam::874540850173:role/ciem_universal"
]
},
"Action": "sts:AssumeRole",
"Condition": {
"StringEquals": {
"sts:ExternalId": "<externalId>"
}
}
}
]
} -
Confirm the trust policy contains the correct role ARN:
-
Commercial accounts:
arn:aws:iam::874540850173:role/ciem_universal -
GovCloud accounts:
arn:aws-us-gov:iam::229634586956:role/ciem_universal
-
-
Select Require external ID and enter the sameExternal ID provided by SailPoint.
-
Select Next to be taken to Add Permissions.
-
Select Create policy and then select the JSON tab.
-
Replace the JSON text with the required permissions for:
-
Select Next: Tags. Tags are optional.
-
Select Next: Review. Enter an appropriate name and description for the role.
-
Select Create policy. The new policy will be displayed in the list of IAM policies.
-
Select the new policy checkbox and select Next.
-
Enter a role name and details. Review the information and select Create Role. You will be redirected to the roles page.
-
Search for and select the new role to find its role name. You will need this role name to connect your AWS source accounts with the SailPoint AWS SaaS Source.
-
If you are creating manual IAM roles to work in an AWS organization, repeat the IAM role creation process for each subaccount.
Caution
-
If you do not include a new role in every subaccount you may have gaps in your data.
-
All roles must use the same external ID provided by SailPoint in the connection settings of the AWS SaaS source.
Important
You must verify your configuration before connecting your source. The following section provides verification steps.
Verifying Your AWS Configuration
When you have finished connecting your AWS accounts, you must verify that the configuration was successful. To verify your configuration:
-
In the AWS Console IAM service, select Roles.
-
Search for the IAM role created by CloudFormation. Select the role and save its name and ARN. For example,
arn:aws:iam::xxxxxxxxxxxx:role/SailPointAWSRole -
Select the Trust Relationships tab and confirm the principal displays:
874540850173for Commercial accounts229634586956for GovCloud accounts -
Select Policies and search for the IAM role created by CloudFormation. For example,
SailPointAWSAuditPolicy -
Select Permissions and verify the bucket name in the JSON.
-
Ensure the policy allows
s3:GetBucketLocationands3:ListBucketactions on the CloudTrail bucket, and thes3:GetObjectaction on the S3 bucket contents.
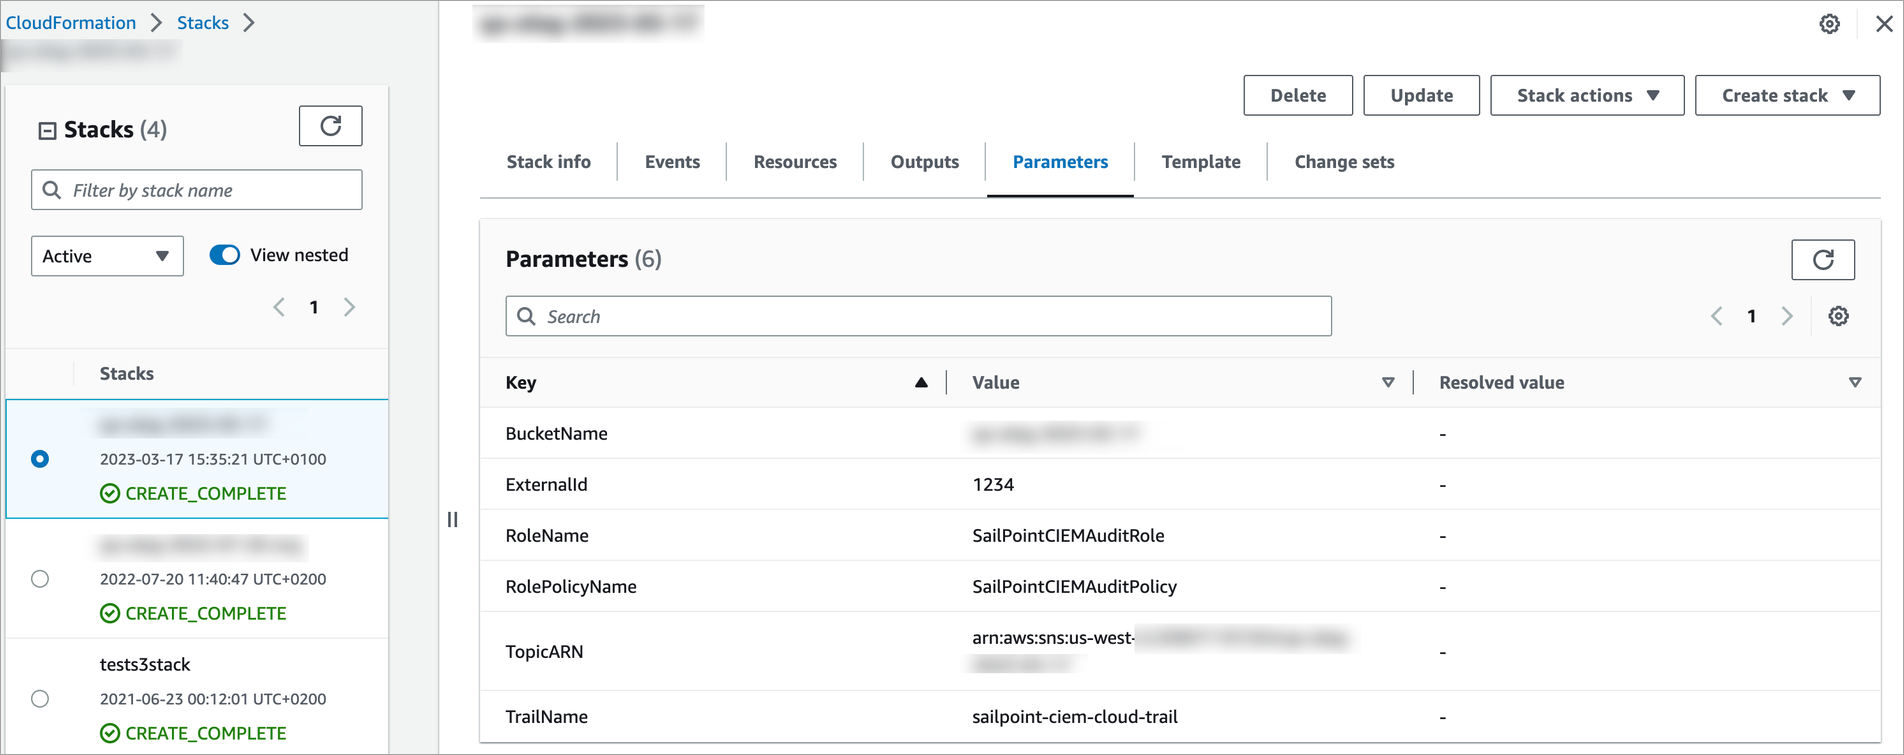
Viewing a Summary of the Details
-
Go to CloudFormation > Stacks, and select the stack.
-
Select the Parameters tab to view the key values for your configuration.