Troubleshooting
If you encounter any of the following issues or errors, SailPoint recommends that you follow the guidance provided below to resolve the error before contacting SailPoint Support.
Issue: The option to Enable advanced Interface (Applies IIQ SCOPING, Search results in TAB view, applicable for IdentityIQ versions 8.4p2 and later) is set to Yes, however the user isn't available for selection.
Resolution: If scoping is enabled and the user cannot be selected, while user selection works correctly for the same user, then the correlation attribute may be incorrect. Cross-check the correlation attribute. Ensure that this attribute is correctly updated in the Enter user attributes to display on user selection screen (separated by comma) setting on the Setup page.

Issue: The manage access page displays the error: IdentitylQ Plugin deployed on IdentityiQ server is not compatible with this version of application. Error Code 002- Use correct version of IdentityIQ Plugin.
Resolution: Perform the following steps:
-
Ensure the correct versions of Jar files are downloaded and copied under the WEB-INF/lib folder. For more information, refer to Integrating IdentityIQ with your ServiceNow Service Catalog - PreRequisite Installable's.
-
Check the HTTP Outbound logs in the ServiceNow end. If the Ping API on the HTTP Outbound logs is failing with the error:
Session contains no certificates - untrusted, go to the MID Security Policy in ServiceNow, and disable Certificate Chain Check for the Intranet zone.


Resolution: Perform the following steps to remove the dependency.
-
Sign in to ServiceNow using admin credentials.
-
Change the Application Scope to SailPoint IdentityNow for Service Catalog.
-
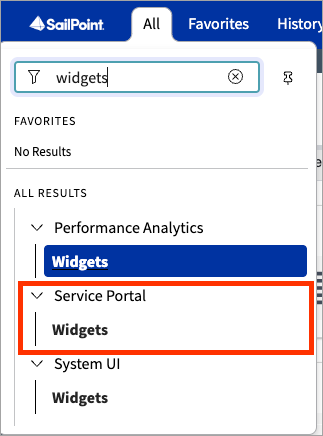
Search widgets in the application navigator, and open the widgets module under Service Portal.
-
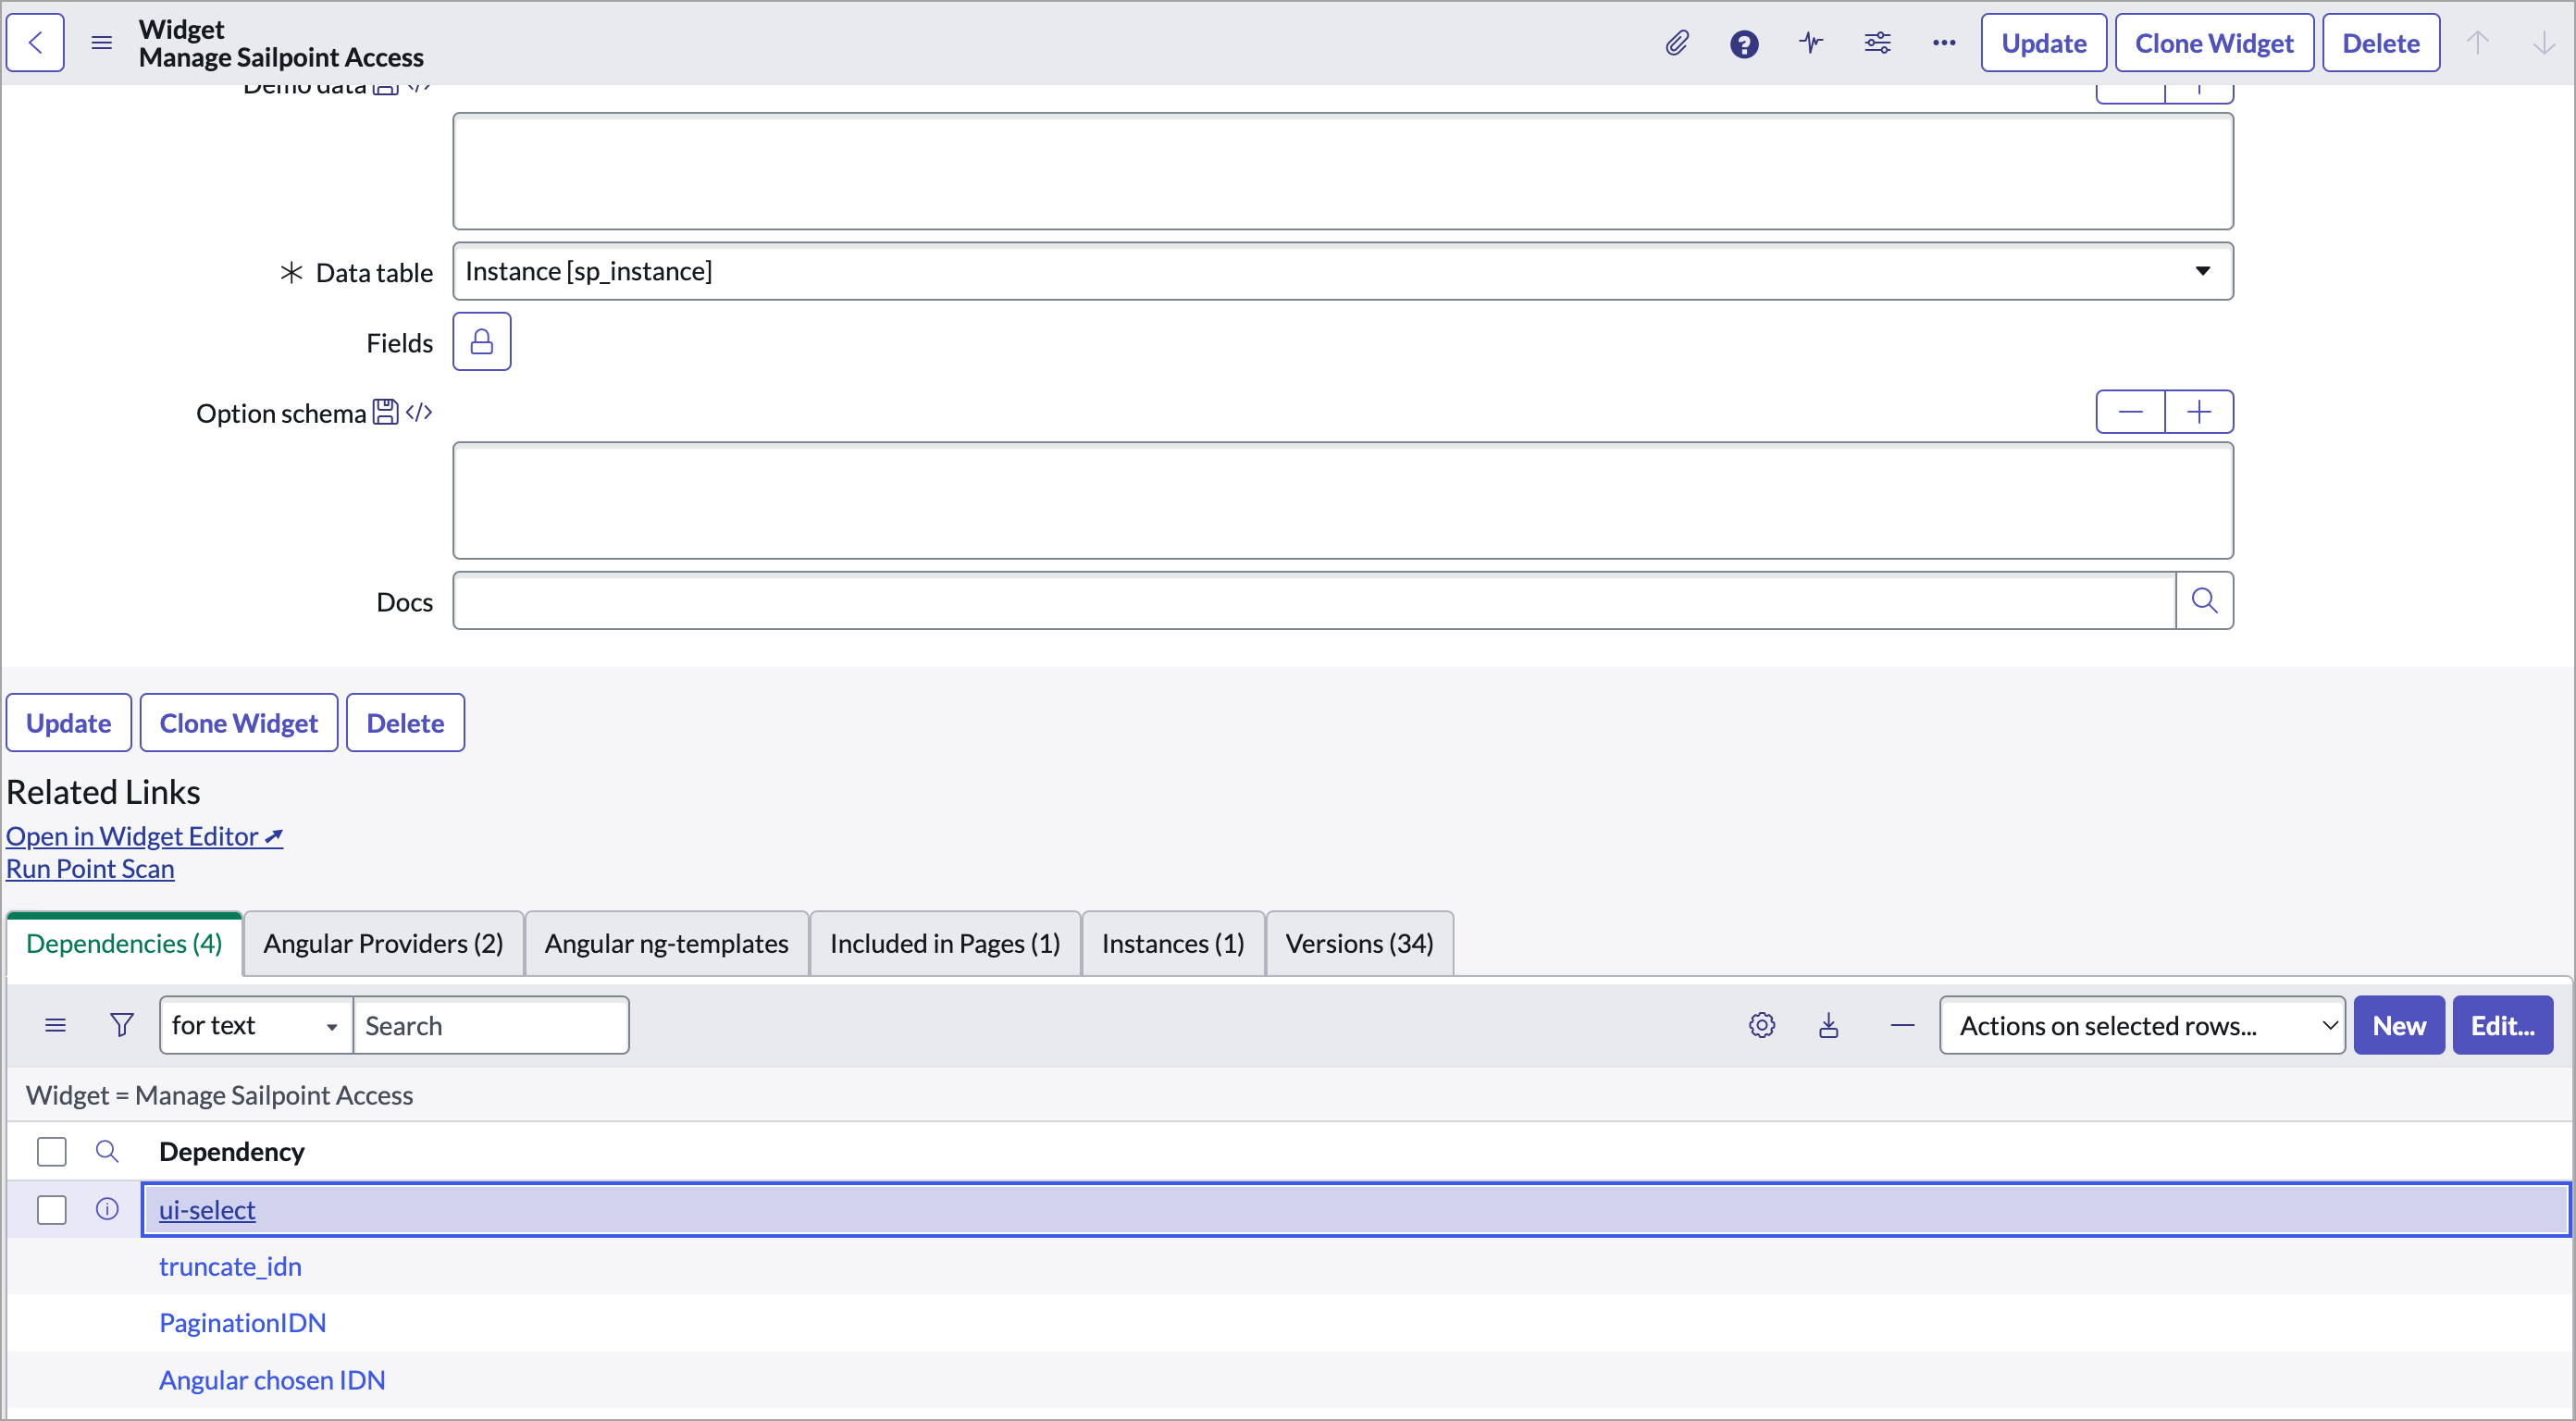
Open the widget for Manage SailPoint Access, and scroll to the dependencies. Select the ui-select dependency, then select the Edit button.
-
On the JS Includes tab, select the Edit button.
-
From the JS Includes List, highlight
angular-sanitizeand press the < button to move it back to the Collection. Select Save. -
On the widget page for Manage SailPoint Access, select the Update button.


Resolution:
-
Open ServiceNow as Admin and enter Widgets into the search field.
-
Select Widgets under Service Portal.
-
Open the Manage Sailpoint Access widget.
-
Change the Application scope to SailPoint IdentityIQ for Service Catalog.

-
In CSS, search for .tooltip-inner and add the following line to the CSS class:
white-space: unset;

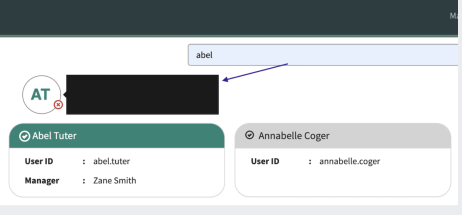
Issue: The tooltip shown while hovering over the selected user has the manager header spanning across two lines. This occurs due to the different CSS applied by ServiceNow in the Service Portal and Employee Service Center.

Resolution: Use the following steps to update the CSS in the widget.
-
Sign in as admin to the ServiceNow instance, and go Widgets under the Service Portal application.
-
Search for the Widget named
Manage SailPoint Accessand open the record.
-
In the CSS section of the widget, search for
.item-added-tooltip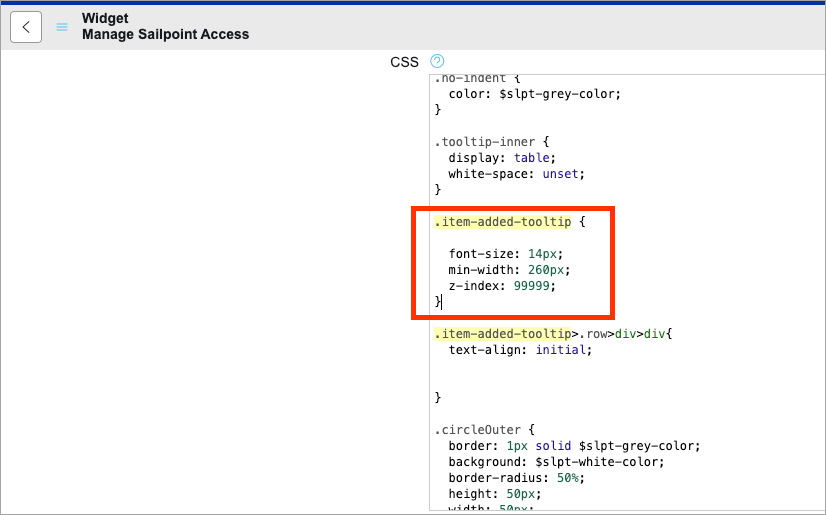
-
Replace the block of 5 lines with the following:
Copy.item-added-tooltip {
font-size: 14px;
min-width: 275px;
z-index: 99999;
} -
Select Update.
-
Change the ServiceNow scope to SailPoint IdentityNow for Service Catalog.
-
Go to System Diagnostics > Upgrades History and apply the filter with
to_version=x_sap_intidn -
Open the skipped records to review them. Select single or multiple records and then Revert to Base System to restore them to their original, out-of-the-box (OOB) state.


Additional FAQs and Troubleshooting