Creating a Dedicated IAM User
The recommended method to install the File Access Manager connector is using the EC2 Login method. See Configuring an EC2 for File Access Manager Connector. If you wish to use a dedicated IAM user login instead, follow this section:
To configure the connector, create dedicated users with the appropriate users and policies
-
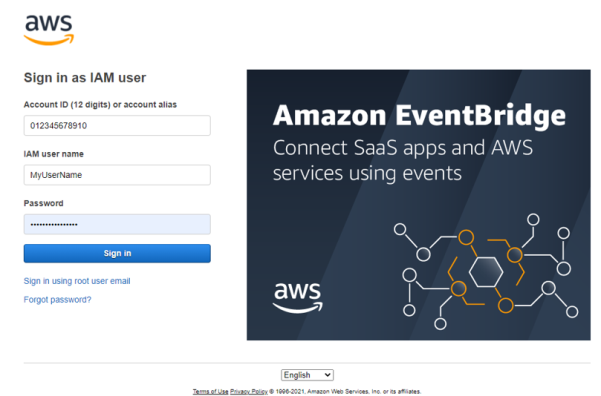
Sign into your organization’s management account.
-
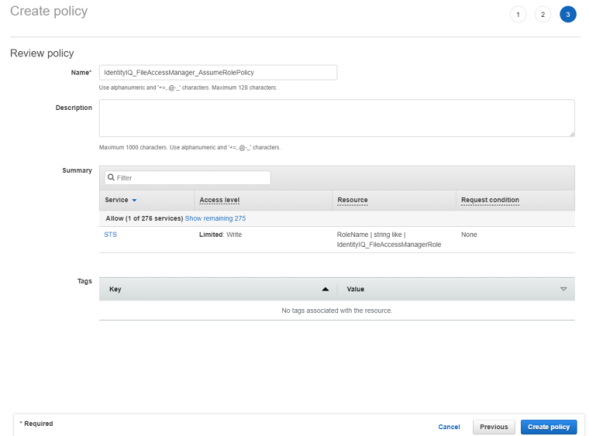
Create a new policy “IdentityIQ_FileAccessManager_AssumeRolePolicy”. This policy will allow the File Access Manager user created in the next step to perform an Assume Role on the roles that will be created in each account.
See IdentityIQ_FileAccessManager_AssumeRolePolicy.json in Appendix A.
-
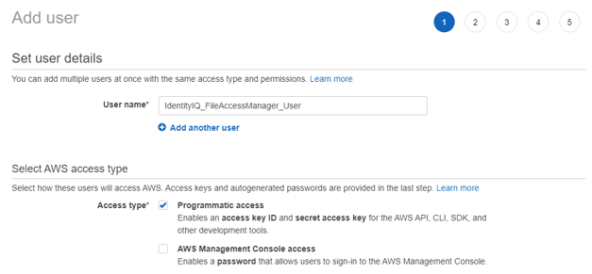
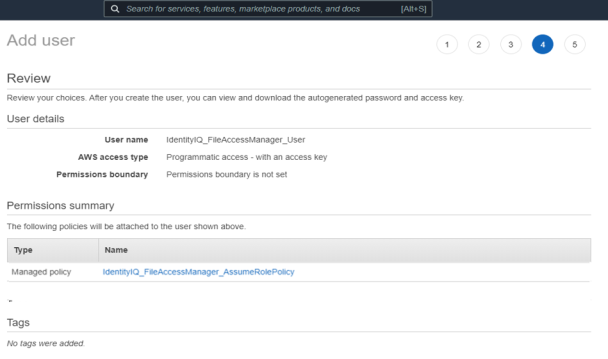
Crete an IAM User for File Access Manager and select Programmatic access. This access requires an access key and secret Key.
-
Attach the policy IdentityIQ_FileAccessManager_AssumeRolePolicy policy created above to the new user
-
Save the generated Access Key and Secret Key in a secure place.

-
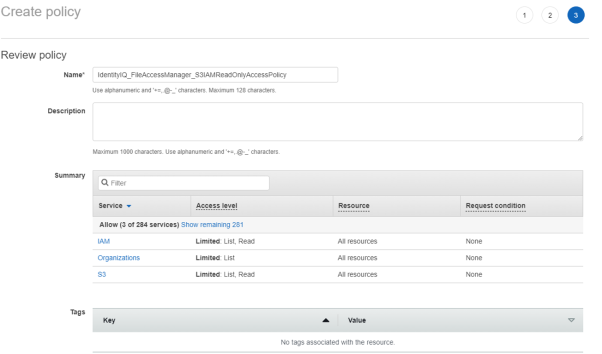
On each organization account the connector should analyze - Create new policy “IdentityIQ_FileAccessManager_S3IAMReadOnlyAccessPolicy” with all the required permissions for the connector.
See the code IdentityIQ_FileAccessManager_S3IAMReadOnlyAccessPolicy.json in Appendix A.
 .
. -
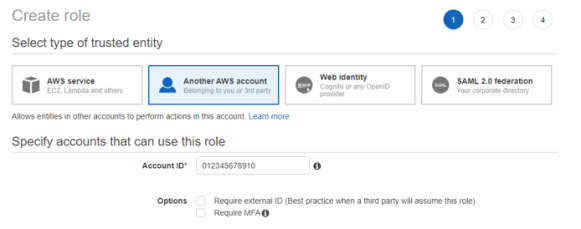
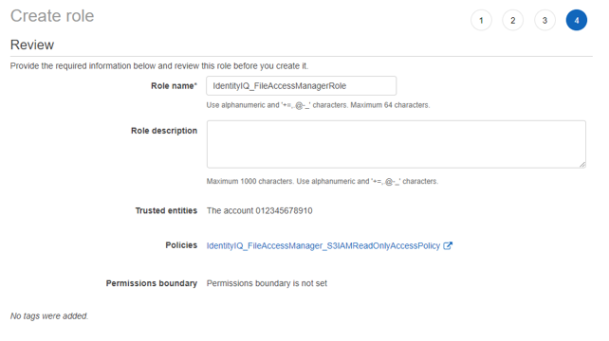
Create a new role “IdentityIQ_FileAccessManagerRole” which the File Access Manager user will assume on each organization account the connector should analyze. Select “Another AWS Account” and enter the user account ID.
-
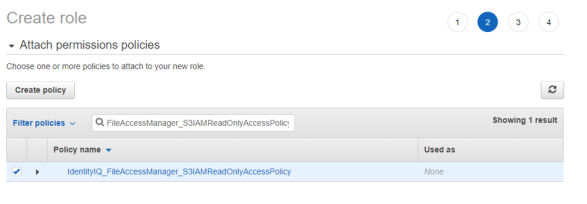
Attach the policy IdentityIQ_FileAccessManager_S3IAMReadOnlyAccessPolicy created above.
-
Enter the role name - IdentityIQ_FileAccessManagerRole.
This name cannot be changed.
-
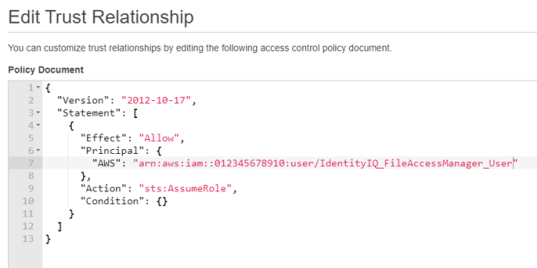
Edit the trust relationship of the new role.
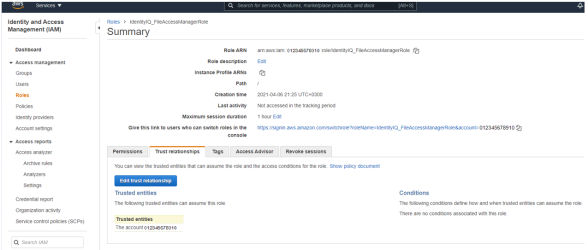
-
Edit the json file
Replace “root” in the Principal section with “user/{FAM IAM User username}” where “FAM IAM User username” is the user created above.
See IdentityIQ_FileAccessManagerRole.json [Dedicated User] in Appendix A.